How to Make a Fan From Paper in 3 Easy Steps
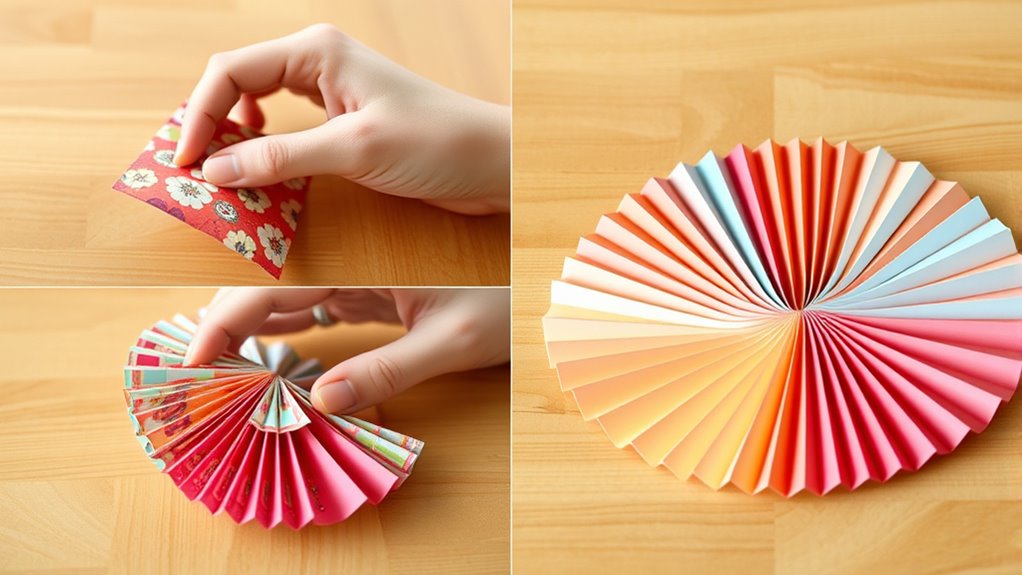
To make a paper fan in three easy steps, first grab a sheet of paper and any decorating supplies you like. Making a paper fan is a fun and simple craft project that anyone can enjoy.
Whether you want to cool off on a hot day or create a decorative piece, a paper fan is a perfect choice.
Next, fold the paper back and forth in an accordion pattern, keeping your folds even and crisp for a smooth fan shape. This folding technique is what gives the fan its classic look and allows it to open and close easily.
Finally, secure the base with tape or a staple to hold it together and add any decorations or a handle if you want. You can get creative here—add colors, patterns, or even stickers to personalize your fan.
Keep going to discover tips for a perfectly polished and durable fan you’ll love.
Gather Your Materials
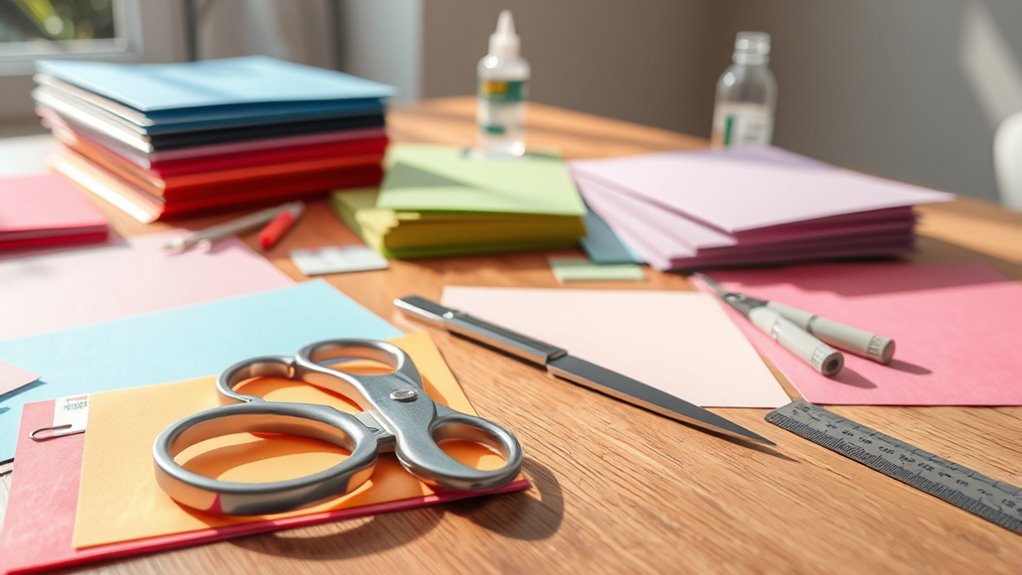
Before you begin folding, make sure you have all the necessary materials ready. You’ll need a sheet of paper—standard printer paper or a decorative sheet works well. Choose a size that’s easy to handle, like A4 or letter size.
You’ll also want a ruler to measure folds accurately, though you can fold by eye if you’re comfortable. A pencil helps mark guidelines if needed. To keep your fan together, grab a stapler, tape, or glue.
Scissors might come in handy to trim edges or make small cuts for decoration. Finally, consider optional materials like markers or stickers if you want to personalize your fan. Having everything prepared ensures a smooth, enjoyable crafting experience without interruptions.
Fold and Shape the Paper
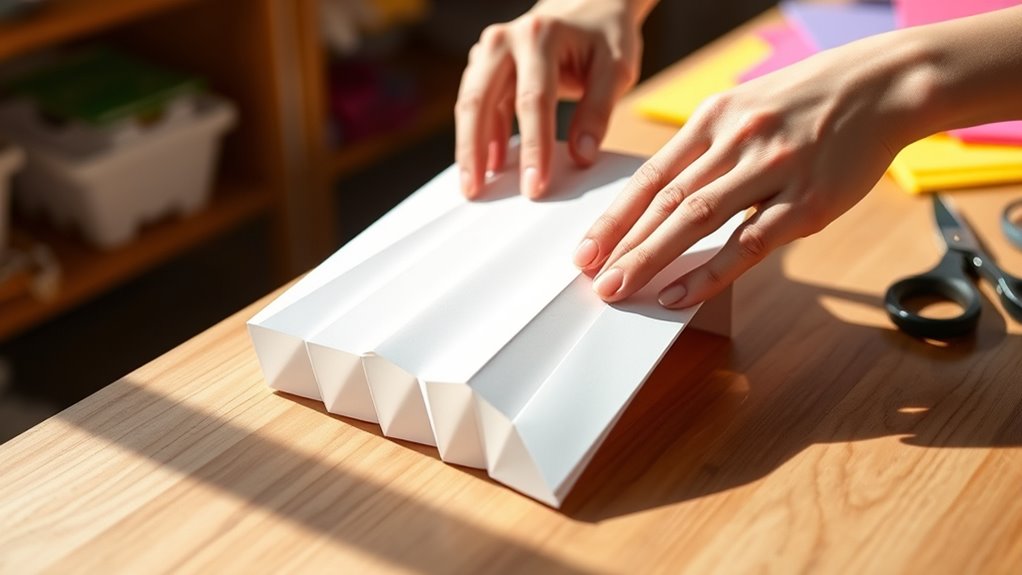
A well-folded paper fan starts with precise, even folds. Begin by laying your paper flat on a clean surface. Fold one edge over about an inch, then flip the paper and fold the new edge the same width in the opposite direction.
Keep alternating folds like this, creating a neat accordion pattern. Press down firmly on each fold to sharpen the creases.
Once you’ve folded the entire sheet, hold the folded stack firmly in the middle. Gently pull the two ends outward to fan out the folds evenly.
Adjust the shape so the edges align neatly, forming a semi-circle. This shaping step helps your fan open smoothly and look polished. Now your basic fan structure is ready for the next steps.
Add Finishing Touches
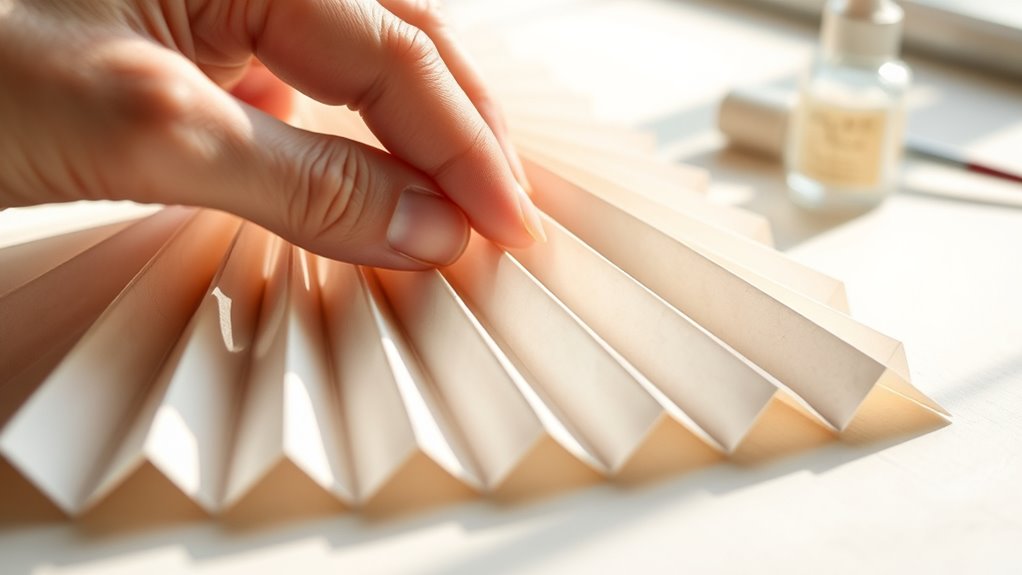
Once you’ve shaped your fan, you can enhance its appearance and durability by adding finishing touches. Start by securing the base with a small piece of tape or a staple to keep the folds in place.
If you want extra strength, apply a thin layer of glue along the edges and let it dry. To personalize your fan, use markers, stickers, or stamps to decorate the surface.
Adding a handle, like a popsicle stick or a thin strip of cardboard, can make it easier to hold and use. Finally, check for any loose folds or edges and press them firmly.
These simple steps will help your paper fan look polished and last longer while keeping it functional. Easy, right?
Conclusion
Now that you’ve made your paper fan in just three easy steps, you’re ready to stay cool anytime! Did you know that portable fans can reduce your body temperature by up to 5 degrees Fahrenheit? That’s pretty impressive for such a simple tool you created yourself.
Plus, making your own fan not only saves money but also adds a personal touch to beating the heat. Keep practicing, and you’ll be crafting fans like a pro in no time! Making a fan from paper is a fun and eco-friendly way to stay refreshed during hot days.
So, whether you’re at home, outdoors, or anywhere you need a quick breeze, your handmade paper fan is the perfect portable cooling solution. Give it a try and enjoy the satisfaction of staying cool with your own DIY fan!