How to Make a Paper Copter in 5 Easy Steps
To make a paper copter, start by gathering paper, scissors, and a paper clip. These simple materials will help you create a fun flying toy that spins and glides gracefully through the air.
Folding the paper lengthwise creates a center crease, which is key for shaping the blades later on.
Next, cut two slits from the top toward the fold, forming four blades.
Then bend each blade outward evenly so your copter can catch the air properly.
Attaching a straightened paper clip to the bottom center adds weight, helping your copter spin and glide gently.
When you’re ready, drop your paper copter from a height. If it wobbles or doesn’t fly smoothly, try adjusting the blades or the paper clip.
Keep experimenting and you’ll discover tips to perfect your copter’s flight in no time!
Gather Your Materials
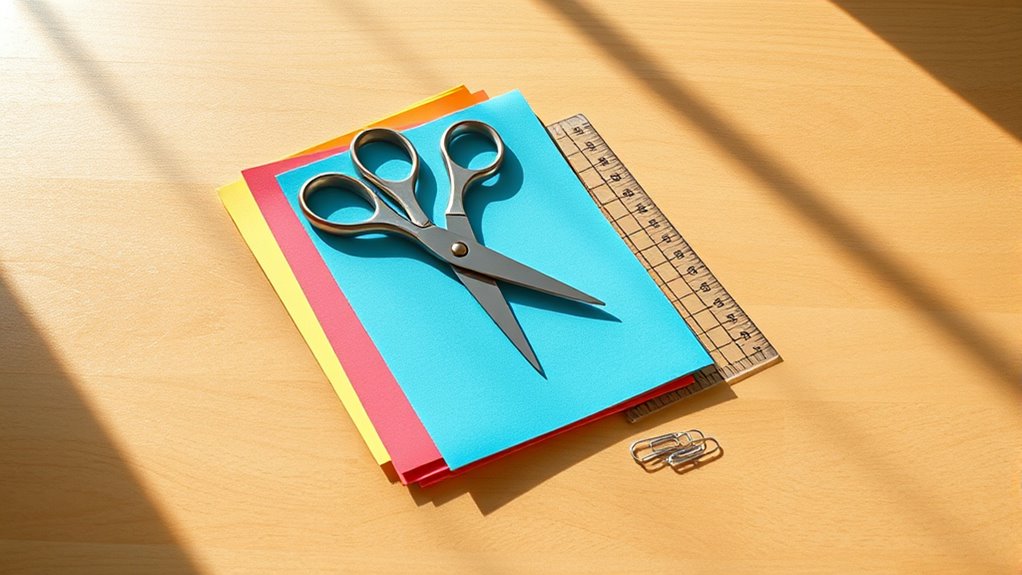
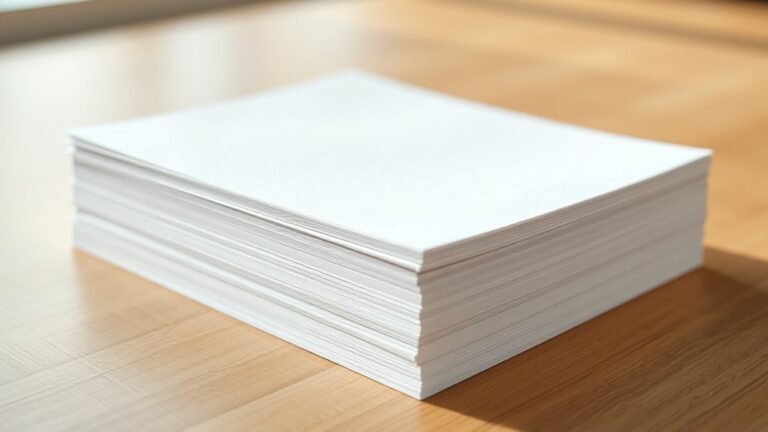
To make a paper copter, you’ll need a few simple materials. Grab a sheet of plain paper—printer or notebook paper works best because it’s lightweight and easy to fold.
You’ll also need scissors to cut the paper precisely, so keep them nearby. A pencil or pen can help you mark where to fold or cut, ensuring accuracy.
Optional but useful are a ruler for straight lines and tape or a paper clip to add weight if you want your copter to spin better.
Make sure your workspace is clear and well-lit, so you don’t lose small pieces or make mistakes. Once you gather these items, you’re ready to start building your paper copter quickly and easily.
Fold the Paper in Half
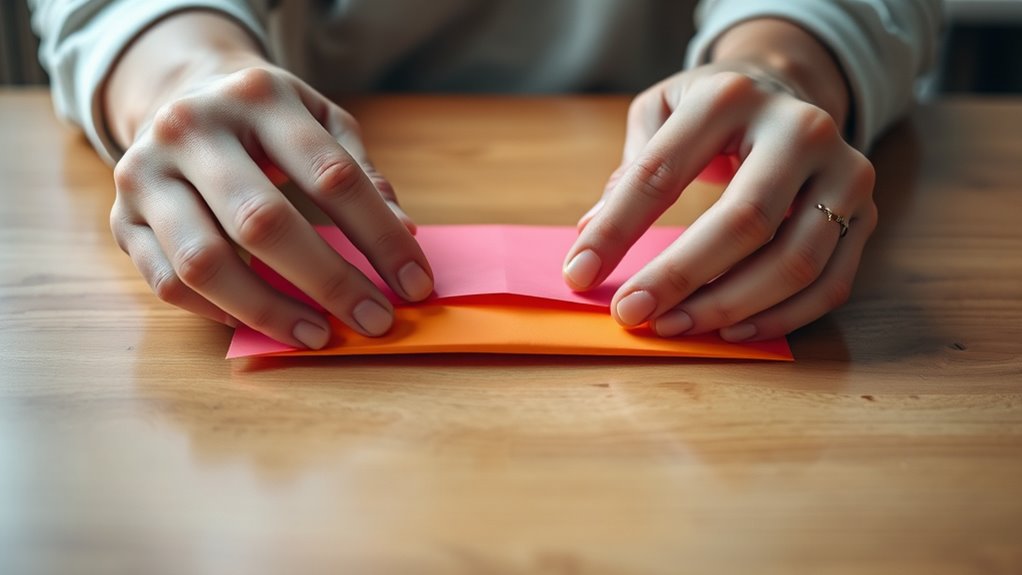
Start by folding the sheet of paper in half lengthwise, aligning the edges carefully to create a sharp crease. This fold forms the basic shape of your paper copter and helps guide the next steps.
Follow these simple actions to fold correctly:
- Hold the paper firmly at the edges to prevent slipping.
- Press down along the fold with your thumb to make a crisp line.
- Unfold slightly to check the symmetry and adjust if necessary.
Cut the Blades of the Copter
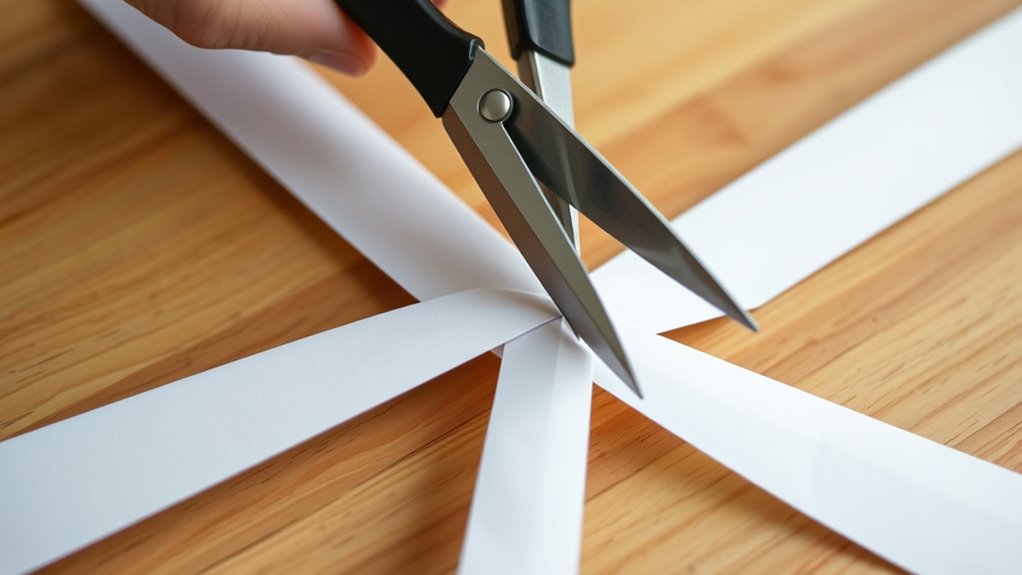
Although it might seem tricky at first, cutting the blades of your paper copter is straightforward once you know where to make the cuts.
Start by unfolding your folded paper just enough to see the center crease clearly. Using scissors, make two cuts from the top of the paper down toward the center crease, stopping about halfway.
Unfold your paper slightly and cut two slits from the top toward the center crease, stopping halfway.
These cuts will create four blades. Next, fold each blade outward in opposite directions—two to the left and two to the right.
Make sure your blades are evenly spaced and symmetrical, as this balance helps your copter spin smoothly. Take your time with these cuts to guarantee clean edges; jagged or uneven blades can affect flight.
Once done, your copter is ready for the next step.
Create a Paper Clip Weight
Adding a paper clip weight to your copter helps it descend smoothly and spin steadily. This simple addition balances the paper copter, improving its flight.
Here’s how to create and attach the weight:
- Unfold a standard paper clip slightly so it forms a straightened shape with a small hook at one end.
- Attach the paper clip by hooking it onto the bottom center of the copter’s body, ensuring it hangs freely without restricting blade movement.
- Adjust the position of the paper clip if needed, moving it up or down slightly to find the best balance.
This weight adds just enough mass to stabilize the copter’s fall. It makes your paper copter spin longer and land gently every time.
Test and Adjust Your Paper Copter
How well does your paper copter spin and glide? To find out, drop it from a height and watch its flight.
If it twirls too quickly and falls fast, try slightly bending the blades outward to slow the spin.
If it wobbles or veers off course, adjust the paper clip weight by moving it closer to or farther from the blades. You can also tweak the blade angles to improve stability; small, even bends make a big difference.
Keep testing and making tiny adjustments until your copter spins smoothly and floats gently to the ground.
Conclusion
Who knew that a simple sheet of paper could turn you into a helicopter pilot—without any training or a license? After folding, cutting, and adding that tiny paper clip, you’re all set to launch your very own flying machine.
Sure, it might not win any airshows, but watching it twirl down is oddly satisfying. So go ahead, give it a whirl—your paper copter might just be the most high-tech gadget on your desk today!
Making a paper copter is not only fun but also super easy. It’s a great way to learn the basics of flight and aerodynamics using just a piece of paper and a few simple steps. Plus, it’s a fantastic hands-on activity for kids and adults alike. So grab your materials, follow the easy instructions, and enjoy your very own paper copter soaring through the air!