How You Can Print on Construction Paper Step by Step
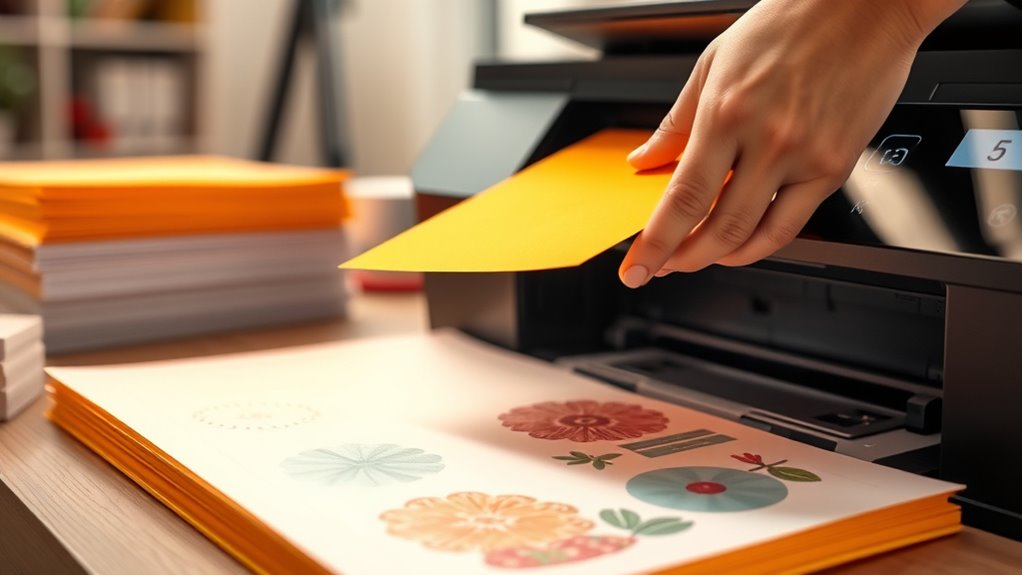
To print on construction paper, start by choosing smooth, lighter-colored sheets that fit your printer and avoid heavy or glossy types. This is super important because the texture and color of your paper can really affect how your print turns out. You want something that will absorb ink well without smudging or jamming your printer.
Next, adjust your printer settings to “Cardstock” or “Heavy Paper.” Set the quality to high and slow down the print speed to help the ink dry properly. Loading one sheet at a time, aligned properly, also makes a big difference.
Always do a test print first to check for smudging or jams. Following these steps will help you get clean, sharp prints, and there’s more to mastering the technique if you keep going.
Choose the Right Type of Construction Paper
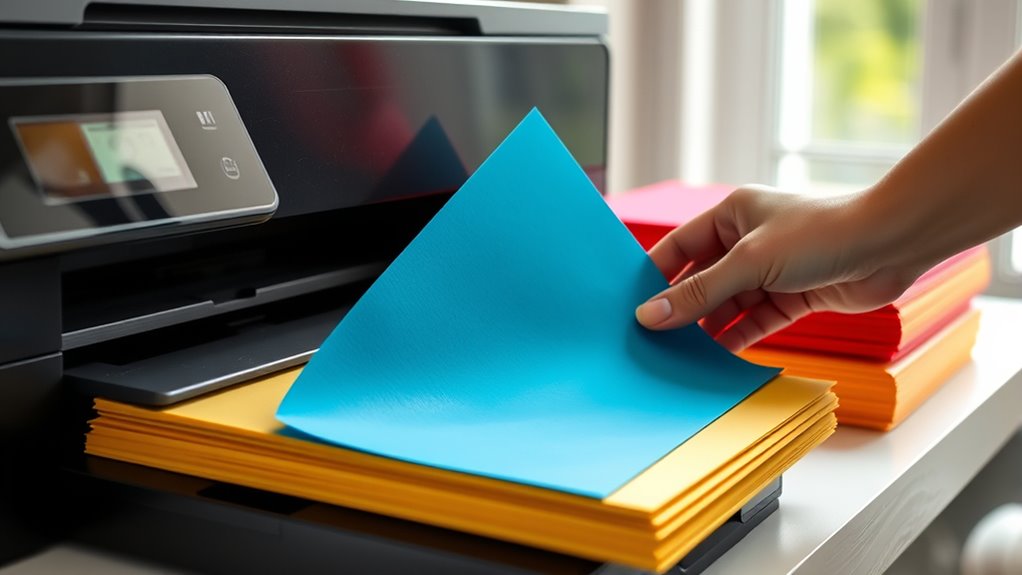
Before you start printing, you need to choose the right type of construction paper. Not all construction paper works well with printers, so pick a smooth, high-quality sheet to avoid jams and smudges.
Look for paper that’s around 65 to 80 pounds in weight; anything heavier might cause feeding issues, while lighter paper can wrinkle easily. Also, opt for colors that contrast well with your ink—lighter shades often produce clearer prints.
Choose 65-80 lb paper for smooth printing; avoid heavy or light sheets to prevent jams and wrinkles.
Avoid glossy or heavily textured papers since your printer might struggle to apply ink evenly on those surfaces. If you’re unsure, test a small piece first to see how your printer handles it.
Choosing the right construction paper upfront saves you time and guarantees your prints come out crisp and clean. It’s definitely worth taking a moment to get it right!
Prepare Your Printer Settings for Thick Paper
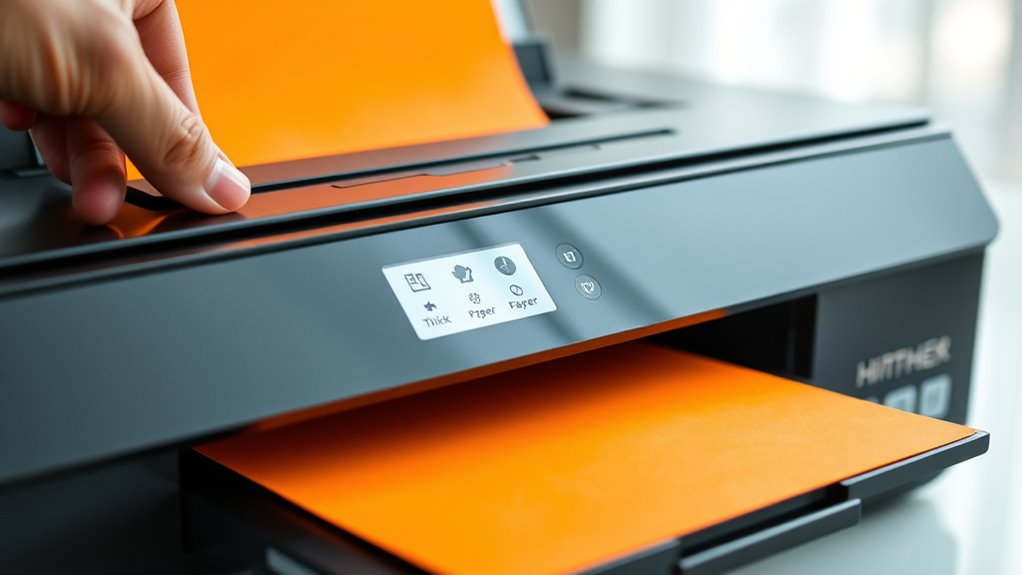
Before you start printing, make sure to adjust your printer’s paper type setting to handle thick construction paper. Increase the print quality to get sharp, vibrant results.
Don’t forget to run a test print to check alignment and avoid wasting materials. It’s a quick step that can save you a lot of hassle later on!
Adjust Paper Type Setting
How do you guarantee your printer handles thick construction paper without jamming or smudging? Start by adjusting the paper type setting on your printer.
Access your printer’s settings menu, usually found in the print dialog box on your computer. Look for options labeled “Paper Type” or “Media Type.” Select a setting that matches thick or heavy paper, such as “Cardstock,” “Heavy Paper,” or “Construction Paper.”
This tells your printer to slow down the feed and apply the right amount of ink or toner, reducing the risk of smudges and jams. If you can’t find an exact match, just choose the closest heavier paper option.
Adjusting this setting helps your printer adapt to the thickness and texture, resulting in cleaner, smoother prints on construction paper. Easy, right?
Increase Print Quality
Why settle for dull prints when you can boost the quality for your construction paper projects? Start by selecting the highest print resolution your printer offers. This sharpens details and enriches colors.
Next, adjust the print speed if your printer allows; slower speeds often yield better results on thick paper. Don’t forget to enable “High Quality” or “Photo” mode in your print settings to enhance vibrancy and reduce smudging.
Here’s a quick guide to help you optimize settings:
| Setting | Benefit | Tip |
|---|---|---|
| Resolution | Clearer images | Choose 600 DPI or higher |
| Print Speed | Better ink absorption | Use slower speed for thick paper |
| Paper Type | Proper ink distribution | Select “Cardstock” or “Thick” |
| Quality Mode | Richer colors, less smudge | Set to “High” or “Photo” |
Adjust these, and your prints will truly pop!
Test Print Alignment
Wondering how to guarantee your prints line up perfectly on thick construction paper? Testing print alignment is key before committing to your final project.
Since construction paper is thicker than regular paper, you’ll want to adjust your printer settings and run a test print to avoid misaligned results or wasted sheets.
Start by selecting the proper paper type and thickness in your printer’s settings menu. Then, print a simple alignment test page with margins and guides.
Check that the text or images are positioned exactly where you want them. If something’s off, tweak the margins or feed settings. Repeat until the print aligns perfectly.
Focus on these steps:
- Adjust paper type and thickness in printer settings
- Print a test page with alignment guides
- Fine-tune margins and paper feed until perfect
Design and Format Your Print Project
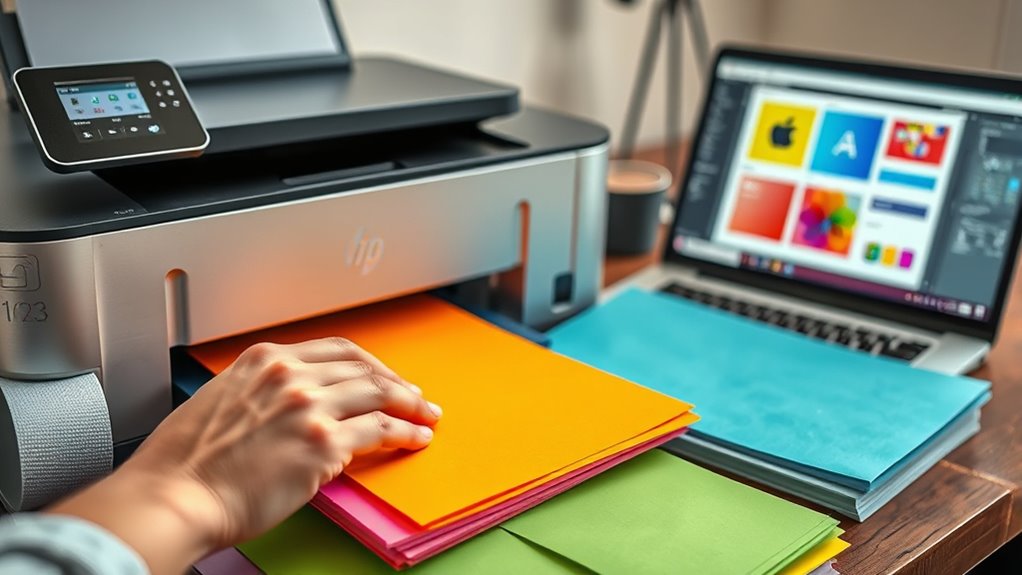
Where should you start when designing and formatting your print project on construction paper? Begin by choosing colors that contrast well with the paper’s hue to guarantee readability.
Next, select fonts that are bold and clear, avoiding fine details that might not print well. Set your page size to match the construction paper dimensions for accurate printing.
Use the table below to quickly compare design tips:
| Aspect | Recommendation | Reason |
|---|---|---|
| Color | High contrast | Improves readability |
| Font | Bold, sans-serif | Prevents blurring on texture |
| Layout | Simple, centered | Avoids misalignment |
Load Construction Paper Properly Into the Printer
Before you load construction paper into your printer, check the paper type settings to guarantee the best print quality. Construction paper is thicker and more textured than regular paper, so adjusting your printer settings prevents jams and assures the ink adheres properly.
Next, handle the paper carefully to avoid wrinkles or folds that could jam the printer.
Here’s how to load the paper correctly:
- Align the edges of the construction paper neatly to avoid misfeeds.
- Place the paper in the manual feed tray or main paper tray, depending on your printer model.
- Adjust the paper guides snugly against the edges to keep the paper straight during printing.
Following these steps helps your printer work smoothly and produces crisp, vibrant prints on construction paper.
Perform a Test Print to Check Quality
Before printing your final design, run a test print to make sure everything looks sharp. Adjust your printer settings if the colors or lines don’t come out clear.
Carefully inspect the print clarity so you can fix any issues early on. This way, you avoid surprises when doing the actual print.
Adjust Printer Settings
How can you guarantee your print turns out crisp and vibrant on construction paper? Adjusting your printer settings is key.
Start by selecting the correct paper type, usually “Cardstock” or “Heavy Paper,” to ensure proper ink absorption. Next, set the print quality to “High” or “Best” to enhance sharpness and color depth.
Finally, tweak the color settings if needed—boost saturation slightly for richer hues without oversaturating.
- Choose the appropriate paper type in your printer’s preferences
- Set print quality to high for better detail and color
- Adjust color saturation to enhance vibrancy without bleeding
Inspect Print Clarity
Why does your print look different on construction paper than on regular paper? Construction paper absorbs ink differently due to its rough texture and thickness.
To guarantee your print looks sharp, perform a test print first. Check for clarity, color accuracy, and any smudging.
Use this simple checklist during your test print:
| Aspect | What to Look For | Action if Unsatisfactory |
|---|---|---|
| Clarity | Crisp lines, no blurring | Adjust print quality settings |
| Color | Vibrant and accurate | Increase ink density |
| Smudging | No ink smears or streaks | Let paper dry longer or lower ink output |
Troubleshoot Common Printing Issues on Construction Paper
Although printing on construction paper can yield vibrant results, you might encounter issues like smudging, paper jams, or uneven ink distribution. To troubleshoot these problems, start by adjusting your printer settings to match the paper type and thickness.
Make certain your paper feeds smoothly by using the manual feed tray, which helps prevent jams. Finally, check your ink or toner levels regularly; low ink can cause patchy prints.
Use a slower print speed to reduce smudging on textured surfaces.
Load one sheet at a time to avoid multiple paper feeding and jams.
Clean the printer rollers to improve paper handling and ink application.
Conclusion
Printing on construction paper might seem tricky at first, but with the right steps, it’s as smooth as a paintbrush gliding over a canvas. By choosing the proper paper, adjusting your printer settings, and loading the paper carefully, you’ll bring your designs to life with vibrant color and clarity.
Remember, a little patience and a test print can save you from messy surprises. So go ahead—let your creativity shine boldly on every sheet!
When printing on construction paper, it’s important to select the right thickness to avoid jams. Adjusting your printer settings to accommodate the paper’s texture helps ensure crisp, clear prints. Loading the paper carefully prevents smudging and misfeeds.
With these tips, printing on construction paper becomes a fun and rewarding experience. Whether for school projects, crafts, or decorations, mastering this technique lets your artwork pop with color and detail. So dive in and make every print count!