How to Do and Unjam a Paper Shredder in 3 Simple Steps
To unjam your paper shredder in three simple steps, first make sure it’s unplugged and placed on a stable surface. Safety first, right? This prevents any accidents while you’re working on it.
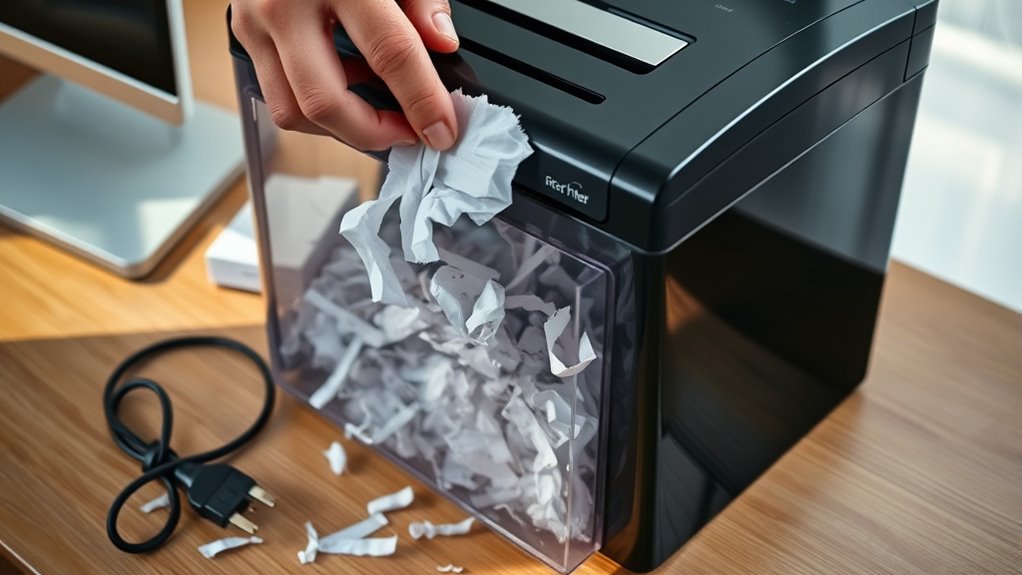
Next, carefully remove any stuck paper. You can gently pull it out or use the reverse function to back it out without causing damage. Take your time here—it’s all about being gentle with the machine.
Finally, maintain your shredder by cleaning the blades and applying shredder oil. This helps keep it running smoothly and reduces the chance of future jams.
Following these tips not only solves the jam but also extends your shredder’s life. Trust me, a little care goes a long way!
Preparing Your Shredder for Use
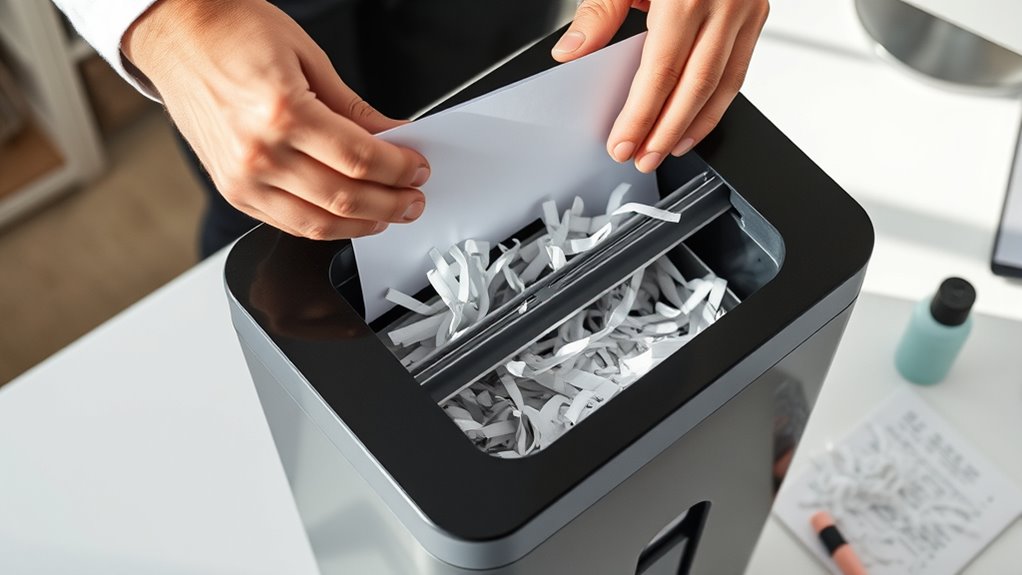
Before you start using your shredder, make sure it’s properly set up and clean. Place it on a flat, stable surface near a power outlet to avoid any interruptions.
Set up your shredder on a steady surface near power to ensure smooth, uninterrupted operation.
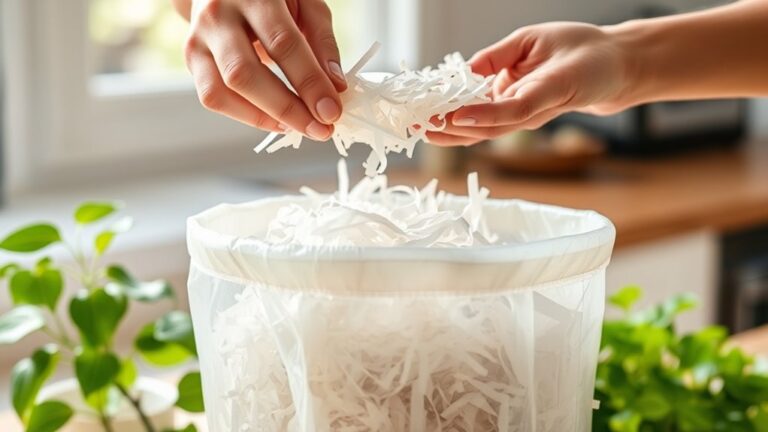
Check the shredder’s bin and empty it if it’s full, so shredded paper won’t clog the machine. Also, take a look at the cutting blades for any leftover debris or small scraps. Remove them carefully to prevent jams.
Make sure the power cord is securely plugged in, and the shredder’s switch is in the correct position, usually “auto” or “on.” If your shredder needs oiling, don’t forget to apply shredder oil according to the manufacturer’s instructions.
This will keep the blades running smoothly. Taking these steps ensures your shredder works efficiently and helps prevent jams before you even start shredding.
Identifying and Clearing Paper Jams
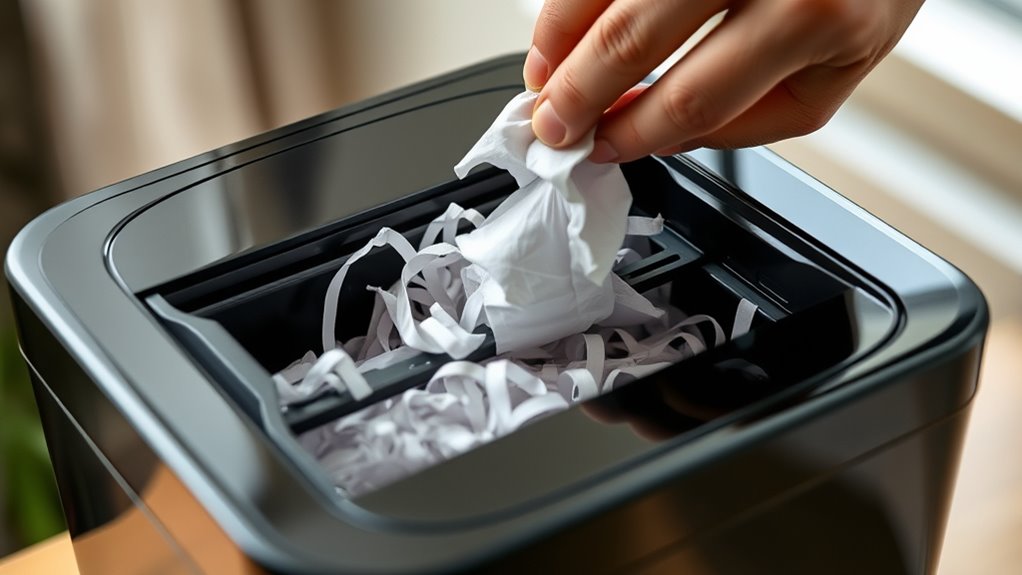
When your shredder stops unexpectedly, it’s usually a sign of a paper jam. First, turn off and unplug the shredder to guarantee safety.
Check the shredder’s opening and remove any visible stuck paper carefully. Avoid pulling too hard to prevent tearing the paper, which can worsen the jam.
If the shredder has a reverse function, use it to gently back the paper out. For stubborn jams, manually rotate the blades if accessible, or use tweezers to extract small scraps.
Once cleared, plug the shredder back in and test it with a single sheet. Regularly inspecting your shredder during use can help you spot and fix jams early, keeping your device running smoothly without damage or frustration.
Maintaining Your Shredder for Optimal Performance
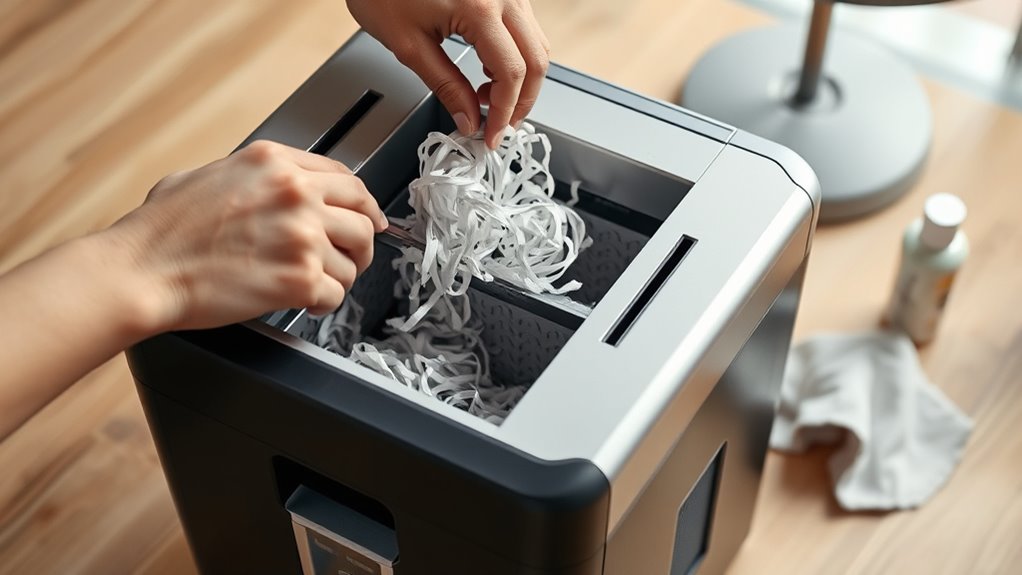
To keep your shredder running smoothly and avoid frequent jams, you should regularly clean and lubricate its blades. Unplug the shredder and remove any remaining paper bits from the blades using tweezers or a soft brush. Avoid using sharp objects that could damage the blades.
Next, apply shredder oil or lubricant sheets as recommended by the manufacturer to reduce friction and wear. Regularly empty the waste bin to prevent paper buildup that can strain the motor.
Also, avoid feeding too many sheets at once and steer clear of staples or paperclips unless your shredder is designed to handle them. By maintaining your shredder this way, you’ll extend its lifespan and keep it functioning efficiently without frustrating jams or breakdowns.
Conclusion
Now that you know how to unjam your paper shredder, remember that “a stitch in time saves nine.” Taking quick action prevents bigger problems down the road.
Keep your shredder well-maintained and always prepare it properly before use. By staying attentive and following these simple steps, you’ll guarantee smooth shredding every time and extend your shredder’s lifespan.
Don’t wait for trouble—handle jams promptly and keep everything running smoothly. Regular maintenance and quick response to jams are key to efficient paper shredding.
This way, your shredder stays in top shape, helping you avoid frustrating paper jams and costly repairs. Stick with these easy tips, and shredding will be hassle-free!