How Long Does Paper Mache Take to Dry?
You can expect your paper mache project to dry anywhere from 24 hours to a week, depending on its size, thickness, and the environment.
Paper mache drying time varies because thicker layers and multiple coats hold moisture longer, while thinner layers dry faster.
Warm, dry air and good airflow speed up the drying process significantly.
Using thin layers and boosting ventilation helps too, making your project dry more quickly and evenly.
If you want to finish your paper mache project faster and avoid common issues like cracking or mold, exploring these factors in detail will give you useful tips.
Understanding how size, thickness, and environment affect drying time can help you achieve the best results every time.
Factors Affecting Paper Mache Drying Time
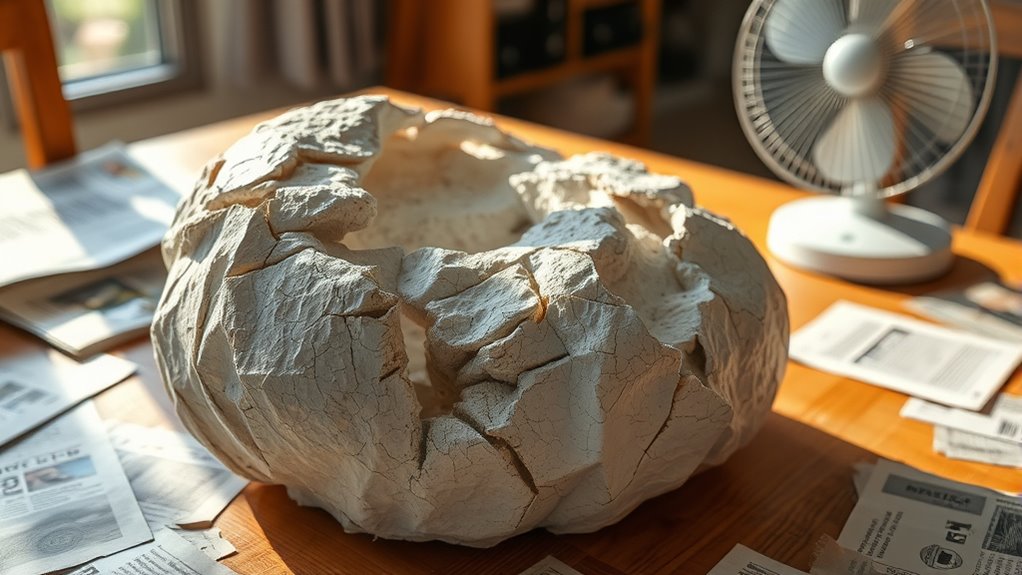
While drying time can vary, several key factors affect how quickly your paper mache project dries. First, the thickness of your layers plays a big role—the thicker the layers, the longer it takes to dry.
You’ll also notice that the type of adhesive you use matters; glue-based mixtures tend to dry faster than flour and water paste.
Environmental conditions like temperature and humidity impact drying speed considerably. Higher temperatures and low humidity help your project dry faster, while damp or cool environments slow the process.
Airflow is another important factor—good ventilation speeds up drying by allowing moisture to evaporate quickly.
Finally, the type of paper you use can influence drying time; thinner papers dry faster than thick or densely layered ones.
Typical Drying Times for Different Paper Mache Projects
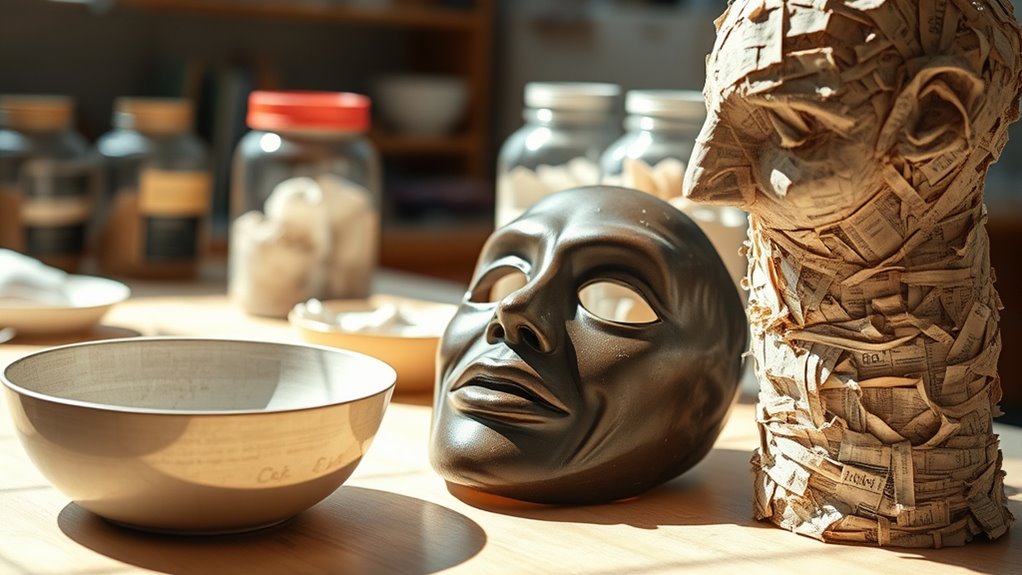
Understanding the factors that affect drying time helps you estimate how long your paper mache project will take to dry. Small, simple projects like masks or ornaments typically dry within 24 hours.
Larger items such as piñatas or bowls might need 2 to 3 days to dry thoroughly. If you’re working on something even bigger, like a sculpture or a layered centerpiece, expect drying to take up to a week.
Keep in mind that projects with multiple layers require more drying time between coats. Also, projects made with wetter glue mixtures or soaked paper will naturally extend drying periods.
How Thickness Influences Drying Duration
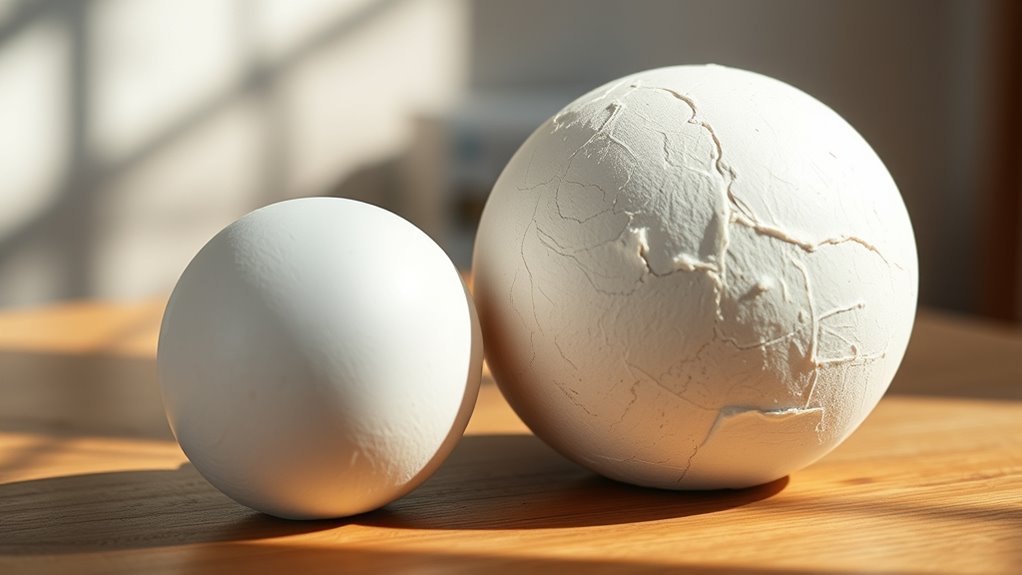
Because thicker layers of paper mache trap more moisture, they take considerably longer to dry than thinner ones. When you apply several thick coats, the inner layers remain damp longer, extending the overall drying time.
If you want your project to dry faster, try building up multiple thin layers instead of one thick layer. Thin layers dry quickly and evenly, reducing the risk of cracking or warping.
Also, keep in mind that the drying process starts from the outer surface inward, so a thick layer means moisture has to escape through more material.
Environmental Conditions That Impact Drying
Though paper mache drying time largely depends on thickness, environmental conditions play an equally important role. You’ll find that temperature, humidity, and airflow markedly affect how fast your project dries.
If you work in a warm, dry room with good ventilation, your paper mache will dry much quicker. On the other hand, damp or cold environments slow down the drying process since moisture lingers longer.
High humidity keeps water trapped in the layers, making it take hours or even days longer to dry fully. Make sure your workspace isn’t too crowded or enclosed, as stagnant air prevents evaporation.
Techniques to Speed Up Paper Mache Drying
To speed up your paper mache drying, start by applying thin layers instead of thick ones. You can also increase air circulation by using fans or opening windows.
If you’re careful, applying gentle heat from a hairdryer or heater can help your project dry faster without causing damage. Just make sure not to overheat it!
Use Thin Layers
When you apply paper mache, using thin layers helps it dry much faster than thick ones. Thin layers allow moisture to evaporate quickly, reducing drying time considerably.
Instead of piling on a heavy coat, spread the paste and paper evenly in light, manageable sections. This approach not only speeds drying but also prevents cracking and warping.
Here are some tips to effectively use thin layers:
- Apply multiple thin coats rather than one thick coat
- Let each layer dry completely before adding the next
- Use a brush or sponge for even, thin application
- Tear paper into smaller pieces for better adhesion
- Avoid over-saturating the paper with paste
Increase Air Circulation
Since paper mache dries through moisture evaporation, increasing air circulation around your project can substantially speed up the process. You can simply place your piece in a well-ventilated room or near an open window.
Using a fan to gently blow air across the surface also helps moisture escape faster, reducing drying time without risking damage. It’s a simple trick that really works!
Here’s a quick guide:
| Technique | Benefit | Tip |
|---|---|---|
| Open Windows | Fresh air | Avoid direct sunlight |
| Fan Placement | Steady airflow | Use low speed for control |
| Elevated Surface | Air flow underneath | Use a wire rack or stand |
Boosting airflow makes your paper mache dry quicker and keeps it from becoming soggy or moldy. So, give your project some fresh air and watch it dry faster!
Apply Heat Sources
Increasing airflow helps, but applying gentle heat can speed up drying even more. When you want your paper mache project dry faster, carefully introduce safe heat sources to avoid warping or burning.
Here are some effective methods you can try:
- Use a hairdryer on a low, warm setting, keeping it moving to prevent overheating.
- Place your project near a radiator or heating vent, but not too close.
- Set it under a lamp with an incandescent bulb that emits gentle warmth.
- Use a dehydrator if you have one, adjusting for low heat.
- Position your work in a sunny spot indoors to harness natural warmth.
Signs That Your Paper Mache Is Fully Dry
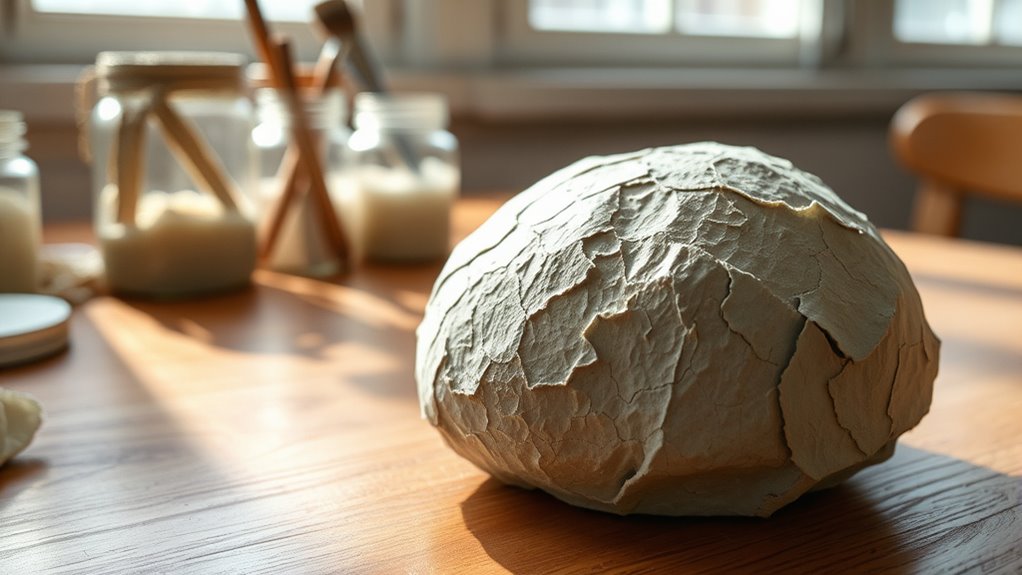
Although drying times can vary, you can tell your paper mache is fully dry by checking its texture and weight. When dry, your project feels noticeably lighter than when wet.
The surface should be hard, firm, and no longer cool or damp to the touch. Press gently with your finger; if it feels soft or leaves an indentation, it needs more drying time.
Also, look for any visible moisture or dark spots, which indicate incomplete drying. Your paper mache should sound hollow or solid when tapped lightly.
If you notice any smell of dampness or glue, it’s best to wait longer. Ensuring your paper mache is fully dry prevents mold growth and guarantees your project holds its shape perfectly.
Conclusion
Paper mache drying times can vary a lot, but did you know a thin layer can dry in as little as 24 hours? That’s pretty quick compared to thicker projects, which might take several days.
By controlling factors like humidity and using techniques like fans or sunlight, you can speed up the process. Keep an eye out for a hard, no-longer-tacky surface—that’s your cue it’s fully dry and ready to enjoy!
Remember, drying time depends on the thickness of your paper mache layers and the environment around you. So, if you want your project to dry faster, try to keep it in a warm, dry spot with good airflow.
In the end, knowing how long paper mache takes to dry helps you plan your crafting time better. Whether you’re working on a small thin piece or a large thick sculpture, patience and the right conditions will give you the best results.