How to Make a Paper Fan in 10 Easy Steps
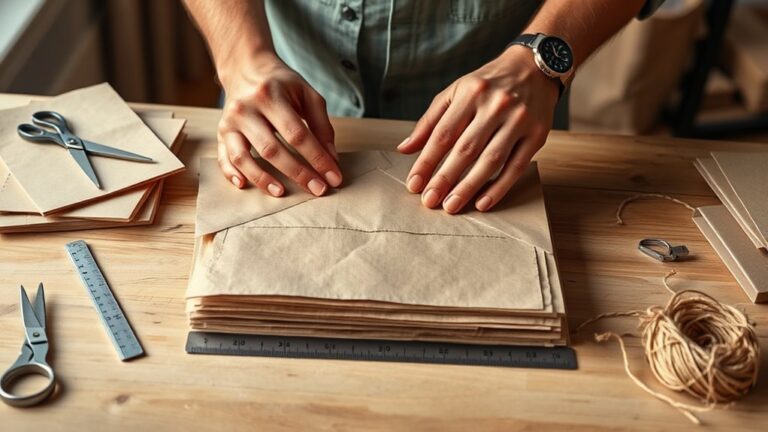
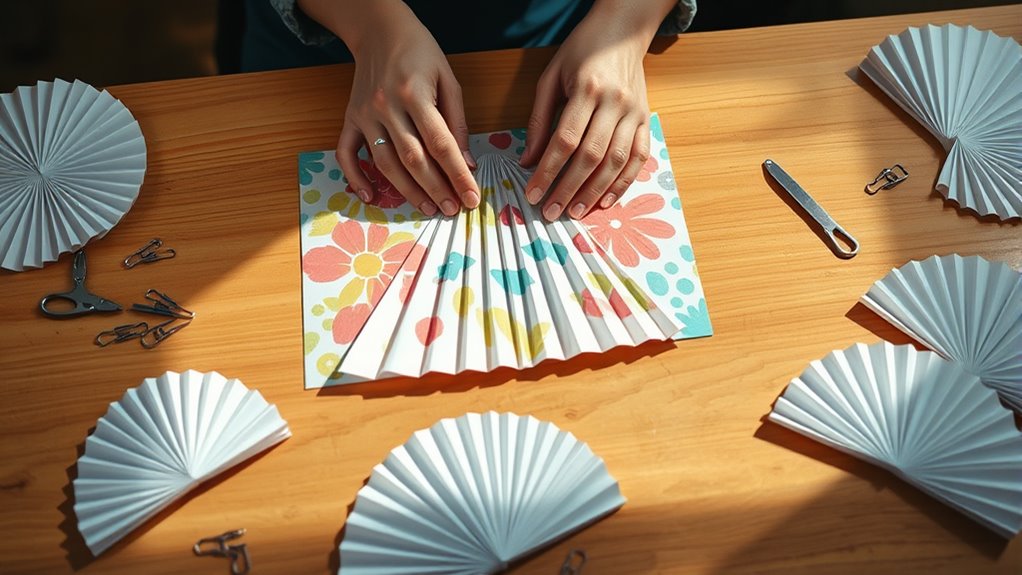
To make a paper fan in 10 easy steps, start by gathering sturdy, colorful paper. Fold the paper accordion-style, making each fold about an inch wide. This folding technique is key to creating the classic fan shape.
Next, secure one end of the folded paper using tape, glue, or a staple.
Then, attach a handle, like a wooden stick, to give your fan a solid grip.
Spread out the folds to form the fan shape.
You can decorate your fan however you like to add a personal touch.
Finally, test the airflow by waving it gently.
With proper folding and finishing touches, you’ll create a stylish and functional paper fan.
Follow along to learn all the details and craft your own beautiful fan with ease!
Gather Your Materials
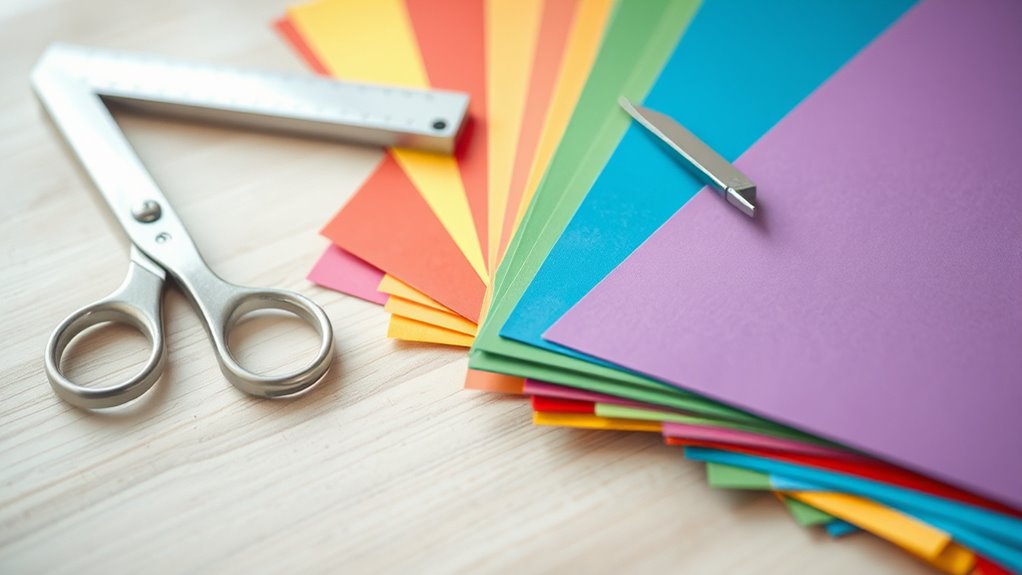
To make a paper fan, you’ll first need to gather a few simple materials. Start with a sheet of paper; plain or patterned works fine. You’ll also need a pair of scissors to trim edges or cut slits if desired.
Grab some tape or glue to secure parts of your fan once folded. Additionally, having a ruler can help you make straight folds and measure even sections.
If you want a sturdier handle, collect a wooden stick or a chopstick. Finally, keep a pencil handy for marking fold lines or designs.
With these materials ready, you’ll be set to create a beautiful paper fan effortlessly. Gathering everything beforehand saves time and helps your crafting go smoothly.
Choose the Right Paper
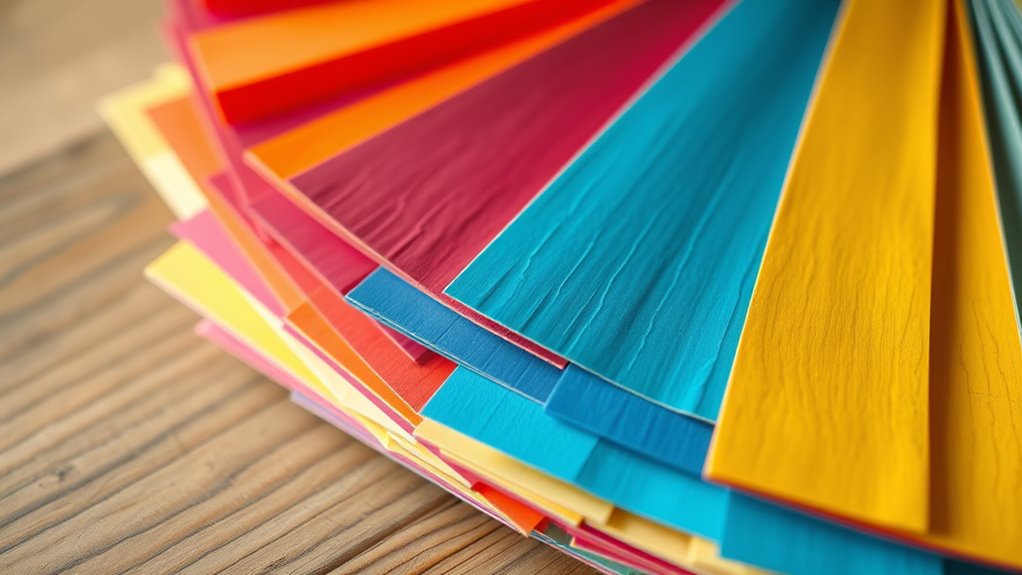
How do you pick the best paper for your fan? Start by choosing a sheet that’s sturdy enough to hold its shape but flexible enough to fold easily.
Cardstock or construction paper works great because it’s thick and durable, helping your fan last longer. Avoid thin printer paper—it’s too flimsy and may tear when you fold it.
You can also use patterned or colored paper to add a personal touch and make your fan visually appealing. Make sure the paper size is manageable; a standard letter or A4 sheet is perfect for a hand-held fan.
Fold the Paper Accordion Style
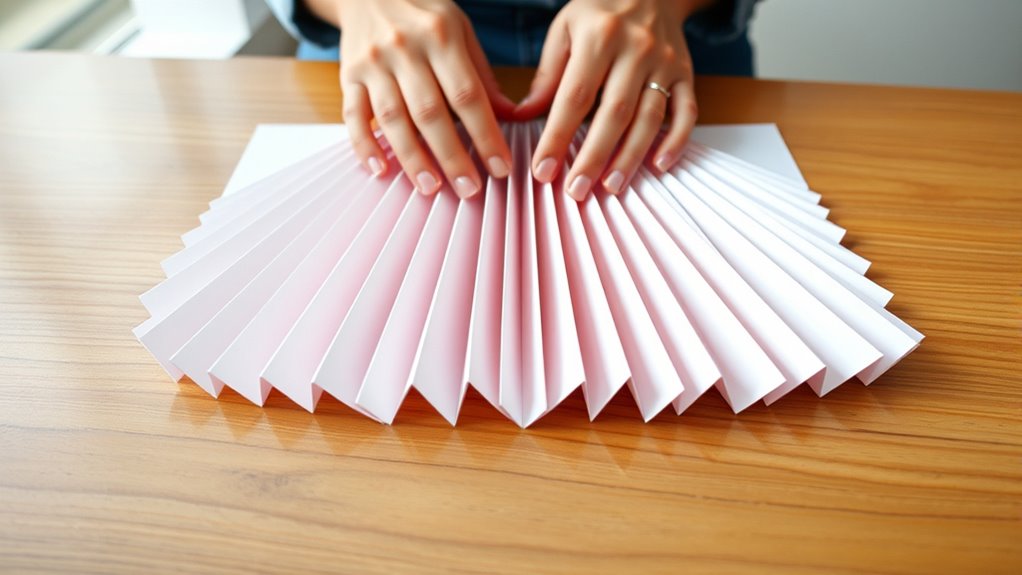
When you start folding your paper, make sure to crease it sharply in an accordion style. Begin by folding the paper about one inch from the edge, creating a straight and crisp fold.
Then, flip the paper over and fold it back in the opposite direction by the same width. Continue this back-and-forth folding until you reach the end of the paper. Keep each fold even and firmly pressed to maintain a neat appearance.
The accordion folds help your fan open and close smoothly. If your folds are uneven or loose, the fan won’t work properly.
Take your time and keep the edges aligned as you fold. This step sets the foundation for the rest of your paper fan, so precision is key.
Secure One End of the Folded Paper
Once your accordion folds are crisp and even, you’ll want to keep them firmly in place by securing one end of the folded paper. This prevents the folds from unraveling and gives your fan structure.
You can use various methods to secure the end, depending on the materials you have.
| Method | Description |
|---|---|
| Stapler | Staple the bottom edge firmly. |
| Glue | Apply a small amount to hold folds. |
| String or Ribbon | Tie around the end for decoration. |
Choose the method that suits your style and materials. Stapling is quick, glue is neat, and tying adds a decorative touch.
Just make sure the securing is tight enough to hold the folds but gentle enough not to damage the paper. This step really sets the foundation for your fan’s durability.
Create a Handle for Your Fan
Now that your paper is folded and secured, it’s time to create a handle for your fan. Pick a sturdy material like a wooden stick or thick paper, then attach it firmly to the base.
You want it to hold up well when you’re waving your fan around. Finally, add some decoration to make your fan uniquely yours. Have fun with it!
Choose Handle Materials
Several materials work well for creating a sturdy handle for your paper fan. You’ll want something lightweight yet strong enough to hold the fan comfortably.
Consider options like wood, plastic, or even thick cardboard. Each material offers different benefits depending on your design and availability.
| Material | Description |
|---|---|
| Wooden stick | Durable, natural feel, easy to paint |
| Plastic rod | Lightweight, smooth surface, colorful options |
| Cardboard | Eco-friendly, easy to cut and shape |
| Bamboo stick | Lightweight, strong, adds an aesthetic touch |
Choose a material that matches your fan’s style and how you plan to use it. Just remember, the handle needs to support the paper without bending or breaking.
Secure Handle Attachment
After selecting the perfect handle material, you’ll need to attach it securely to your paper fan to guarantee durability and ease of use.
Start by aligning the handle with the fan’s folded base, making sure it fits snugly. Next, follow these steps:
- Apply a strong adhesive, like hot glue or craft glue, evenly along the edge of the handle.
- Press the handle firmly against the fan’s base, holding it in place for at least 30 seconds to bond.
- Reinforce the connection by wrapping a thin strip of tape or ribbon around the joint for extra support.
This method keeps your fan sturdy and comfortable to hold.
Decorate Your Handle
Although your handle is secure, adding decorative elements can make your fan truly stand out. You can personalize the handle by wrapping it with colorful ribbons, painting it, or attaching beads for extra flair.
These small touches not only enhance the look but also make your fan unique. Consider the materials and tools you’ll need before starting.
| Decoration Type | Materials Needed |
|---|---|
| Ribbon Wrap | Ribbons, glue |
| Paint Design | Acrylic paint, brush |
| Beaded Handle | Beads, thread, needle |
| Washi Tape | Washi tape rolls |
Choose what fits your style and have fun creating a handle that complements your paper fan perfectly!
Attach the Paper to the Handle
To attach the paper to the handle, start by aligning the folded edge of your paper with the top of the handle. Make sure the paper is centered so your fan will open evenly.
Begin by aligning the paper’s folded edge with the handle’s top for an even fan opening.
Then, follow these steps:
- Hold the paper firmly against the handle, keeping the edges aligned.
- Use a strong adhesive like glue or double-sided tape along the handle’s top edge.
- Press the paper onto the handle and hold it in place for about 30 seconds to guarantee it sticks securely.
Easy, right? Just take your time to make sure everything lines up nicely.
Spread Out the Paper to Form the Fan Shape
Now that the paper is attached, start spreading out the accordion folds carefully to reveal the fan shape. Make sure to flatten each crease to keep the folds sharp and neat.
Finally, secure the base firmly so your fan holds its form.
Arrange Accordion Folds Neatly
Once you’ve completed the accordion folds, gently spread them out to reveal the fan shape. Now, it’s time to arrange those folds neatly so your fan looks polished and functions well.
First, hold the base of the fan firmly to keep all folds aligned. Second, carefully adjust each fold so the edges line up evenly without overlapping or gaps.
Third, fan out the paper slowly, ensuring each pleat spreads uniformly for a balanced look. This neat arrangement helps your fan open smoothly and maintain its shape.
Take your time positioning the folds; a tidy fan not only looks better but also lasts longer. With these steps, you’re almost ready to enjoy your handmade paper fan.
Flatten Creases for Shape
Although it might seem delicate, flattening the creases carefully will help your fan hold its shape better. After folding your paper accordion-style, gently spread out the folds and press each crease with your fingers or a flat tool.
This step defines the fan’s structure, making it easier to open and close smoothly.
Use this guide to visualize the flattening process:
| Fold Section | Action |
|---|---|
| Fold 1 (top edge) | Press flat gently |
| Fold 2 | Smooth crease down |
| Fold 3 (middle) | Define shape firmly |
| Fold 4 | Ensure even folds |
| Fold 5 (bottom) | Flatten fully |
Secure Base Firmly
As you spread out the folds, hold the base tightly to keep everything secure. This step is key to ensuring your paper fan maintains its shape and doesn’t fall apart.
Begin by gently fanning out the top part of the folded paper, letting it open like a semi-circle. Then, follow these steps:
- Pinch the bottom edges together firmly to prevent slipping.
- Use a small piece of tape or a paperclip to fasten the base securely.
- Adjust the fan’s ribs evenly so they spread out smoothly.
Decorate Your Paper Fan
A well-decorated paper fan adds personality and charm to your creation. Start by choosing colors or patterns that reflect your style. Use markers, colored pencils, or paints to add designs directly onto the paper.
You can also glue on small embellishments like stickers, glitter, or cut-out shapes for extra flair. If you want a more delicate look, try stamping or stenciling simple motifs along the folds. Just be careful not to add too much weight, as it might affect how the fan opens and closes.
Let any paint or glue dry completely before handling. Remember, your decorations should enhance the fan’s appearance without compromising its structure or function. With a bit of creativity, your paper fan will look both beautiful and unique.
Test the Fan for Functionality
Now it’s time to test your paper fan to see how well it moves air. Give it a few quick waves and notice if the airflow feels strong and steady.
If it’s weak, try adjusting your folding technique to improve its efficiency. You might find a small change makes a big difference!
Check Airflow Efficiency
How well does your paper fan move air? To check its airflow efficiency, you’ll want to test it in a few simple ways. First, hold the fan a few inches from your face and notice how much breeze it creates.
Second, try waving it slowly, then quickly, to see if the airflow changes. Third, observe if the fan’s folds open smoothly and evenly with each motion.
These steps help you picture how effectively your fan circulates air. If the breeze feels weak or uneven, it might need slight adjustments later. But for now, focus on feeling the airflow and watching the fan’s movement.
This will give you a clear sense of how well your paper fan functions and cools.
Adjust Folding Technique
Even if your fan moves air well, adjusting your folding technique can improve its performance and durability. Test how smoothly your fan opens and closes; tight folds might restrict airflow, while loose folds can weaken structure.
Experiment with different fold widths and pressures to find the best balance.
| Fold Width | Folding Pressure | Effect on Fan |
|---|---|---|
| Narrow | Light | Smooth, less airflow |
| Narrow | Firm | Stiff, more durable |
| Wide | Light | Floppy, weak |
| Wide | Firm | Firm, good airflow |
| Medium | Medium | Balanced, ideal |
Adjust based on these results. When you find the right technique, your fan will feel sturdy, open with ease, and generate a revitalizing breeze.
Store Your Paper Fan Properly
Although your paper fan is delicate, you can keep it in great condition by storing it properly. First, always fold it back carefully to avoid creasing or tearing.
Next, place it in a protective case or wrap it in tissue paper to shield it from dust and moisture. Finally, store it upright in a cool, dry place away from direct sunlight to prevent fading or warping.
Wrap your paper fan in tissue and store it upright in a cool, dry, shaded spot.
- Fold gently along the original creases to maintain shape.
- Wrap in soft tissue or a cloth pouch for protection.
- Keep it standing in a shaded, dry spot for longevity.
Conclusion
Now that you’ve gathered your materials, folded your paper accordion style, and secured one end, you’re ready to create a handle. Next, spread out your fan and add your personal touch with decorations.
Test your fan to make sure it works properly. Then, store it carefully to keep it in good shape.
Enjoy the cool breeze you’ve made with your own hands! Making a paper fan is simple, fun, and rewarding. So fold, secure, decorate, and fan away! This easy paper fan craft is perfect for a creative activity that brings both practicality and joy.