How to Flatten Paper in 10 Easy Steps
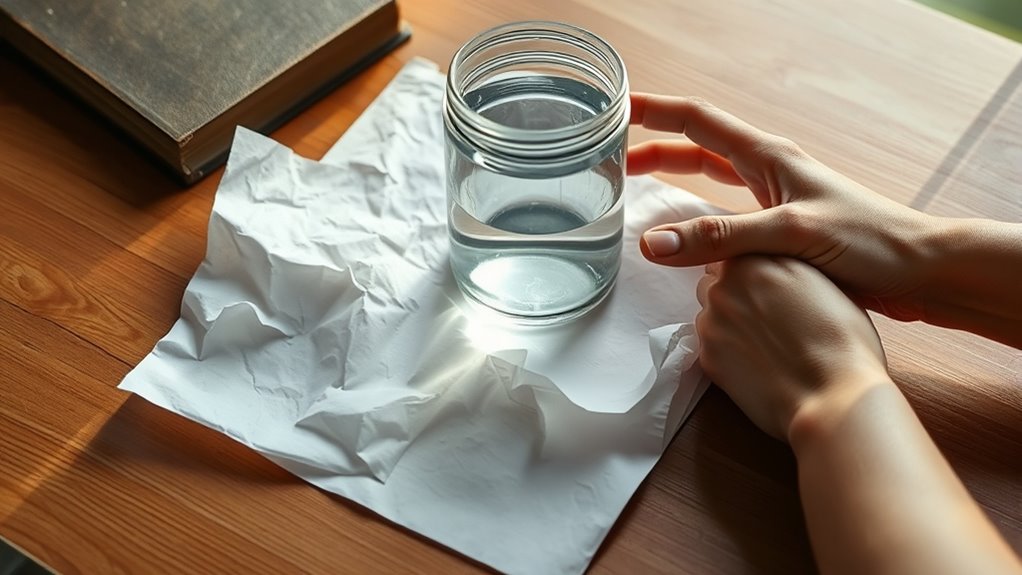
To flatten paper, start by checking its condition and setting up a clean, flat workspace. This helps ensure you don’t cause any damage during the process. Lightly mist the paper with water to make it more pliable.
Next, sandwich the damp paper between two sheets of wax paper. This protects it while you apply pressure. Then, place heavy books evenly on top and let the paper press overnight.
If there are stubborn creases, try using a warm iron. Make sure to place a cloth over the paper and avoid steam. Press gently to smooth out those tough wrinkles.
Finally, inspect the paper and repeat if necessary. Once flattened, store your paper flat in a dry place to keep it looking perfect. Keep practicing these easy steps for lasting, professional results!
Assess the Condition of the Paper
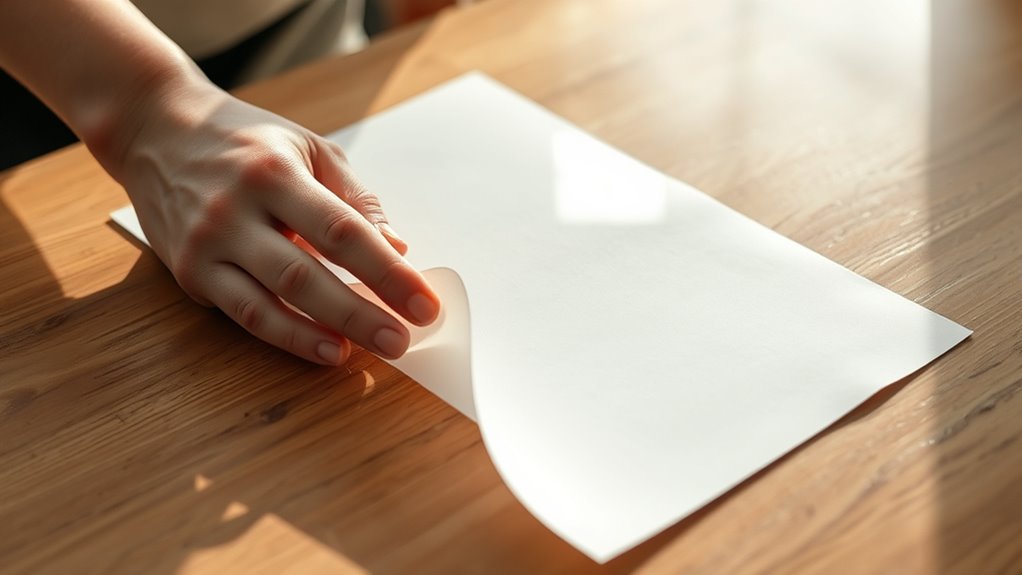
Before you begin flattening, carefully assess the condition of the paper to identify any tears, creases, or fragile areas. You’ll want to handle delicate spots gently to avoid worsening damage.
Assess the paper carefully, noting tears and creases, to handle fragile areas with gentle care.
Look closely for folds that might be stubborn or brittle edges that could crack. If the paper feels too fragile, consider reinforcing it with archival tape before proceeding.
Also, check for any dirt or debris that might interfere with flattening. Spotting these issues early ensures you treat the paper appropriately, preventing further harm.
Taking this time helps you plan the best approach and choose suitable tools. By thoroughly evaluating the paper’s state, you set yourself up for success in restoring its smoothness without causing additional wear or damage.
Prepare a Clean, Flat Workspace
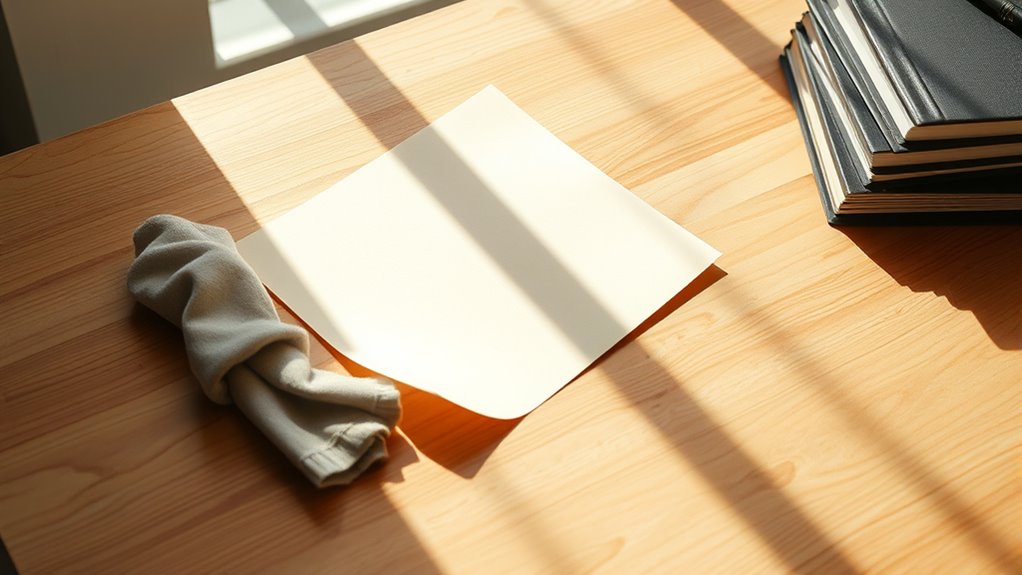
You’ll want to start by clearing a flat, stable surface to work on, free from dust and clutter. Make sure the area has good lighting so you can clearly see the paper’s condition.
This setup will help you handle the paper carefully and spot any areas that need extra attention.
Clear Surface Essentials
Where should you start when flattening paper? Begin by clearing your workspace thoroughly. Remove any clutter, dust, or debris that could create bumps or marks on the paper.
Choose a flat, sturdy surface like a table or desk to guarantee even pressure distribution. If you’re working on a delicate sheet, consider placing a clean, smooth board underneath for added support.
Make sure the area is dry, since moisture can warp the paper further. Keep tools like weights, books, or presses nearby for later steps.
A clean surface prevents imperfections and helps you achieve a smooth, flat finish efficiently. Taking a few moments to prepare your workspace properly sets you up for success in flattening your paper perfectly.
Optimal Lighting Setup
Two key factors help you see every detail when flattening paper: bright, even lighting and minimal shadows. Set up your workspace near a window or use daylight-balanced LED lamps to imitate natural light.
Position your light sources to avoid casting shadows over the paper, which can obscure wrinkles or creases. Overhead lighting works best, but if you need side lights, place them at equal distances on both sides.
Avoid harsh, direct light that can cause glare; instead, diffuse it with lampshades or light-diffusing panels. Proper lighting guarantees you spot imperfections early, making the flattening process smoother.
Before you start, turn off fluorescent lights that flicker or change color, as they can strain your eyes. With ideal lighting, you’ll work efficiently and protect your paper from unnoticed damage.
Lightly Mist the Paper With Water
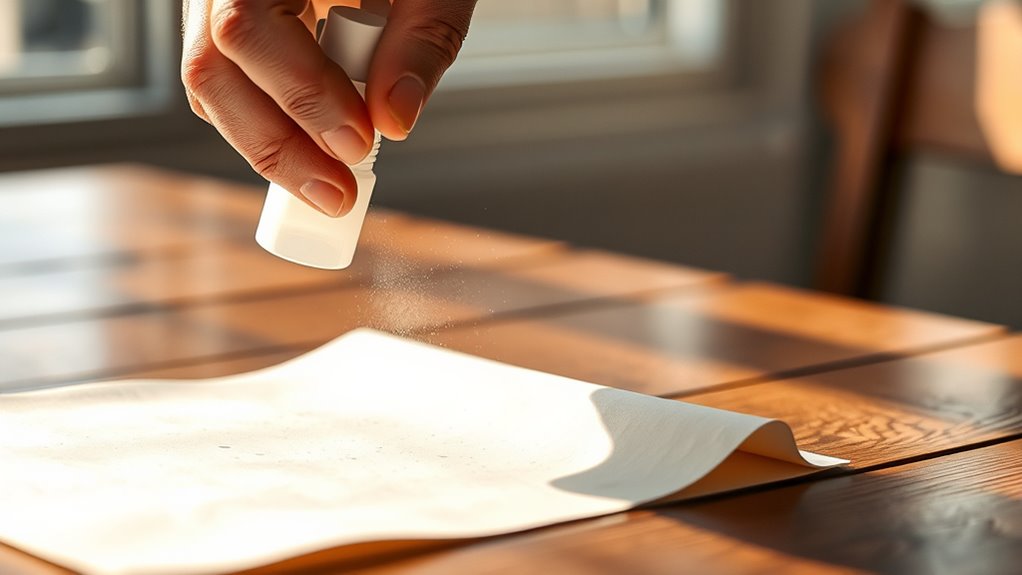
Before you start flattening your paper, lightly misting it with water helps relax the fibers, making it easier to smooth out wrinkles. Grab a spray bottle and set it to a fine mist setting.
Hold the bottle about 8 to 12 inches away from the paper to avoid soaking it. A gentle, even mist is enough—you don’t want the paper dripping wet.
If you don’t have a spray bottle, use a damp cloth to lightly dab the surface. Just be careful not to over-wet the paper, as too much moisture can cause damage or warping.
Once misted, let the paper absorb the moisture for a minute or two before proceeding. This step gets the paper ready for the next flattening techniques you’ll apply.
Place the Paper Between Two Sheets of Wax Paper
You’ll want to place your damp paper carefully between two sheets of wax paper to protect it and keep moisture from escaping. Make sure the wax paper covers the entire surface evenly to prevent sticking or damage.
This simple step helps your paper dry flat and smooth. It’s an easy way to keep everything looking just right while it dries.
Benefits of Wax Paper
Why choose wax paper when flattening your documents? Wax paper acts as a protective barrier, preventing moisture and oils from your hands from damaging the paper. It also stops ink or print from smudging while you apply pressure.
Plus, wax paper creates a smooth surface, helping your document stay flat without sticking to other materials.
Here’s a quick look at the benefits:
| Benefit | Explanation |
|---|---|
| Moisture Barrier | Keeps paper dry and safe |
| Smudge Prevention | Protects ink from smearing |
| Non-Stick Surface | Prevents paper from adhering |
| Smooth Application | Ensures even pressure distribution |
Using wax paper is a simple step that makes flattening your paper safer and more effective. Give it a try next time you need to keep your documents looking perfect!
Proper Placement Techniques
When flattening your paper, place it carefully between two sheets of wax paper to protect it from moisture and smudging. This simple step guarantees your paper stays clean and undamaged during the flattening process.
Here’s how to do it right:
- Lay the first wax paper sheet flat on a clean surface, shiny side up.
- Position your paper gently on top, making sure it’s centered and smooth.
- Cover with the second wax paper sheet, shiny side down, creating a protective sandwich around your paper.
This technique prevents any direct contact with heat or pressure and keeps your paper pristine. Plus, using wax paper this way makes removing the paper afterward easy, without sticking or tearing.
Stack Heavy Books on Top of the Paper
Although the paper may feel flat after smoothing it out, placing heavy books on top will help set it firmly and prevent wrinkles from reappearing. Choose books that are large and dense to distribute weight evenly across the paper’s surface.
Placing heavy, dense books on smoothed paper helps set it firmly and prevents wrinkles.
Carefully stack them on the paper without causing shifts, ensuring the paper remains flat and undisturbed. Avoid using items with sharp edges that could damage the paper.
The pressure from the books helps compress the fibers, maintaining the flatness you worked to achieve. This simple technique is effective and requires no special tools.
Just be mindful not to overload the stack, as excessive weight might damage delicate paper. By stacking heavy books correctly, you secure your paper’s smoothness with minimal effort.
Leave the Paper to Press Overnight
Since the heavy books apply consistent pressure, you’ll want to leave the paper undisturbed overnight to allow it to press fully. This waiting period is vital for the paper fibers to relax and flatten evenly. Don’t rush this step; patience pays off with better results.
Here’s how to make the most of this pressing time:
- Place the stack in a low-traffic area to avoid accidental bumps.
- Keep the environment dry and cool to prevent moisture buildup.
- Avoid shifting or checking the paper too soon; let the pressure do its work uninterrupted.
Use a Warm Iron for Stubborn Creases
If stubborn creases won’t budge, try using a warm iron set to a low temperature. Make sure to place a thin cloth between the iron and paper to protect it from heat damage.
Gently move the iron in smooth, even strokes to avoid creating new wrinkles. This way, you’ll get rid of those pesky creases without messing up your paper.
Setting Iron Temperature
When you set your iron to a warm temperature, it helps loosen stubborn creases without damaging the paper. Too hot, and you risk scorching or warping; too cool, and the creases won’t budge.
To get it just right, follow these steps:
- Check the iron’s dial: Set it to a low or medium heat, usually labeled for synthetic fabrics, since paper is delicate.
- Test on scrap paper: Before ironing your important sheet, try the temperature on a similar piece to ensure it won’t burn or wrinkle.
- Avoid steam: Keep the steam off to prevent moisture damage; the warmth alone will soften the fibers enough to flatten the paper.
This careful temperature setting guarantees you handle creases safely and effectively. Easy, right? Just take it slow and steady.
Preparing Paper Surface
Start by laying your paper on a clean, flat surface to guarantee even flattening. If you notice stubborn creases, a warm iron can work wonders.
Before applying heat, place a thin cloth or parchment paper over the paper to protect it from direct contact with the iron. This prevents burns or shiny spots.
Make sure your iron is set to a moderate temperature—too hot can damage the paper, too cool won’t smooth creases effectively. Gently press the iron over the covered paper without sliding it back and forth; just lift and press.
This controlled heat softens fibers, making wrinkles easier to flatten. Preparing the paper surface this way sets you up for successful flattening in the next steps without risking harm to your document.
Ironing Technique Tips
Although ironing paper requires care, using a warm iron effectively tackles stubborn creases without damaging your document. You’ll want to avoid high heat settings to prevent scorching.
Instead, set your iron to a low or medium temperature and always test on a scrap piece first. That way, you know it’s safe before working on your important paper.
Follow these tips for best results:
- Place a thin cloth or parchment paper over the paper to shield it from direct heat. This little step really helps protect your paper.
- Move the iron gently and continuously; don’t let it rest in one spot. Staying on the move keeps things smooth.
- Keep the iron dry—avoid steam, which can warp or wrinkle the paper further. Steam is tempting but can actually make things worse!
Protect the Paper With a Cloth When Ironing
Since direct heat can easily damage delicate paper, you’ll want to place a thin cloth between the iron and the paper before you begin. Choose a lightweight cotton or linen cloth that’s clean and smooth.
Protect delicate paper by placing a clean, lightweight cotton or linen cloth between it and the iron.
Lay it flat over the paper, ensuring no wrinkles or folds to avoid imprinting. This barrier will protect the paper from scorching, moisture damage, and unwanted shine caused by the iron’s soleplate.
When you press the iron, the heat will transfer gently through the cloth, helping flatten the paper without harm. Avoid using synthetic fabrics, as they can melt or stick.
Always keep the iron moving steadily over the cloth to distribute heat evenly. By taking this simple protective step, you’ll preserve your paper’s quality while successfully flattening it.
Check the Paper’s Flatness and Repeat if Needed
After ironing with the protective cloth, take a moment to inspect your paper’s flatness. You want to guarantee the wrinkles and creases have smoothed out effectively.
If the paper still shows signs of curling or bends, don’t hesitate to repeat the process. Here’s how to check and decide:
- Lay the paper flat on a clean surface and visually scan for uneven areas or raised spots.
- Gently run your hand over the paper to feel any remaining bumps or folds.
- If you notice imperfections, cover the paper again with the cloth and iron those specific spots carefully.
Store the Paper Properly to Prevent Future Wrinkles
To keep your paper smooth and wrinkle-free, you need to store it carefully right away. Start by placing the flattened paper between two clean, flat boards or heavy books to maintain its shape.
Avoid stacking heavy objects directly on top, as uneven pressure can cause new creases. Use acid-free folders or sleeves if you want extra protection, especially for valuable documents.
Keep the paper in a cool, dry environment away from humidity and direct sunlight, which can warp or discolor it. Store it flat rather than rolled or folded to prevent future wrinkles.
Conclusion
So, there you have it—your paper’s now flatter than your last coffee. Who knew a little mist, some heavy book therapy, and a warm iron could turn your crumpled chaos into a smooth masterpiece?
Just don’t blame me if you start obsessing over every wrinkle like it’s a life-or-death crisis. Keep it stored right, and you’ll save yourself from future paper drama.
Flattening paper is a simple but effective way to restore your documents, artwork, or important notes. With these easy steps, you can say goodbye to annoying creases and wrinkles for good. Remember, proper storage after flattening paper is key to preserving its new smoothness.
So next time you face a crumpled sheet, follow these tips and enjoy perfectly flat paper every time. Because life’s too short for creases!