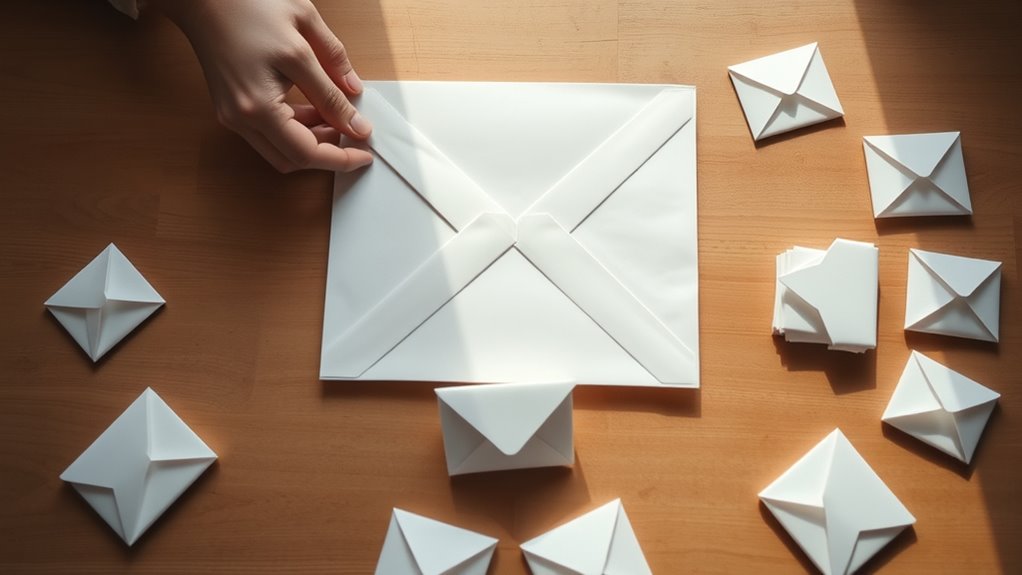
How to Fold Paper Into an Envelope in 7 Easy Steps
Start with a sturdy, flexible sheet of paper that fits your letter perfectly. Folding paper into an envelope is a simple craft project anyone can do at home.
First, fold the paper diagonally to create a triangle and crease it sharply.
Next, bring the side edges toward the center to make neat side flaps.
Then, fold the bottom flap up so it overlaps evenly. Secure this flap with glue or tape to keep everything in place.
Now, fold the top flap down to close your envelope.
Seal it firmly with adhesive or a sticker for a polished look.
Keep going to discover tips for a perfectly crafted finish that will impress anyone you send it to!
Choose the Right Paper
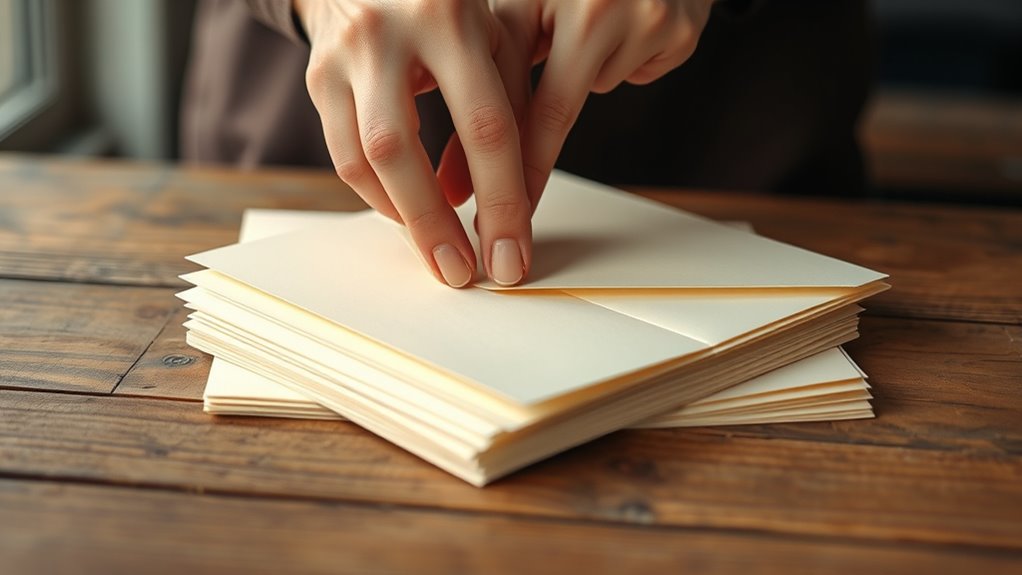
Choosing the right paper is the first step to folding a neat and functional envelope. You’ll want paper that’s sturdy enough to hold its shape but flexible enough to fold easily.
Start with paper that balances firmness and flexibility for a clean, well-shaped envelope fold.
Standard printer paper works well for most envelopes, but if you want something more durable, consider cardstock or lightweight craft paper. Avoid very thick paper, as it can be tough to fold precisely and may cause bulky edges.
Also, pick a size that fits your letter or card comfortably without too much excess. If you’re aiming for a decorative touch, patterned or colored paper can add personality.
Just make sure the paper isn’t too glossy or slippery, as glue or tape might not stick well. Selecting the right paper sets you up for success in the folding process.
Fold the Paper Diagonally
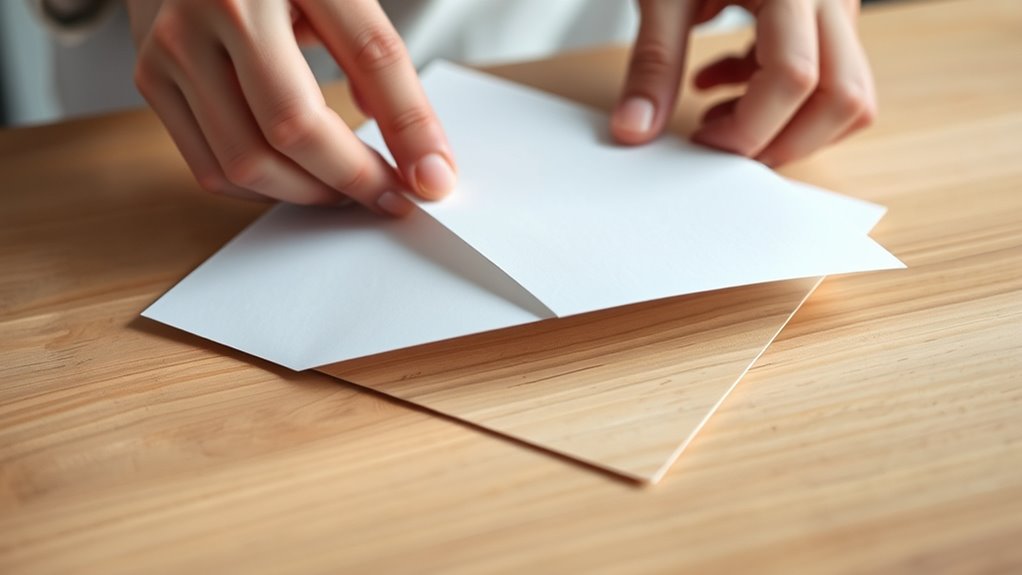
Once you have your paper ready, the next step is to fold it diagonally. Lay your paper flat on a clean surface. Take one corner and bring it over to the opposite corner, aligning the edges carefully.
Make sure the corners meet perfectly to create a sharp, precise fold. Press down firmly along the crease to ensure it’s well-defined. This diagonal fold forms the basic triangle shape essential for your envelope.
Take your time here—accurate folding will make the rest of the steps easier and the final envelope look neat. Once the crease is set, unfold the paper back to its original square shape.
You’ll notice a diagonal crease running from one corner to the other, guiding your next moves.
Create the Side Flaps
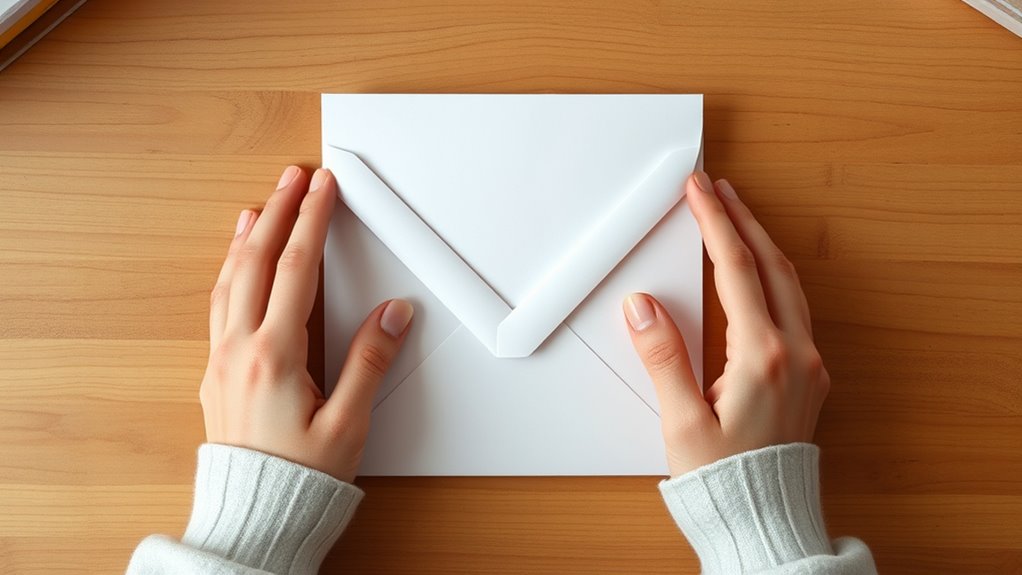
Now that you’ve folded the paper diagonally, it’s time to create the side flaps. Measure the flap dimensions carefully to guarantee they’re even, then fold the edges crisply.
Make sure both flaps align symmetrically for a neat, functional envelope. This will help your envelope look polished and professional.
Measuring Flap Dimensions
To create the side flaps, start by measuring their dimensions carefully to guarantee a snug fit for your envelope. Accurate measurements prevent gaps or overlaps when folded.
Follow these steps:
- Measure the width: Decide how wide each side flap should be, typically about one-third of the paper’s width.
- Measure the height: Ensure the flap height matches the envelope’s height, so it aligns neatly with top and bottom edges.
- Mark the fold lines: Use a ruler and pencil to mark precise fold lines for each flap on both sides.
Folding Flap Edges
How exactly do you fold the side flaps to guarantee they sit perfectly? Start by picking up your paper and folding one side edge toward the center crease you made earlier. Make sure the flap’s edge aligns neatly with that center line.
Press down firmly along the fold to create a crisp edge. Repeat this step on the opposite side, folding the other edge inward so both side flaps mirror each other. Avoid rushing; a slow, steady fold prevents uneven edges.
If you notice any misalignment, gently unfold and adjust before pressing again. These side flaps form the envelope’s walls, so precise folding here ensures your contents stay secure.
Once both flaps are folded sharply and symmetrically, you’re ready to move on to sealing the envelope’s bottom flap. Easy, right? Just take your time and you’ll have a neat envelope in no time.
Aligning Flap Symmetry
With both side flaps folded sharply and aligned, you’ll want to make certain their symmetry is exact. This step ensures your envelope looks neat and functions properly.
To align your flaps perfectly, lay the paper flat and check that the edges of both side flaps meet evenly at the center crease. Adjust each flap slightly if one edge extends beyond the other, making sure the top corners match in height.
Once everything looks just right, press down firmly along the folds again. This helps reinforce the creases and keeps that precise alignment in place.
Fold the Bottom Flap Up
Now, fold the bottom flap up, making sure the edges line up precisely with the side flaps. Press down firmly along the crease to keep it sharp and secure.
Double-check that the flap overlaps just enough to hold the envelope together without gaps. You want it snug, but not too tight.
Align Edges Precisely
Before folding the bottom flap up, make sure you align the edges precisely to guarantee a neat and secure envelope. Taking the time to position everything correctly now saves you from uneven folds later.
Here’s how to get it right:
- Line up the bottom flap’s edges with the sides of the paper, ensuring they match perfectly.
- Check that the flap covers the area beneath it evenly, without any gaps or overlaps.
- Hold the edges gently in place with your fingers before making the fold, so nothing slips out of position.
Crease Flap Firmly
Once you’ve aligned the edges perfectly, press down firmly to crease the bottom flap. Use your fingers or the flat edge of a ruler to apply consistent pressure along the fold. This guarantees the flap stays securely in place and gives your envelope a clean, sharp edge.
Take your time pressing evenly from one side to the other, avoiding any wrinkles or uneven creases. A strong crease not only enhances the envelope’s appearance but also makes it easier to handle and seal later.
Check Flap Overlap
As you fold the bottom flap up, check that it overlaps the side flaps evenly to guarantee a secure seal. This step is vital because uneven overlap can cause the envelope to open or look untidy.
Here’s how to ensure the flap aligns perfectly: Hold the envelope flat and gently lift the bottom flap. Lower it slowly, making sure the edges align with the side flaps.
Adjust the flap slightly if it extends too far or falls short. Once aligned, press the flap firmly to create a clean crease.
This precision helps the adhesive stick better or makes your envelope ready for a stylish closure. Taking a moment to check overlap guarantees your folded envelope looks professional and functions well.
Secure the Bottom Flap
To make certain your envelope holds its contents securely, you’ll need to carefully secure the bottom flap. Start by pressing down firmly along the crease to create a sharp fold.
Then, apply a thin layer of glue or double-sided tape right along the edge of the bottom flap that overlaps the other sides. Be sure not to use too much adhesive to avoid wrinkles or seepage.
Apply a thin line of glue or tape along the bottom flap edge to ensure a clean, secure seal without wrinkles.
After applying, press the flap down evenly and hold it for a few seconds to ensure it sticks properly. If you prefer a non-adhesive method, you can tuck the flap securely under the side folds, but glue or tape provides a more reliable seal.
This step is key to preventing any items from slipping out. So, take your time with it—it really makes a difference!
Fold the Top Flap Down
How do you finish shaping your envelope? The next step is to fold the top flap down neatly over the bottom section. Here’s how to do it right:
- Align the top flap’s edges with the sides of the envelope body to maintain a clean, even shape.
- Crease the fold firmly from one corner to the other, ensuring the flap lies flat without any gaps.
- Double-check that the flap covers the bottom portion completely, creating a perfect envelope silhouette.
This final fold locks in the envelope’s form and sets you up for the last step of sealing it. Taking care with this fold guarantees your envelope looks polished and holds its contents securely.
Seal Your Handmade Envelope
Once you’ve folded the top flap down neatly, the next step is sealing your envelope to keep everything inside safe. You can use glue, double-sided tape, or a glue stick to secure the flap.
Apply a thin, even layer along the edge of the flap that touches the envelope body. Press firmly for a few seconds to guarantee it sticks well.
Apply a thin, even layer of adhesive along the flap edge and press firmly to ensure a strong seal.
If you want a decorative touch, consider using a sticker, wax seal, or washi tape instead of traditional adhesive. Just make sure the seal is strong enough to hold the flap closed during handling.
Take care not to use too much glue, as it might cause wrinkles or leaks. Sealing your envelope properly assures your contents stay secure and your handmade creation looks polished.
Conclusion
Now that you’ve folded your paper into a neat envelope, you’ve turned a simple sheet into a little treasure chest for your words. Just like a seed growing into a flower, your handmade envelope holds the promise of something special inside.
With these easy steps, you’re ready to send your message wrapped in your own creative touch. So go ahead—seal it up and let your words take flight!
Folding paper into an envelope is not just practical; it’s a fun way to add personality to your letters. Whether it’s a heartfelt note or a simple message, your folded paper envelope makes it unique. By following these 7 easy steps, you’ve created something both beautiful and useful. Now, your words aren’t just written—they’re carefully wrapped, ready to be shared with someone special.