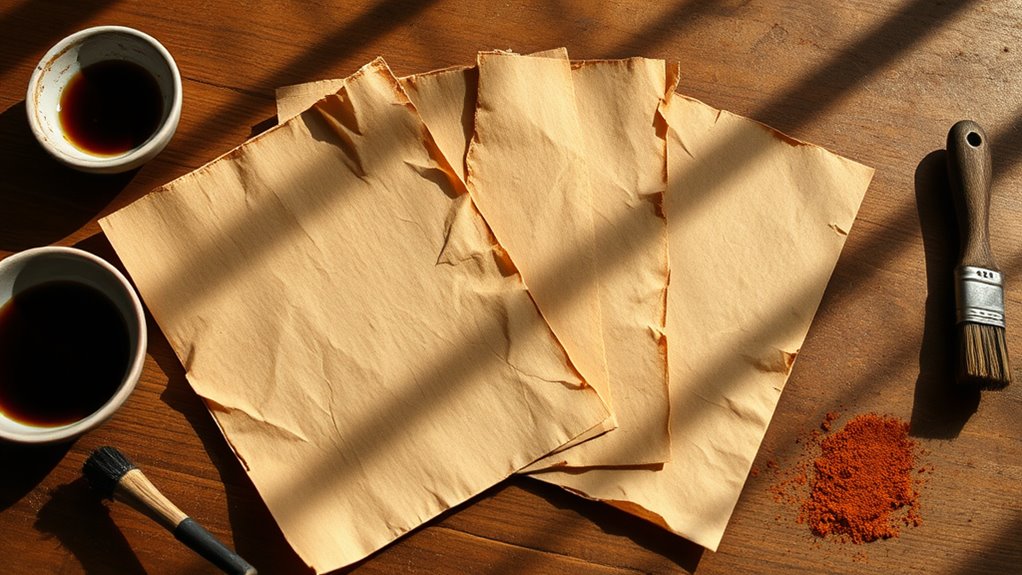
How You Can Make Paper Look Old in 3 Easy Steps
To make paper look old in three easy steps, start by soaking it in cooled, strong tea or coffee for about five minutes. This stains the paper with a nice antique tone that sets the stage for that vintage look.
Next, gently crumple and unfold the paper. This creates natural creases that add texture and show signs of wear, making it look genuinely aged.
Finally, carefully singe the edges with a lighter or candle flame. This gives the paper that authentic burnt look, which really sells the effect.
Just be sure to handle the paper carefully throughout the process for the best results.
And hey, if you want to take it further, there’s plenty more you can try to make your paper look even more realistically old!
Staining the Paper With Tea or Coffee
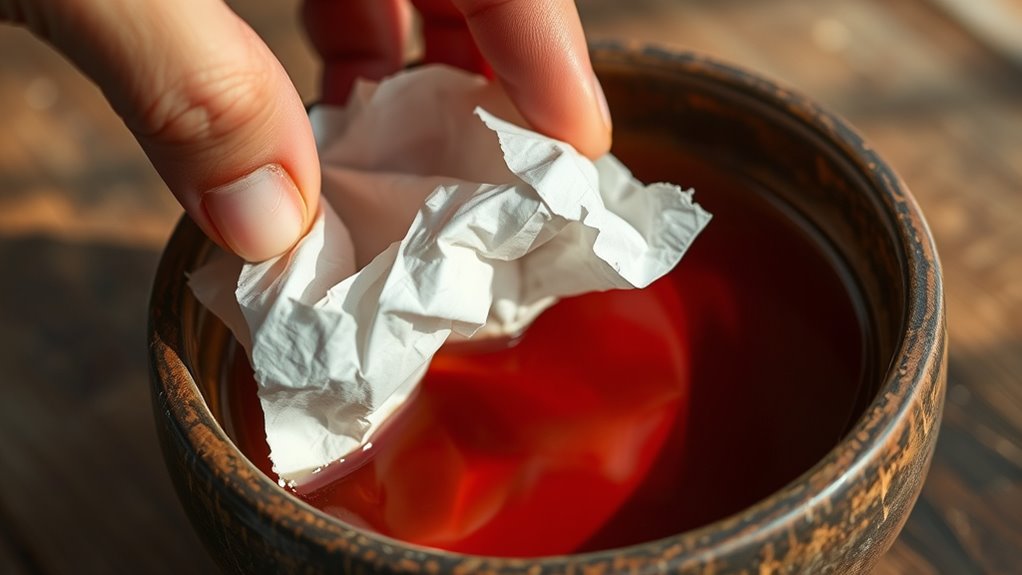
Before you begin staining, brew a strong cup of tea or coffee to guarantee your paper absorbs a rich, even color. Once brewed, let it cool slightly, then pour the liquid into a shallow tray.
Dip your paper fully into the tea or coffee, making sure it’s completely submerged. You want to soak it for about five minutes, but keep an eye on the color developing.
Submerge your paper fully in tea or coffee for about five minutes, watching the color deepen.
If you want a darker tone, let it soak longer or apply multiple layers. After soaking, carefully lift the paper and let excess liquid drip off.
Lay the paper flat on a drying rack or hang it to dry naturally. Avoid using a hairdryer, as it can cause uneven coloring or damage.
This simple step instantly gives your paper a warm, aged appearance. It’s an easy trick that really brings your project to life!
Adding Texture and Creases
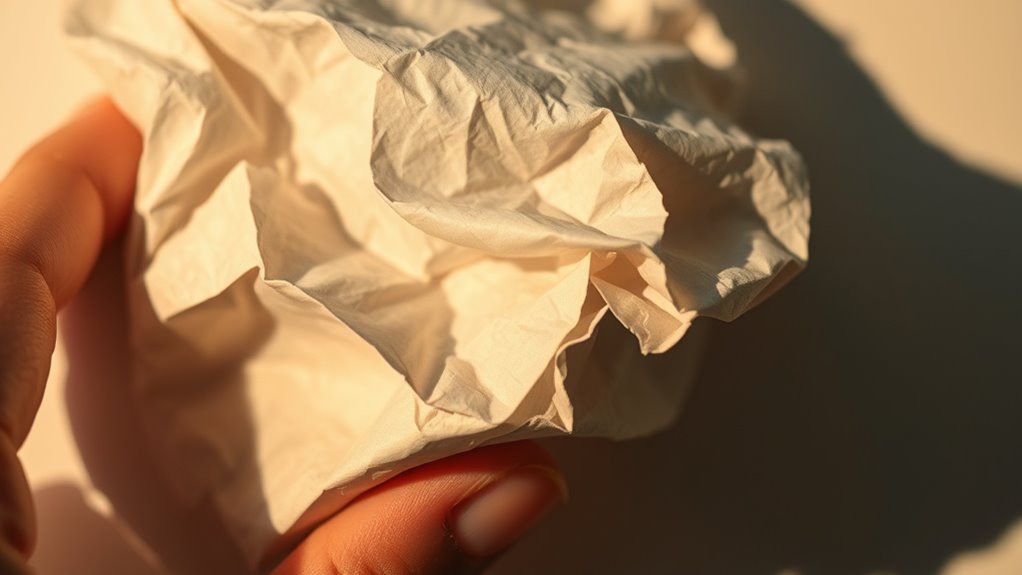
While the stained color gives your paper an aged look, adding texture and creases brings authenticity and depth to its appearance. Begin by gently crumpling the paper into a loose ball, then carefully unfold it to reveal natural creases.
You can deepen these folds by lightly running your fingernail along them or pressing with a blunt edge. For added texture, try rubbing a fine-grit sandpaper or a soft brush over the surface to create subtle wear marks.
Be cautious not to tear the paper—small imperfections add character but too much damage can weaken it. Finally, flatten the paper under a heavy book to keep it manageable while preserving the textured look.
These simple steps make your paper feel genuinely aged and tactile. Give it a try, and you’ll see how much more real it looks!
Enhancing the Aged Effect With Burnt Edges
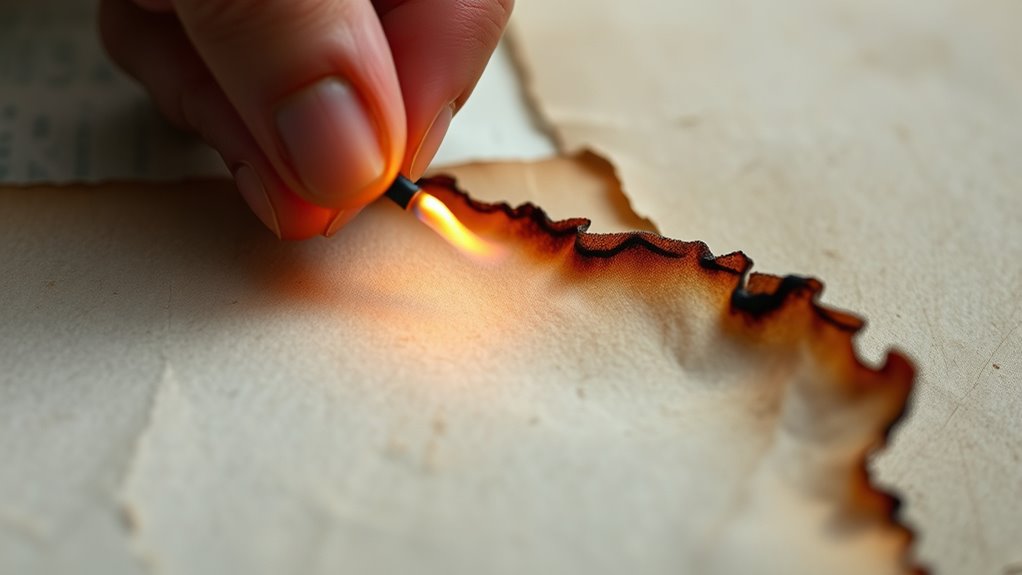
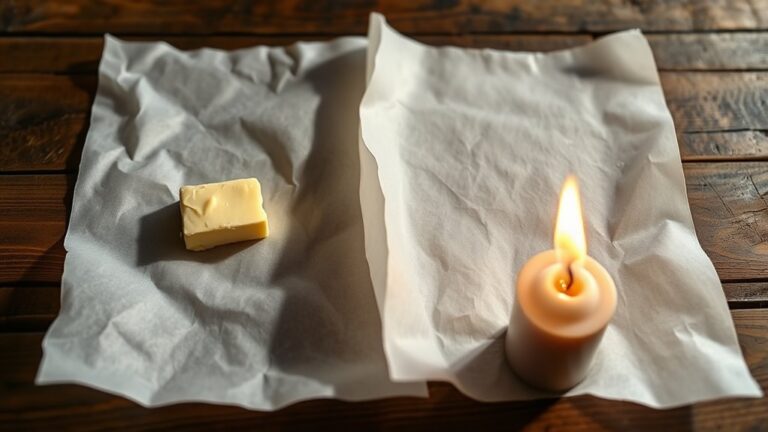
If you want to add a striking touch of authenticity, burning the edges of your paper creates an instant aged effect. Carefully hold your paper near a flame, like a candle or lighter, and let the edges catch fire briefly.
Quickly blow out the flame to prevent burning too much. This technique gives your paper a worn, antique look. Remember to work in a safe area and keep water nearby for safety.
| Step | Action | Tip |
|---|---|---|
| 1 | Light a candle | Use a steady flame |
| 2 | Hold paper near flame | Move paper slowly |
| 3 | Blow out flame | Avoid burning too deeply |
Burnt edges add depth and realism, enhancing the aged appearance perfectly. It’s a simple trick but makes a big difference!
Conclusion
Just like a weathered traveler tells stories through every wrinkle and sun-kissed line, your paper carries its own journey once you stain, crease, and singe its edges.
By aging your paper, you’re not just changing its look—you’re giving it a soul, a history that whispers secrets of time passed.
So go ahead, transform that blank page into a timeless relic. Watch your creativity step into the footprints of the past.
Making paper look old is easier than you think. With just a few simple steps—staining, creasing, and carefully singeing the edges—you can create vintage-style paper that adds character and depth to your projects. This technique brings a unique charm to scrapbooking, invitations, or any creative endeavor that benefits from that antique touch.
Try it out and bring a piece of history to your hands!