3 Easy Steps to Remove Gold Leaf From Paper in Paintings
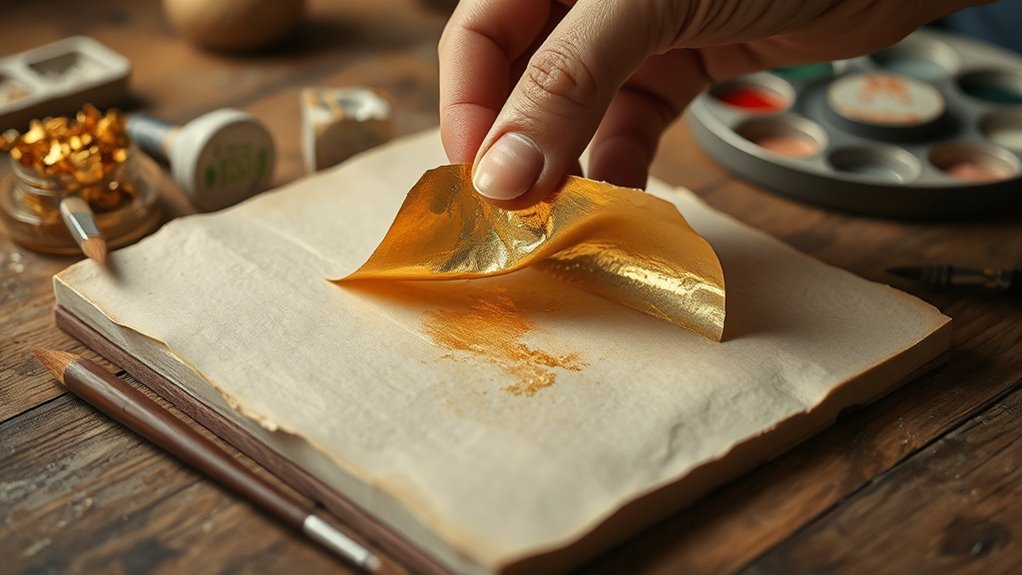
To remove gold leaf from paper in paintings, start by gently loosening the edges with a soft dry brush. Be careful not to damage the delicate paper underneath. This first step helps you get a good grip on the gold leaf without causing any tears.
Next, carefully lift the gold leaf using a fine tool like a soft brush or a toothpick. Work slowly and patiently to avoid ripping the paper. Taking your time here is key to preserving the artwork’s surface.
Finally, clean any leftover residue with a kneaded eraser or apply a mild, pH-neutral solution very lightly. This helps remove any stubborn bits without harming the paper. Remember, patience and a gentle touch will help you keep the paper intact and maintain the beauty of your painting.
Gently Loosen the Gold Leaf
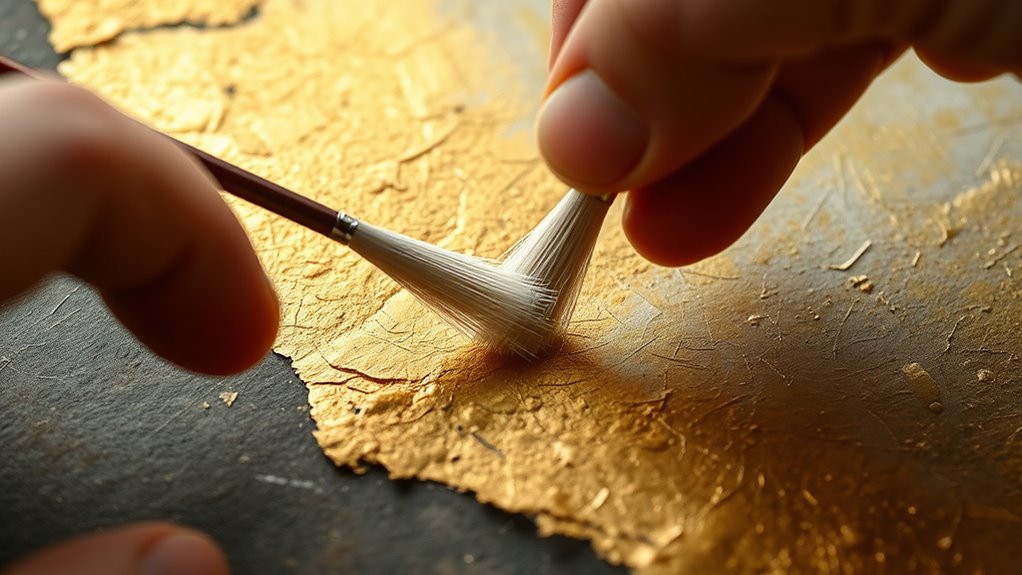
Before you begin removing the gold leaf, gently loosen it to prevent damage to the paper beneath. Start by using a soft, dry brush with natural bristles to lightly stroke the edges of the gold leaf. Don’t press too hard—you want to lift the leaf just enough so it’s not stuck firmly to the surface.
If the leaf feels stubborn, try breathing on it gently to introduce slight moisture, which can help relax the adhesive without soaking the paper. Avoid using any liquids or solvents at this stage, as they may cause warping or staining.
Take your time; work slowly and patiently around the edges. This careful loosening ensures that when you proceed to lift the gold leaf, you minimize tearing or pulling the delicate paper underneath.
Carefully Lift the Gold Leaf Off the Paper
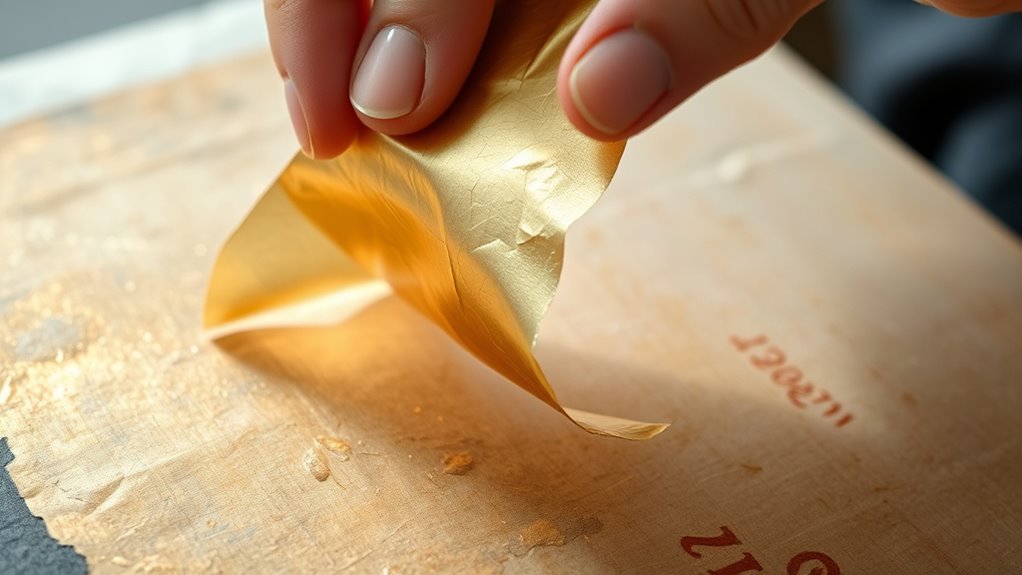
Once you’ve gently loosened the edges of the gold leaf, you can begin lifting it off the paper. Use a fine, soft tool like a clean, dry brush or a wooden toothpick to carefully lift the leaf.
Work slowly and steadily, starting at one corner or edge. Avoid pulling quickly; gold leaf is delicate and tears easily.
If you feel resistance, pause and try loosening the area more before continuing. Support the paper underneath with your other hand to prevent bending or creasing.
As you lift, handle the gold leaf as little as possible to reduce damage. If the leaf breaks, gently lift the fragments one at a time.
Take your time—this careful technique preserves both the paper and any remaining gold leaf.
Clean and Restore the Paper Surface
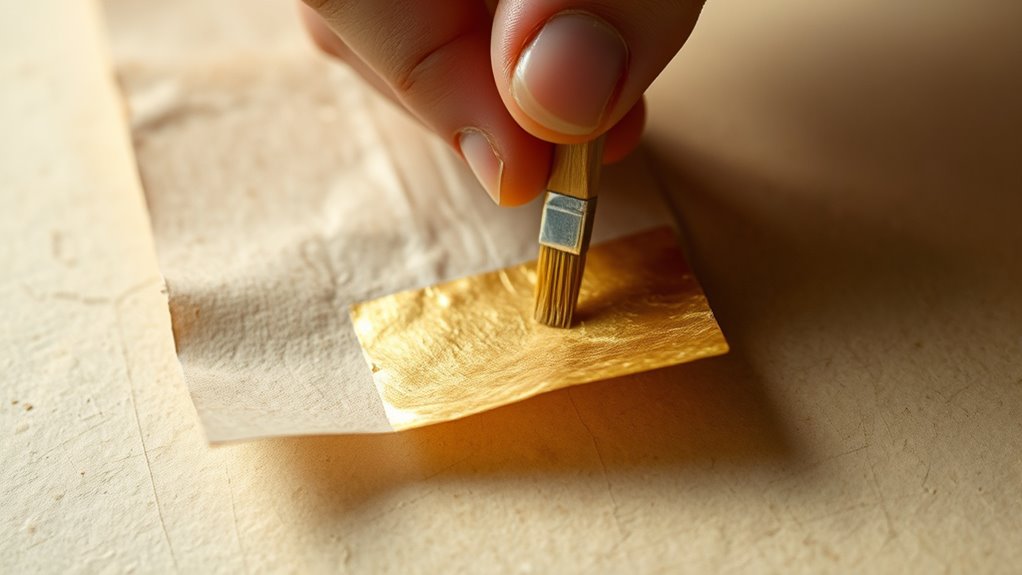
Although removing the gold leaf requires patience, you’ll need equal care to clean and restore the paper surface afterward. This step guarantees your artwork looks its best and prevents further damage.
First, gently brush away residue. Use a soft, dry brush to remove any leftover gold leaf flakes or dust without harming the paper fibers.
Next, lightly erase stains. A kneaded eraser can help lift minor stains or adhesive marks. Just press gently and avoid rubbing harshly.
If needed, apply a conservation-grade cleaner. Dampen a cotton swab with a mild, pH-neutral solution to spot-clean the paper. But remember to test first on a hidden area to prevent discoloration.
Conclusion
Now that you know how to remove gold leaf from paper in just three easy steps, you’re ready to restore your artwork with confidence.
Did you know that over 60% of artists struggle with gold leaf removal because they rush the process? Taking your time to gently loosen, carefully lift, and clean the paper guarantees your painting stays intact and beautiful.
Remember, patience is key—your art deserves nothing less! Removing gold leaf from paper in paintings isn’t difficult when you follow these simple steps.
By working slowly and thoughtfully, you preserve both the delicate paper and the gold leaf details, ensuring your artwork looks as stunning as ever. So go ahead, give your masterpiece the careful attention it needs to shine again!