How You Can Paint Over Wallpaper Step by Step
To paint over wallpaper, first check that it’s firmly stuck and in good condition. Make sure there are no loose edges or bubbles that could cause problems later. Cleaning the wallpaper and repairing any damage is a crucial first step.
Next, apply a high-quality, stain-blocking primer to seal the surface. This primer helps the paint stick better and prevents stains from showing through.
Choosing paint with a satin or eggshell finish is best for durability and a smooth look.
When painting, use even strokes and allow proper drying time between coats. Taking these careful steps will help guarantee a long-lasting, attractive finish.
Keep going to discover tips that’ll make the process even easier!
Assessing the Condition of Your Wallpaper
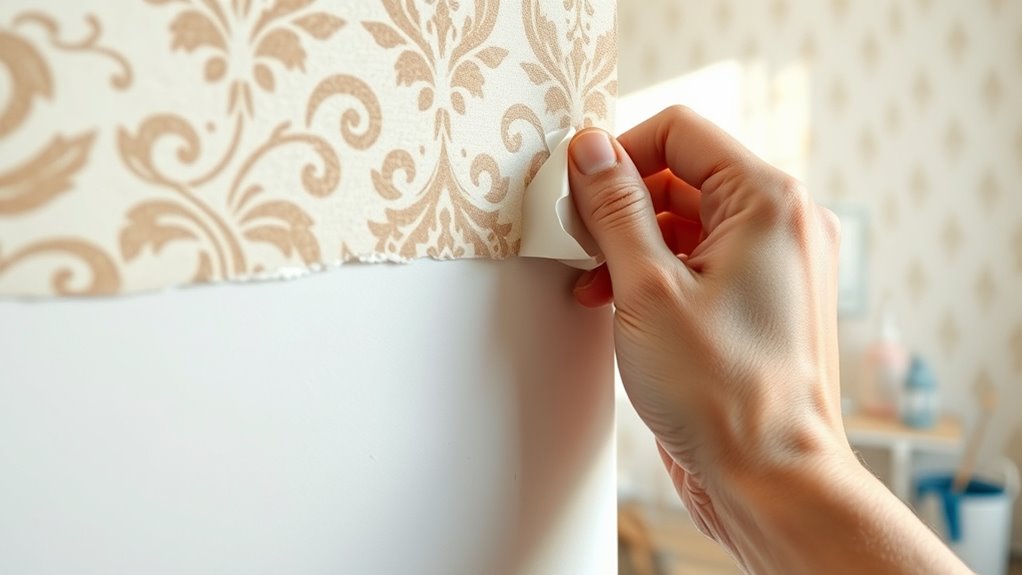
Before you begin painting, you need to carefully assess the condition of your wallpaper. Check for any peeling edges, bubbles, or loose seams because these issues can affect how well the paint adheres.
Run your hand over the surface to feel for any rough patches or damage. Also, look out for water stains or mold, which indicate moisture problems that must be fixed first.
If the wallpaper is vinyl or heavily textured, note that it might require special treatment before painting. Pay close attention to any wallpaper that’s more than a few years old, as it may be brittle or fragile.
Identifying these problems now helps you decide whether you can paint over it or if removal is necessary for a smooth, lasting finish.
Preparing the Wallpaper Surface for Painting
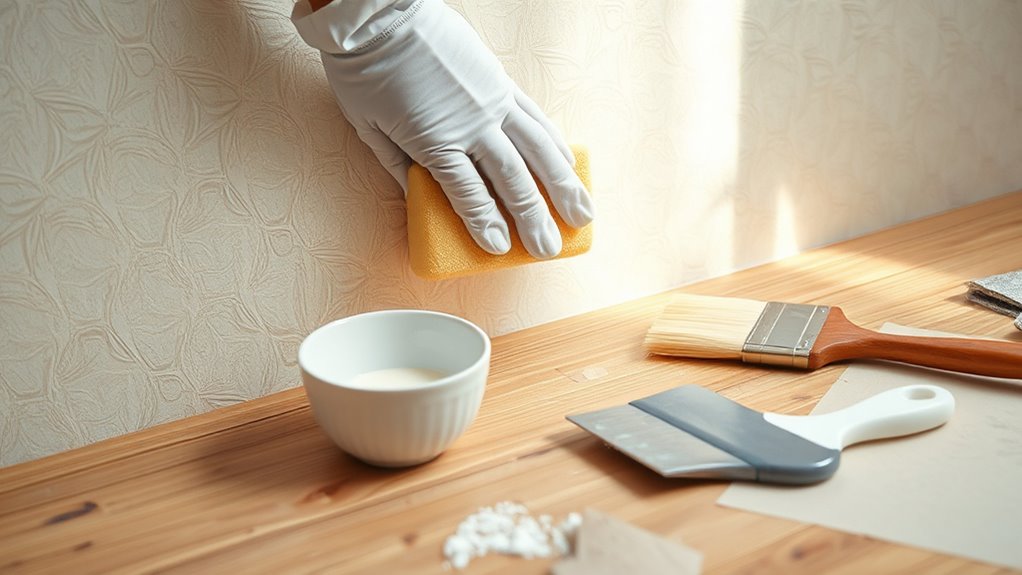
Before you start painting, make sure to clean the wallpaper thoroughly to remove dust and grease. Fix any tears or bubbles to create a smooth surface.
Finally, apply a primer to help the paint stick better and last longer. It really makes a difference!
Cleaning the Wallpaper Surface
Since paint adheres best to a clean surface, you’ll want to thoroughly clean the wallpaper before you begin. Dust, dirt, and grease can prevent paint from sticking properly, leading to peeling or uneven coverage.
Follow these steps to ensure your wallpaper is ready for paint:
- Dust the Walls: Use a dry microfiber cloth or a vacuum with a brush attachment to remove loose dust and cobwebs.
- Wash Gently: Mix a mild detergent with warm water and use a soft sponge to wipe the wallpaper surface. Just be careful not to soak it — you don’t want to damage the wallpaper.
- Rinse and Dry: Wipe down with a clean damp cloth to remove any soap residue. Then, let the wallpaper dry completely before you start painting.
Taking these steps will give you a smooth, clean base for your paint to stick to. Easy, right?
Repairing Damaged Areas
Once your wallpaper is clean and dry, take a close look for any tears, bubbles, or peeling edges. You’ll want to smooth down any loose sections by pressing them firmly against the wall.
Use a wallpaper adhesive or a strong glue to reattach peeling areas—apply a small amount under the loose paper, then press it flat and wipe away excess glue. For bubbles, gently puncture them with a pin and press out trapped air.
Then, apply glue beneath and smooth flat. If there are tears or holes, fill them with a lightweight spackling compound or wallpaper repair paste.
After it dries, sand the patches lightly so they blend smoothly with the surrounding surface. These repairs guarantee your painted finish will look flawless and last longer.
Priming for Paint Adhesion
Although the wallpaper is repaired and smooth, you’ll need to prime it to guarantee the paint sticks properly and lasts longer. Priming seals the wallpaper’s surface, preventing moisture from the paint from causing peeling or bubbling.
It also creates a uniform base, so your paint color looks even and true.
Follow these steps to prime effectively:
- Choose a high-quality, stain-blocking primer designed for wallpaper surfaces.
- Use a roller for large areas and a brush for edges to apply an even, thin coat.
- Allow the primer to dry completely—usually 24 hours—before painting to ensure durability and adhesion.
Priming might seem like an extra step, but it’s essential for a long-lasting, smooth finish over wallpaper. You’ll be glad you did!
Selecting the Right Paint and Primer
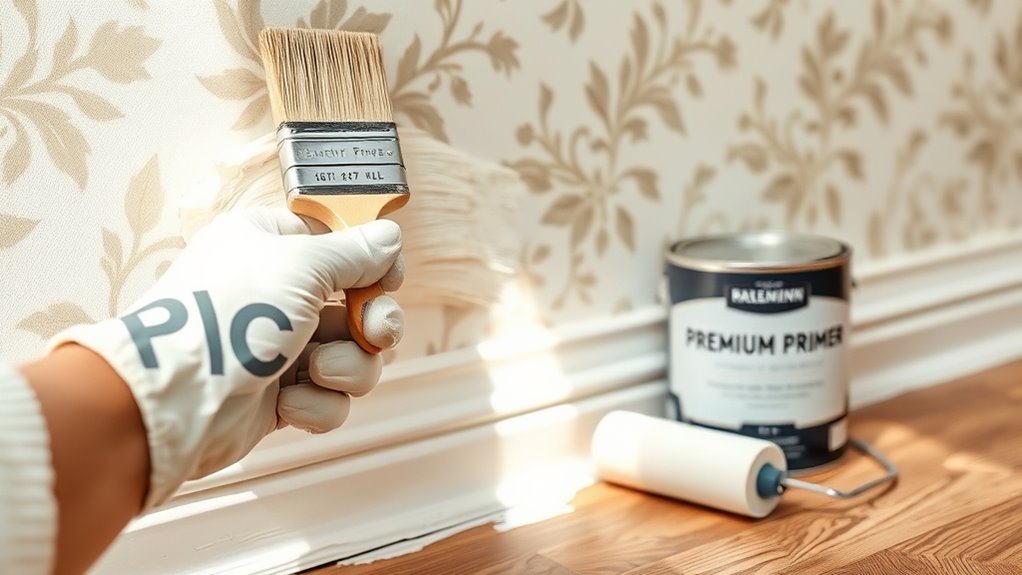
To get the best results, you’ll need the right primer that sticks well to wallpaper and blocks any patterns from showing through.
Then, choose a paint finish that fits your room’s use and style, like matte for a subtle look or satin for easy cleaning.
Let’s explore which primer and paint options work best for your project.
Primer Types for Wallpaper
When painting over wallpaper, choosing the right primer is essential to guarantee your paint adheres properly and lasts longer. Not all primers are created equal, so selecting one designed for wallpaper surfaces will give you the best results.
Here are three common primer types you can use:
- Stain-Blocking Primer: Prevents old wallpaper patterns or stains from bleeding through your paint.
- Adhesion Primer: Enhances paint grip on smooth or glossy wallpaper surfaces to avoid peeling.
- Shellac-Based Primer: Offers superior sealing and stain blocking but has a strong odor and requires good ventilation.
Pick a primer based on your wallpaper’s condition and type to ensure a smooth, durable finish when you paint over it. It really makes a difference!
Choosing Paint Finishes
Since the primer sets the foundation, choosing the right paint finish is essential to achieving the look and durability you want.
For walls with wallpaper underneath, opt for a paint with good adhesion and flexibility. Satin or eggshell finishes work well—they offer a subtle sheen and are easy to clean, making them ideal for living areas.
Avoid flat or matte finishes since they can highlight imperfections beneath the wallpaper. Semi-gloss or gloss paints provide durability and moisture resistance, perfect for kitchens or bathrooms, but they’ll also emphasize any bumps or seams.
Applying Primer to the Wallpaper
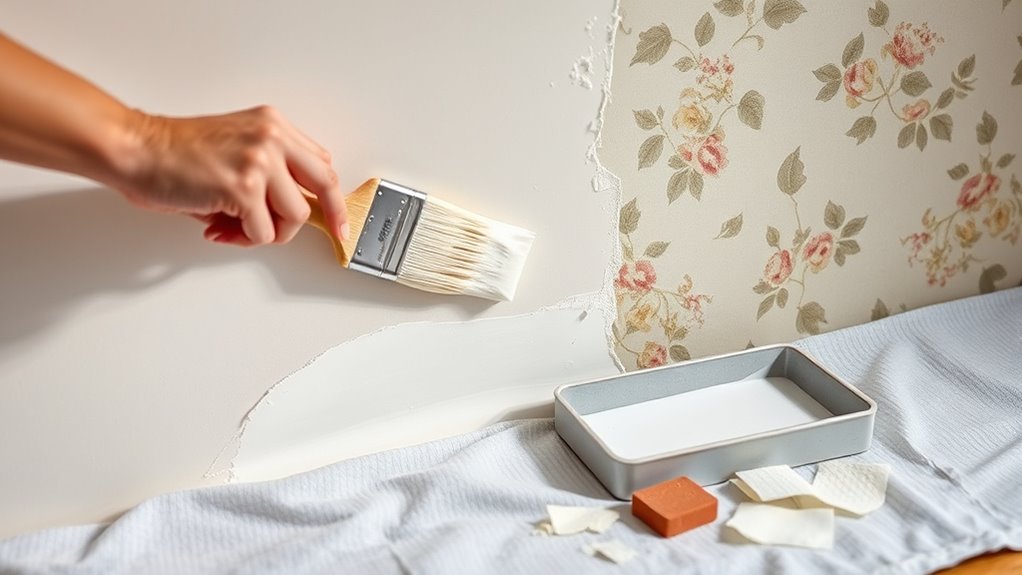
Although it might seem tempting to skip priming, applying a high-quality primer is essential for making sure the paint adheres properly to your wallpaper. Primer seals the surface, prevents peeling, and creates a smooth base for your paint.
Skipping primer might be tempting, but it’s key for paint adhesion, sealing, and preventing peeling on wallpaper.
Here’s how to get it right:
- Choose the Right Primer: Use a bonding primer designed for wallpaper to improve adhesion and block any patterns or stains from showing through.
- Apply Evenly: Use a roller or brush to spread the primer evenly, covering every inch without leaving thick spots or streaks.
- Let It Dry Completely: Follow the manufacturer’s drying time before moving on. This ensures the primer sets well and your paint job lasts longer.
Taking these steps guarantees a durable, smooth finish when you paint over your wallpaper.
Painting Over the Wallpaper
Before you start painting over your wallpaper, make sure the primer is fully dry. This step is key to guarantee the paint sticks well.
Use a high-quality paint roller for even coverage. Start with a thin first coat to avoid drips.
Allow this coat to dry completely before applying a second coat. This helps you get a smooth, durable finish.
Keep your brush strokes consistent and work in sections. It makes the whole process easier and neater.
| Step | Tip |
|---|---|
| First Coat | Apply thinly, avoid drips |
| Drying Time | Wait at least 2 hours |
| Second Coat | Use even strokes for smoothness |
This approach ensures your paint job looks professional. Plus, it will last longer without peeling or bubbling.
Final Touches and Maintenance Tips
Once you’ve applied the final coat and let it dry thoroughly, you can focus on the finishing touches that make your painted wallpaper look flawless. Start by inspecting the surface for any missed spots or uneven areas and touch them up carefully.
Next, clean your brushes and rollers to keep them in good shape for future use. Finally, maintain your newly painted walls by avoiding harsh cleaners and using a soft cloth for dusting.
Here are three key tips for final touches and maintenance:
- Use painter’s tape to protect edges for a sharp finish.
- Keep humidity levels low to prevent wallpaper from peeling.
- Clean gently with mild soap and water to preserve paint integrity.
These steps ensure your walls stay beautiful longer. Just a little effort goes a long way!
Conclusion
Now that you’ve learned how to paint over wallpaper, imagine the fresh, vibrant space you’re about to create. With a little patience and the right steps, you can transform your walls without the hassle of removal.
Remember, every brushstroke brings you closer to a room that feels truly yours. So pick up that roller with confidence—your dream space is just one coat away! Painting over wallpaper is a smart way to refresh your home without the mess of stripping it off.
With the right preparation and technique, your walls will look smooth and beautiful. Embrace the process, and soon you’ll enjoy a stunning new look that brightens your entire room.