How to Make Copy Paper Sticky in 5 Easy Steps
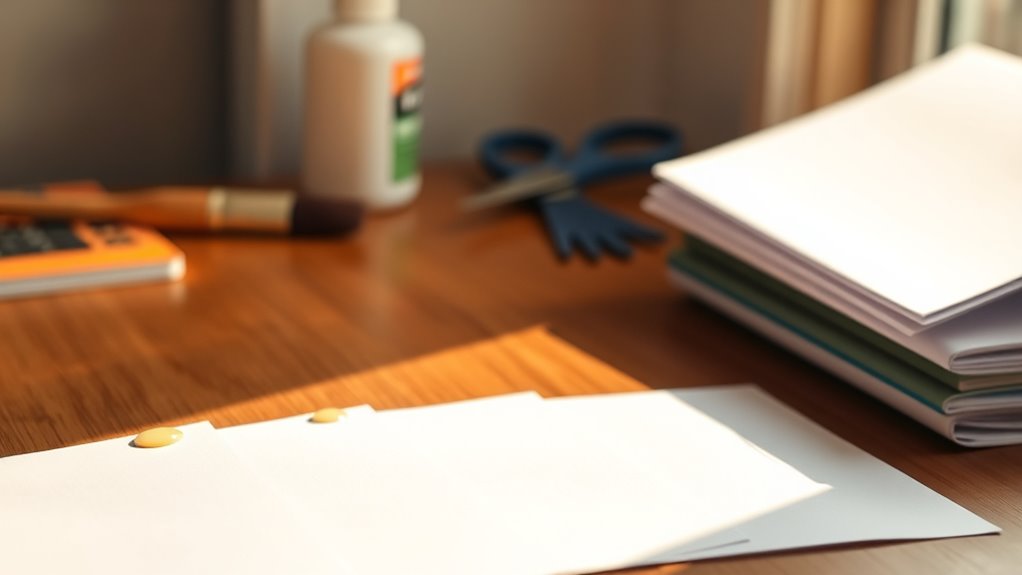
You can make copy paper sticky in five easy steps. This simple process is perfect if you want to create your own sticky notes or need a quick adhesive solution at home. First, gather clean paper, scissors, a brush, and glue.
Next, mix equal parts white glue and water to create an adhesive. This mixture will give you just the right stickiness without making the paper soggy. Then, evenly apply the glue mixture to the paper with a brush or sponge, avoiding oversaturation.
Let the paper dry flat in a ventilated area until it feels no longer tacky. This step is important because it ensures your sticky paper will hold well without leaving wet glue behind.
Finally, test the stickiness on clean surfaces and adjust as needed.
Keep going to discover helpful tips for better results. It’s easier than you think, and soon you’ll have custom sticky paper ready for all your projects!
Gather Your Materials
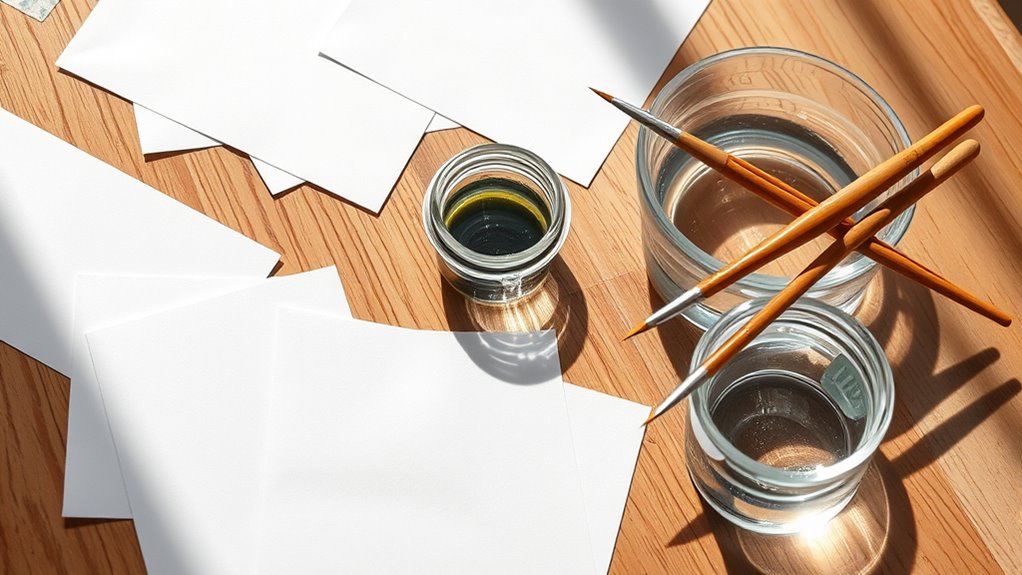
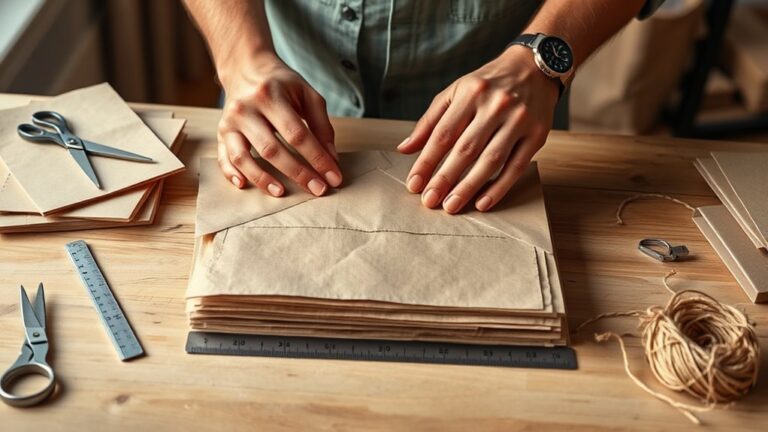
To make copy paper sticky, you’ll first need to gather a few essential materials. You’ll want a stack of clean copy paper as your base. Grab some scissors or a paper cutter to trim the sheets if necessary.
Start by gathering clean copy paper and scissors to prepare your sheets for making them sticky.
You’ll also need a container for mixing your adhesive later. Don’t forget a brush or sponge to apply the sticky solution evenly. Have some wax paper or plastic wrap handy to protect your workspace and prevent sticking where you don’t want it.
Additionally, keep a few cloths or paper towels nearby for quick cleanups. Finally, guarantee you have a flat surface to work on, so everything stays organized and manageable.
Gathering these items beforehand sets you up for a smoother process when making your paper sticky. It really helps to have everything ready to go!
Prepare a Simple Adhesive Solution
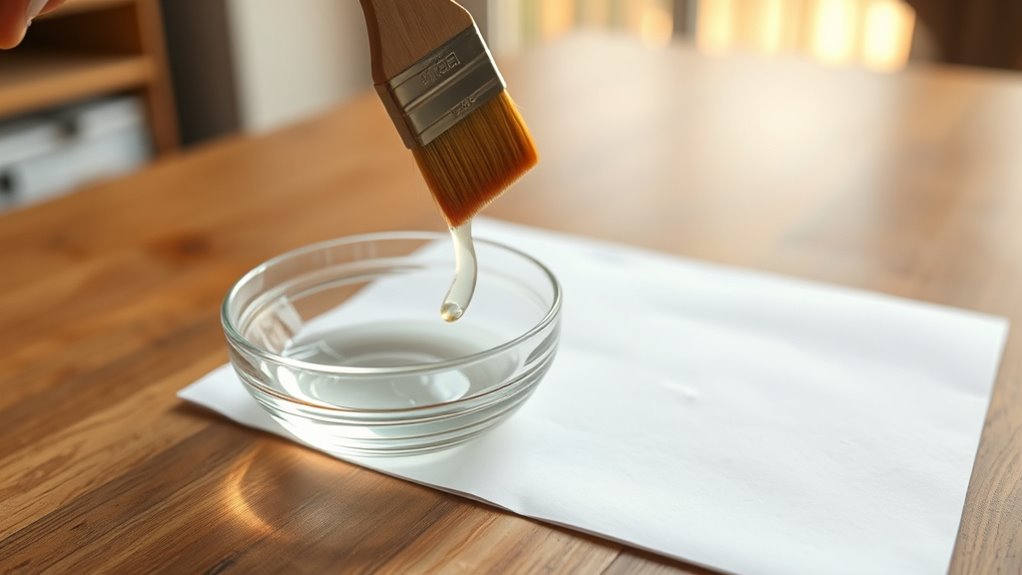
Now that you have all your materials ready, you can move on to creating a simple adhesive solution. Start by mixing equal parts of white glue and water in a small bowl. Stir the mixture thoroughly until it becomes smooth and consistent.
This diluted glue will provide enough stickiness without soaking or damaging the paper. If you want a stronger bond, reduce the water slightly, but don’t overdo it, or the paper might wrinkle.
For a natural alternative, you can dissolve a teaspoon of cornstarch in half a cup of warm water, stirring until it thickens. Let the solution cool before use.
Apply the Adhesive Evenly on the Paper
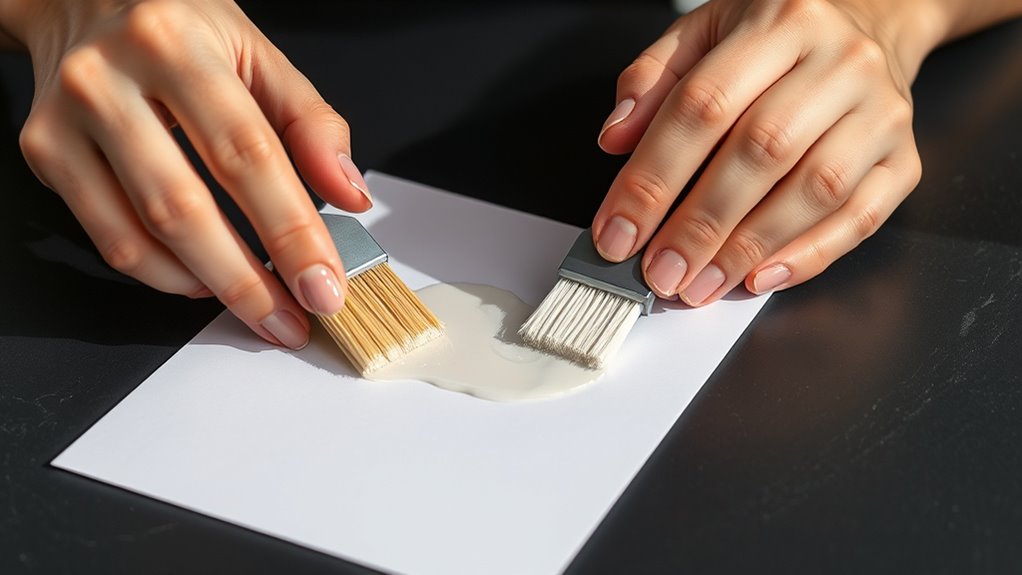
How exactly should you apply the adhesive to guarantee an even, smooth layer on your copy paper? First, use a clean brush or sponge to spread the adhesive gently across the surface. Dip it lightly into your prepared solution, then move in steady, consistent strokes to avoid clumps or streaks.
Work quickly but carefully, covering the entire sheet without oversaturating any spot. If you prefer, a spray bottle can help distribute the adhesive evenly, especially for larger sheets.
Hold the paper flat on a protected surface to prevent wrinkles or folds as you apply. Avoid pouring adhesive directly onto the paper, which can cause uneven patches.
Taking these steps ensures your copy paper adheres properly and looks professional. Easy, right? Just a little care and you’re all set!
Let the Paper Dry Properly
While the adhesive is still fresh, you’ll want to let the paper dry completely before handling it. This step is vital because wet adhesive can cause the paper to stick to unintended surfaces or tear easily.
Lay the paper flat on a clean, dry surface in a well-ventilated area to speed up drying. Avoid stacking sheets or placing anything on top to prevent smudging or sticking.
Place paper flat in a dry, ventilated spot; avoid stacking to prevent smudges and sticking.
Depending on the adhesive type and thickness, drying can take anywhere from 30 minutes to a few hours. Be patient—rushing this step might ruin your work.
Once the paper feels dry to the touch and doesn’t leave residue on your fingers, it’s ready for your next move. Proper drying ensures your sticky paper performs well without mess or damage.
Test and Use Your Sticky Copy Paper
After your paper has dried completely, it’s time to see how well your adhesive work holds up. Grab a small piece and try sticking it to different surfaces like wood, glass, or plastic.
This helps you understand the adhesive’s strength and versatility. If it doesn’t stick well, consider adding another thin layer and drying it again.
When testing and using your sticky copy paper, keep these tips in mind:
- Press firmly for a few seconds to ensure a strong bond.
- Avoid using on dusty or oily surfaces to maintain stickiness.
- Store unused sticky paper in a cool, dry place to preserve adhesive quality.
With these steps, you’ll confidently use your homemade sticky paper for notes, crafts, or labeling.
Conclusion
Now that you’ve made your copy paper sticky, you’re ready to stick, seal, and create with ease. Remember, “practice makes perfect,” so don’t get discouraged if your first try isn’t flawless.
With a little patience and care, your sticky paper will work wonders for your projects. Keep experimenting, and soon enough, you’ll master the art of making paper stick just the way you want.
Sticky copy paper opens up so many creative possibilities. Whether you’re crafting, labeling, or organizing, this simple trick gives your projects a professional touch. So keep trying, have fun, and happy crafting!