How to Make Paper Garland in 10 Easy Steps
To make paper garland in 10 easy steps, start by gathering all the supplies you need: scissors, string, and colorful paper that catches your eye. Choosing the right paper is key—go for sturdy cardstock or lightweight tissue paper, depending on the look you want.
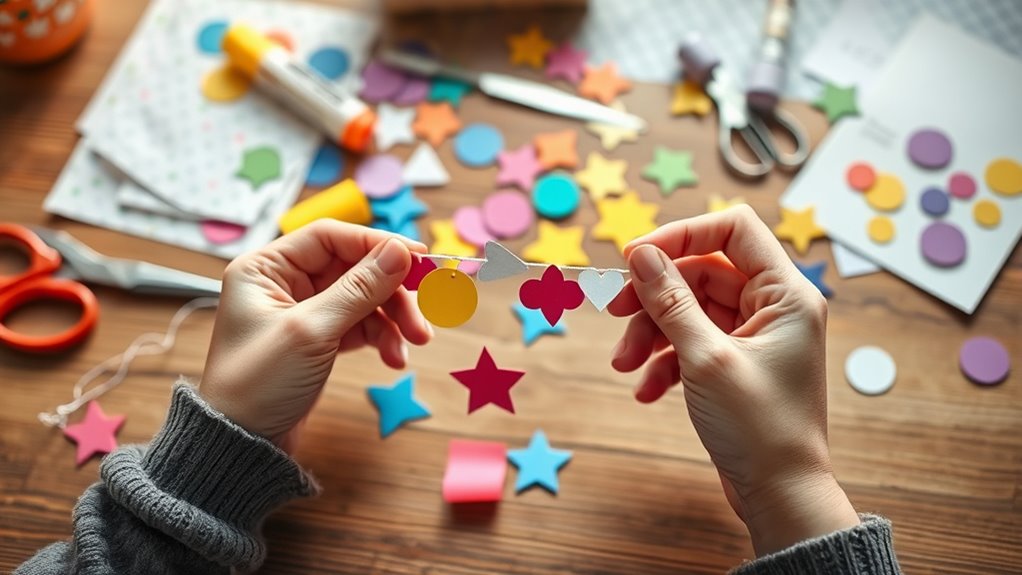
Next, cut out fun shapes like circles or stars using templates to keep everything neat and uniform. You can fold or layer the pieces to add some cool texture and dimension to your garland.
Thread these shapes evenly onto your string, making sure to space them out nicely. Secure each piece with knots or a dab of glue so they don’t slip around.
Feel free to jazz up your garland with fun embellishments like glitter or ribbons before you hang it up.
Keep reading for some handy tips on perfecting your design and display!
Gather Your Materials
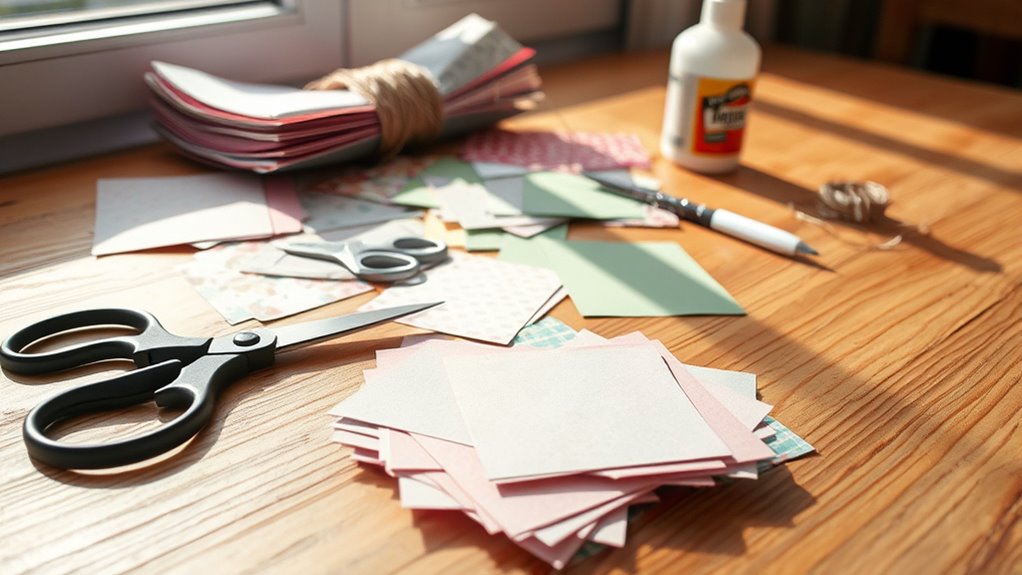
Where do you begin when making a paper garland? Start by gathering all the essential materials to keep your project smooth and fun.
Begin your paper garland by collecting all the essential tools to make crafting easy and enjoyable.
You’ll need scissors for cutting shapes, a ruler for measuring, and a pencil to mark your designs. Don’t forget glue or double-sided tape to stick the pieces together.
Grab some string, twine, or ribbon to thread your paper shapes into a garland. It’s helpful to have a flat workspace where you can lay everything out.
If you want, get some clips or clothespins to hold shapes while the glue dries. Having everything ready before you start saves time and keeps your creativity flowing.
Once your materials are gathered, you’ll be all set to craft your beautiful garland.
Choose Your Paper Type and Colors
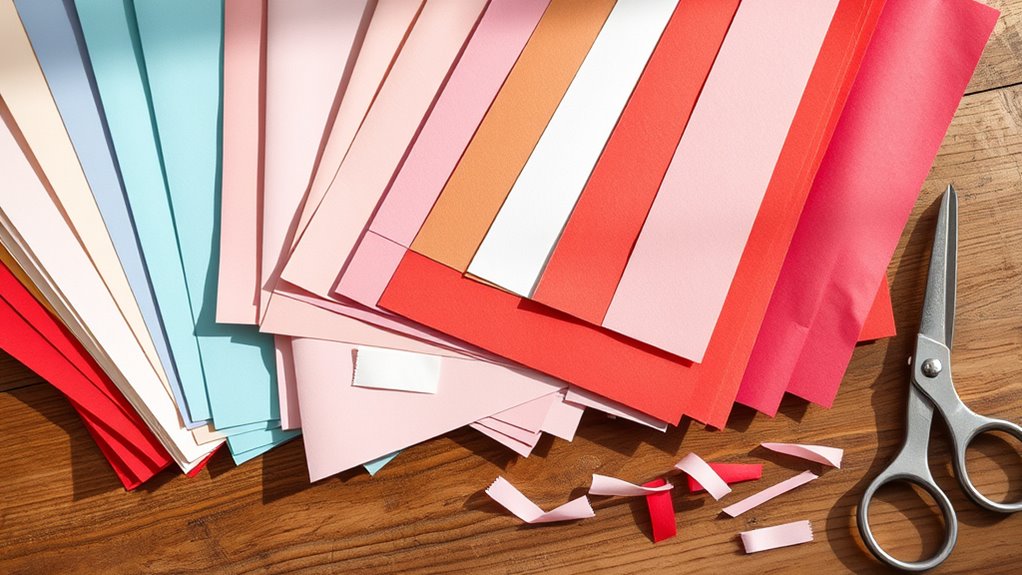
How do you pick the perfect paper for your garland? Start by thinking about the occasion and the vibe you want to create. Choose paper that’s sturdy enough to hold its shape but light enough to hang easily.
Cardstock or construction paper works great for durability, while tissue paper adds a soft, delicate touch. Next, consider colors. You can go bold with bright, contrasting hues or keep it subtle with pastels or neutrals.
Matching your paper colors to the event theme or room decor helps everything feel cohesive. Don’t hesitate to mix textures and patterns—polka dots, stripes, or even metallic finishes add visual interest.
Keep in mind how your chosen paper will interact with light and space to make your garland truly stand out.
Decide on Garland Length and Design
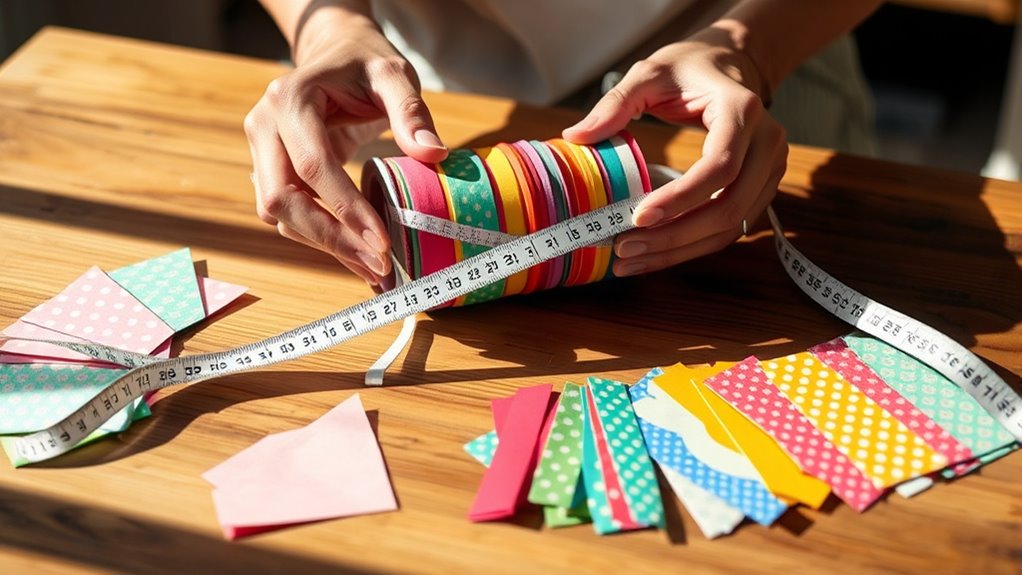
Once you’ve picked the perfect paper type and colors, it’s time to figure out how long your garland should be and what design will best suit your space. Measure the area where you plan to hang the garland—whether it’s along a mantel, across a window, or down a staircase.
Add a few extra feet to give your garland a nice drape or to wrap around objects. Next, think about the style you want. Do you want simple, repetitive shapes for a minimalist look, or a mix of shapes and sizes for more visual interest?
Consider the event or room theme to guide your design choice. Planning length and style now will make the next steps smoother and ensure your garland looks just right.
Cut Paper Into Desired Shapes
Before you start cutting, gather your paper, scissors, and any templates or stencils you want to use. Having everything ready makes the process smoother and helps you focus on precision.
Prepare all your materials beforehand to ensure a smooth, precise cutting process for your garland shapes.
Choose shapes that fit your garland’s theme—simple or intricate—and keep in mind the size to ensure they hang nicely.
Here’s a quick checklist to guide you:
- Select colorful or patterned paper for visual interest
- Use sharp scissors for clean edges
- Trace shapes lightly with pencil if freehand cutting isn’t your style
- Cut slowly to maintain accuracy and avoid jagged lines
- Experiment with different shapes like circles, stars, hearts, or leaves
Cut neatly and consistently; your garland will look much better with uniform shapes. This step sets a solid foundation for assembling your garland.
Fold and Layer Paper Pieces
Choose paper types that fold well without tearing, like lightweight cardstock or origami paper. You’ll want to master simple folding techniques to add dimension and texture to your garland.
Arrange your layers thoughtfully to create a balanced and eye-catching design. It really makes a difference when you take your time with the layering!
Choosing Paper Types
Although selecting the right paper types might seem straightforward, folding and layering them effectively can transform your garland from simple to stunning. You want papers that hold creases well yet are flexible enough for easy layering.
Here are some great options to contemplate:
- Tissue paper: Lightweight, translucent, perfect for soft, flowing layers
- Cardstock: Sturdy and crisp, ideal for bold shapes
- Crepe paper: Stretchy and textured, adds volume and dimension
- Origami paper: Thin with vibrant colors, great for precise folds
- Wrapping paper: Decorative patterns, easy to fold and layer
Choosing the right mix lets you combine texture and color, enhancing the overall visual appeal of your garland without complicating the folding process. It’s all about finding that balance between look and ease!
Folding Techniques Explained
Once you’ve picked the perfect paper types, it’s time to bring them to life through folding and layering. Start by folding your paper into simple shapes like fans, accordion pleats, or triangles. These folds add texture and dimension to your garland.
Use sharp creases by pressing firmly with your fingers or a bone folder to keep everything crisp. When layering, fold smaller pieces first and stack larger ones on top to create depth without bulk. You can also experiment with alternating fold directions for visual interest.
Remember to keep your folds consistent in size for a neat, uniform look. Folding carefully ensures your garland hangs beautifully and catches the light in charming ways. Mastering these techniques sets a solid foundation before arranging your layers.
Layer Arrangement Tips
As you start arranging your folded paper pieces, focus on balancing size and shape to create a dynamic garland. Layering adds depth and interest, so mix different folds and colors carefully. Don’t hesitate to overlap pieces slightly for a fuller look.
Remember, contrast helps each layer stand out.
Keep these tips in mind:
- Alternate large and small folds for rhythm
- Mix pointed and rounded edges for variety
- Use lighter colors behind darker ones to add dimension
- Position heavier shapes near the center for stability
- Space layers evenly to avoid clutter
Punch Holes or Prepare for Stringing
Now that your paper pieces are ready, you’ll want to punch holes carefully to avoid tearing. Choose a hole punch size that fits your string or ribbon snugly.
Then, decide how you’ll attach the string—either threading through each hole or securing with glue or tape. It’s pretty simple once you get the hang of it!
Hole Punching Techniques
Before threading your paper shapes, you’ll need to punch holes carefully to guarantee your garland hangs evenly. Start by choosing the right tool—a standard hole punch works well for most paper, but a craft punch offers decorative options.
Place each shape on a flat surface to avoid tearing. Position the punch near the edge, about a quarter-inch in, to ensure durability. Maintain consistent hole placement across all pieces.
Here are some tips to keep in mind:
- Use a ruler or template for uniform hole placement
- Punch holes on thicker parts of the paper to prevent ripping
- Avoid punching too close to corners
Also, test your punch on scrap paper first. And don’t forget to clean your punch regularly to avoid jams.
These steps help your garland stay sturdy and beautiful. Easy, right?
String Attachment Methods
When you’re ready to connect your paper shapes, deciding how to attach the string is essential for a neat and secure garland. You can choose between threading the string through punched holes or preparing the shapes for stringing by folding tabs.
If you used a hole punch, simply thread your string through each hole, spacing the shapes evenly. For added security, tie a small knot or use a dab of glue near the hole.
Alternatively, create small folded tabs on each shape’s edge, then wrap the string around these tabs. This method hides the string and provides a clean look without punching holes.
Whichever method you pick, handle the paper gently to avoid tearing, and keep your spacing consistent for a polished final result. Easy, right? Just take your time and your garland will look fantastic!
Thread the Paper Pieces Onto String
Although threading the paper pieces onto the string requires some patience, it’s a simple step that brings your garland to life. Start by choosing a needle with an eye large enough for your string or just fold the string’s end to create a point.
Carefully slide each paper piece onto the string, spacing them evenly or clustered, depending on your design. Here’s what to keep in mind:
- Use a sturdy string or twine for durability
- Thread slowly to avoid tearing fragile paper
- Adjust spacing as you go for balance
- Keep your workspace flat and clean
- Lay the garland flat periodically to check alignment
This step connects your pieces into a cohesive decoration, setting the stage for the final look. Just take your time and enjoy the process!
Secure Each Piece in Place
Since your paper pieces are threaded onto the string, you’ll want to secure each one to keep them from sliding around and ruining your design. To do this, tie a small knot right after each paper piece, snug against its edge.
This simple step locks it in place, preventing unwanted movement. If knots feel bulky, try using tiny drops of glue where the paper meets the string for a cleaner look.
You can also twist a bit of floral wire around the string near each piece for extra hold without bulk. Take your time securing every piece; this ensures your garland maintains its shape and looks polished.
Once all pieces are fixed, your garland will be sturdy and ready for display.
Add Embellishments or Details
You can make your paper garland stand out by choosing the right embellishment materials like glitter, stickers, or ribbons. Try simple techniques such as gluing, painting, or stamping to add unique details.
Experiment with color and texture to give your garland a lively, personalized touch. Mixing and matching different materials can really bring your design to life!
Choosing Embellishment Materials
When selecting embellishment materials for your paper garland, focus on textures and colors that complement your overall design. Choose elements that enhance the look without overwhelming it.
Think about the theme and setting where your garland will hang, and pick materials that fit naturally.
Consider adding glitter or sequins for sparkle, ribbon or twine for a rustic touch, and small fabric flowers for softness.
Metallic paper cutouts add shine, while beads or buttons bring dimension.
Keep in mind the weight of embellishments to guarantee your garland hangs properly. Also, select materials easy to attach but durable enough to last.
This careful choice will make your paper garland stand out beautifully and suit your style perfectly.
Techniques for Adding Details
Selecting the right materials sets the stage, but applying them skillfully brings your paper garland to life. Start by folding or layering paper shapes to create dimension before attaching them. Use glue sparingly to avoid wrinkles or warping.
Try cutting small slits or fringe edges for texture, then gently curl or bend sections for a dynamic look. When adding beads or sequins, thread them onto thin wire or string to position precisely without damaging the paper.
Use a fine-tip marker or paint pen to add delicate patterns or outlines directly onto the shapes. Remember to work steadily and let each detail dry fully before moving on. These techniques help you add interest and personality to your garland without overwhelming its original charm.
Enhancing With Color and Texture
Although paper garlands look charming on their own, adding color and texture can transform them into striking focal points. You can easily enhance your garland by incorporating a few creative touches.
Try mixing different paper types, like metallic or patterned sheets, to add depth. Use vibrant markers or watercolors for pops of color.
Don’t hesitate to include tactile elements like glitter for sparkle or tissue paper flowers for softness. Ribbon or lace can add elegance, while small beads or buttons bring dimension. Painted edges help highlight shapes too.
These simple additions make your garland more eye-catching and personalized. Experiment with combinations until you find a look that fits your style perfectly.
Your paper garland will stand out and brighten any space with these colorful, textured enhancements.
Hang and Display Your Garland
Once you’ve finished crafting your paper garland, you’ll want to find the perfect spot to showcase its charm. Start by measuring the area where you plan to hang it to guarantee a snug fit.
Use removable hooks or tape that won’t damage walls or furniture. Drape your garland across mantels, windows, or doorways, letting it hang loosely for a relaxed look or stretch it tight for a sleek effect.
You can also suspend it from the ceiling for a festive vibe. Don’t forget to step back and adjust the spacing between the paper elements to keep everything balanced.
If you’re outdoors, secure it well to withstand wind. With these simple steps, your garland will add a delightful touch to any space.
Conclusion
Now that you’ve crafted your paper garland, you’re part of a growing trend—over 60% of DIY enthusiasts say handmade decor adds a personal touch that store-bought items just can’t match.
By following these simple steps, you’ve created a unique piece that brightens any space and showcases your creativity. Keep experimenting with colors and shapes to make your garland truly one of a kind.
Enjoy the festive vibe you’ve brought to your home! Making paper garlands is an easy and fun way to add charm and personality to any room. Plus, it’s a great DIY project that anyone can do with just a few supplies.
So, keep crafting and let your imagination run wild with paper garland ideas. Your handmade decor not only looks beautiful but also tells your story in every fold and cut.