How to Make Paper From Wood in 5 Easy Steps
To make paper from wood in five easy steps, start by selecting clean, untreated branches and stripping off the bark. This ensures your paper will be free of contaminants and have a smoother texture.
Next, break down the wood into pulp using mechanical or chemical methods. This step transforms the tough wood fibers into a mushy, fibrous mixture that’s ready for paper-making.
Then, blend and refine the pulp by adding water and removing impurities. This helps create an even consistency, which is key for smooth, strong paper.
Pour the slurry onto a screen to form sheets. This allows the water to drain away, leaving behind the fibers in the shape of paper.
Finally, dry and finish your paper by pressing and air drying it. Keep going, and you’ll discover tips for improving strength and texture along the way!
Gathering and Preparing Wood Materials
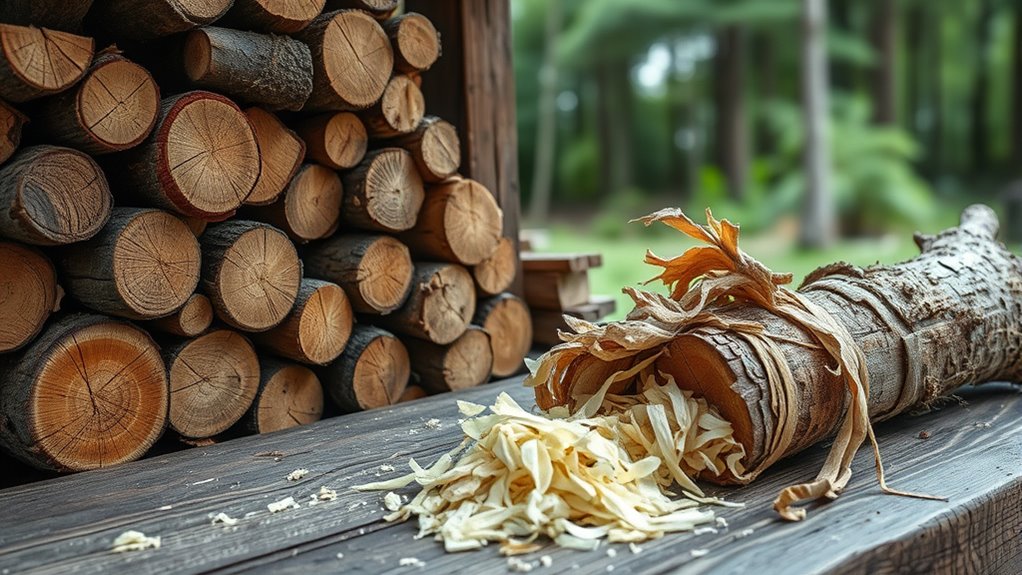
Before you begin making paper from wood, you’ll need to gather the right materials and prepare them properly. Start by selecting clean, untreated hardwood or softwood branches.
Avoid wood with paint, varnish, or chemicals since these can affect the quality of your paper. You’ll want a good mix of fibers, so collecting branches about 1 to 3 inches thick works well.
Once you have your wood, strip off the bark carefully, as it contains impurities that can interfere with the paper-making process. Cut the wood into small chips or pieces, making it easier to handle in later steps.
Keep your materials dry and store them in a clean container to prevent mold or contamination before you move on to breaking down the wood into pulp.
Breaking Down the Wood Into Pulp
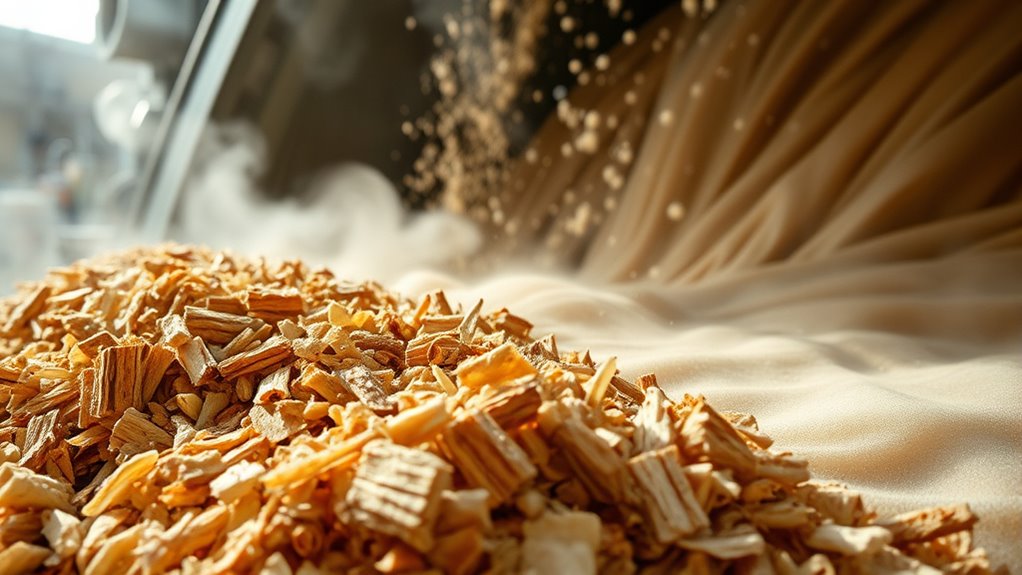
How exactly do you transform solid wood chips into the soft pulp needed for paper? You start by breaking down the wood through mechanical or chemical processes.
In mechanical pulping, you use grinders or refiners to physically crush and grind the wood chips, separating fibers without removing lignin. This method is faster but results in weaker paper.
Alternatively, chemical pulping involves cooking the wood chips with chemicals like sodium hydroxide and sodium sulfide in a digester. This process dissolves lignin, freeing the cellulose fibers and producing stronger pulp.
After cooking, you wash the pulp to remove residual chemicals and impurities. Both methods aim to separate the wood into individual fibers, creating a slurry called pulp, which is ready for the next step in papermaking.
Blending and Refining the Pulp
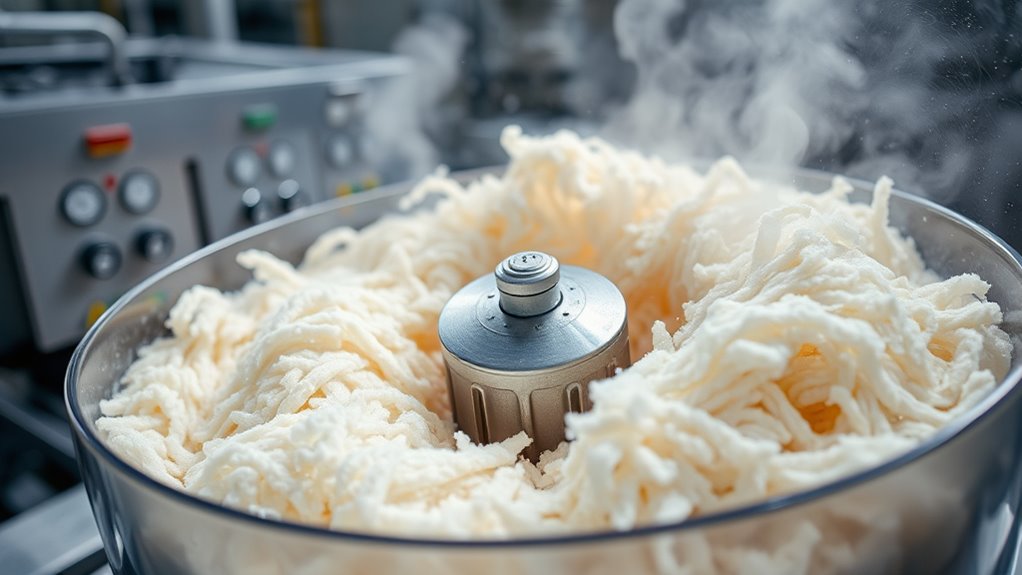
Once you’ve broken down the wood into pulp, you’ll blend and refine it to achieve the desired paper quality. This step guarantees the fibers are evenly distributed and free of impurities.
To do this effectively, you’ll adjust the pulp’s consistency by adding water, making it easier to handle. Then, pass the pulp through refiners to fibrillate the fibers, improving bonding strength.
Next, remove unwanted materials like dirt or large fiber clumps using screens or cleaners. Finally, mix in additives such as fillers or sizing agents to enhance paper properties like brightness or water resistance.
Forming the Paper Sheets
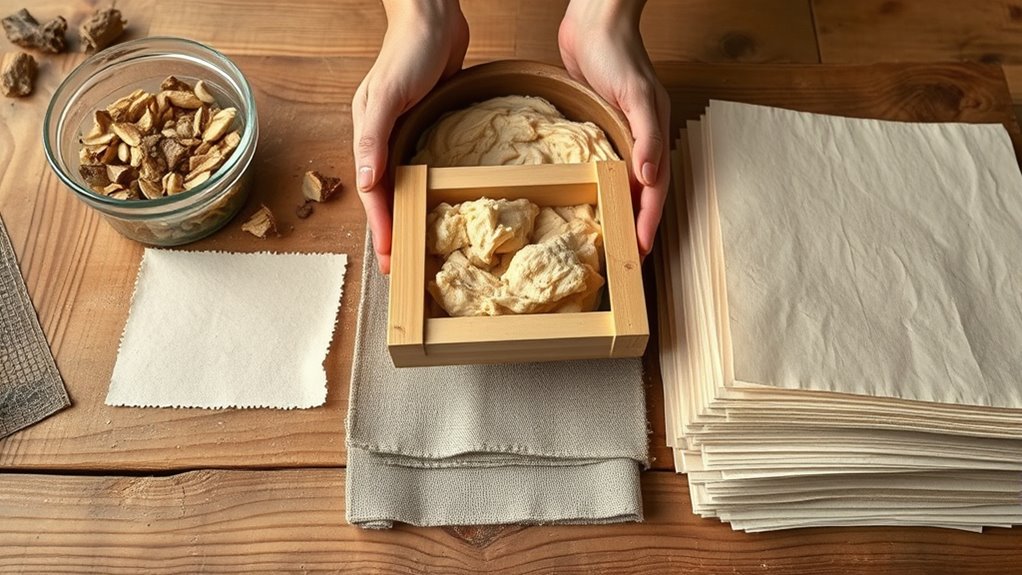
Where do the refined fibers go after blending? You pour the pulp slurry onto a flat screen or mold, designed to catch the fibers while letting water drain.
Hold the mold level and gently shake it side to side to spread the fibers evenly, forming a thin, uniform layer. Once you see the pulp settling, lift the mold out of the water carefully, letting excess water drip off.
At this stage, you’ve created a wet paper sheet on the screen. To prevent tearing, keep the sheet supported as you transfer it to a felt or cloth surface.
This delicate step ensures the fibers begin bonding together, setting the foundation for your handmade paper’s strength and texture before drying.
Drying and Finishing Your Handmade Paper
After you carefully transfer the wet paper sheet onto a felt or cloth surface, the next essential step is drying it properly to guarantee durability and smoothness. Start by pressing the paper gently with a sponge to remove excess water.
Then, follow these steps:
- Lay the sheet flat in a warm, well-ventilated area to air dry.
- Avoid direct sunlight to prevent warping or discoloration.
- Once dry, carefully peel the paper from the felt or cloth.
- Press the dry paper under heavy books for a few hours to flatten it.
For finishing touches, consider lightly sanding rough edges or applying a natural sealant to enhance texture and longevity. This way, your handmade wood paper will be ready for use or display.
Conclusion
Now that you’ve mastered these steps, you might think the hardest part is over—but the real magic happens when your paper dries. Will it hold together smoothly or reveal unexpected textures?
That moment of revealing is where your effort truly shines. So, don’t rush—embrace the anticipation.
Your handmade paper isn’t just a craft; it’s a unique creation waiting to surprise you. Ready to see what you’ve really made? This process of making paper from wood not only connects you to an age-old tradition but also lets you create something truly one-of-a-kind.
Each sheet tells a story of patience, creativity, and transformation. So take pride in your handmade paper—it’s more than just recycled wood pulp, it’s a piece of art crafted by your own hands.