How Is Soy Paper Made?
You make soy paper by soaking soybeans until soft, then grinding them into a smooth paste. This process is key to creating soy paper, a versatile and tasty alternative to traditional rice paper.
Next, you strain and cook this slurry to improve its texture before spreading it thinly into even sheets. This helps in achieving that perfect balance of flexibility and strength you want in your soy paper.
Afterward, you dry the sheets carefully to keep them flexible and strong. You can also add natural colors or flavors to suit your taste.
If you want to understand the full process, including drying and flavoring tips, keep exploring how each step shapes the final product.
Understanding the Basics of Soybeans
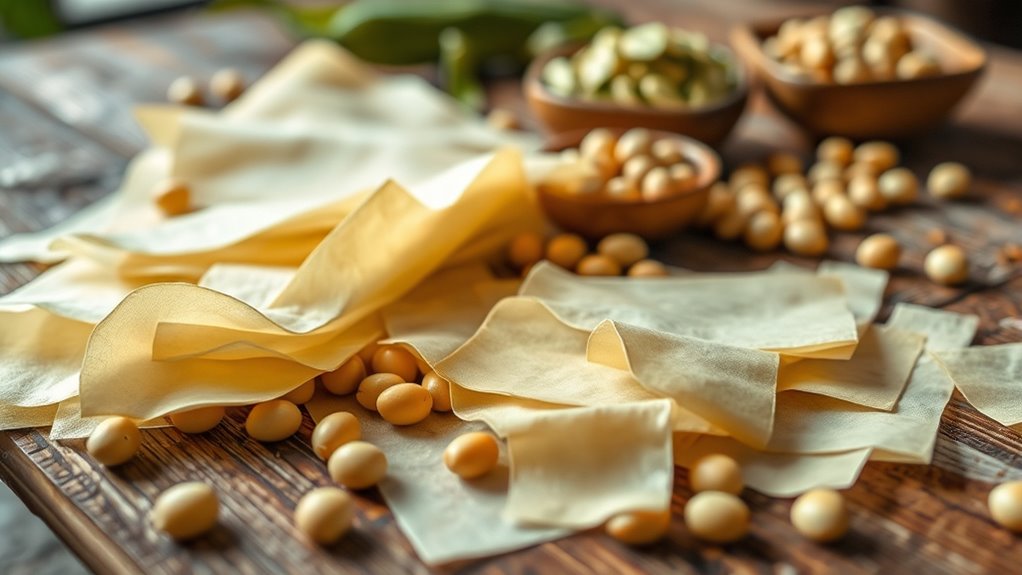
Soybeans form the foundation of soy paper, so it’s important to understand their role. You’re working with a legume rich in protein and oil, which makes it versatile for various products, including soy paper.
When you look at soybeans, you’re seeing tiny powerhouses packed with nutrients that contribute to the paper’s strength and texture. Unlike traditional wood pulp, soybeans offer a sustainable alternative because they come from a crop that replenishes the soil rather than depletes it.
You’ll also notice that soybeans have a naturally smooth surface, which helps create the delicate, flexible sheets that soy paper requires. Recognizing these basic qualities helps you appreciate why soybeans are the perfect raw material for this unique type of paper.
Preparing the Soybean Paste
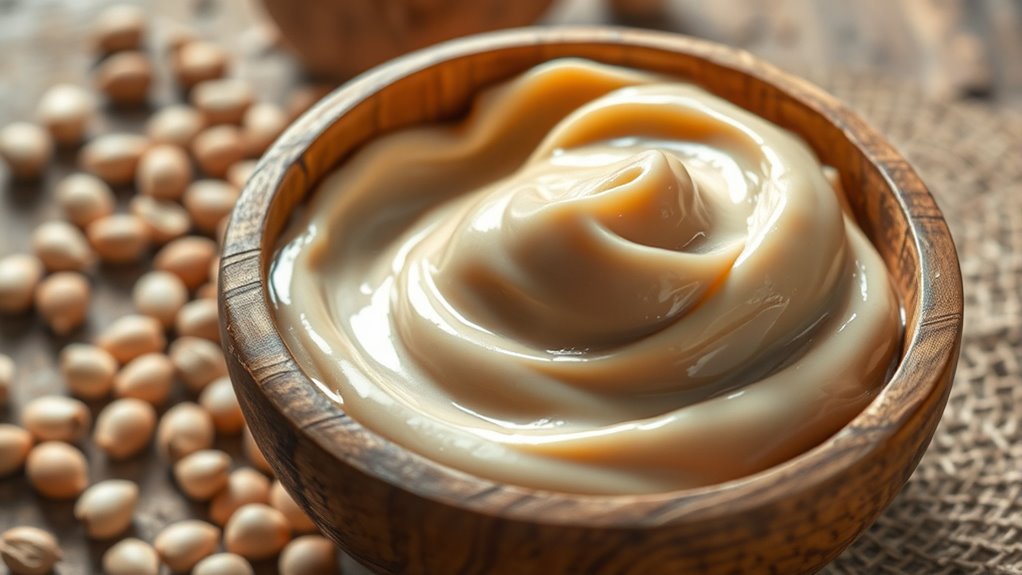
To turn those nutrient-rich legumes into usable material, you start by breaking them down into a smooth, workable paste. First, you soak the soybeans in water to soften them, making the next steps easier.
Then, you grind the soaked beans thoroughly, transforming them into a thick slurry. You’ll want to remove any coarse bits by straining the mixture, ensuring a uniform consistency.
Next, you cook the slurry gently to deactivate enzymes and improve texture, stirring constantly to avoid lumps. This cooking step also enhances the paste’s binding properties, which is vital for making soy paper.
Once the paste cools to the right temperature, you’re ready to move on to the next phase, where this paste becomes thin soy sheets.
Creating the Thin Soy Paper Sheets
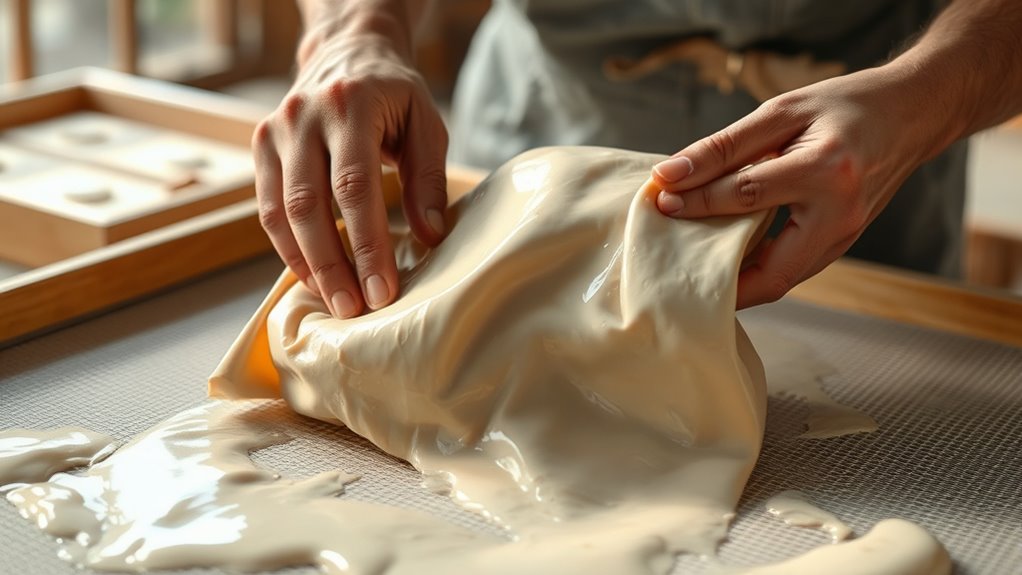
Once the soybean paste has cooled, you can spread it thinly to form the delicate sheets that become soy paper. You’ll use a flat surface or a specialized spreading tool to evenly distribute the paste.
The goal is to achieve a uniform, ultra-thin layer without holes or uneven thickness. You need to work quickly but carefully, as the paste can start to dry or clump.
Maintaining a consistent thickness is vital because it affects the texture and flexibility of the final sheets. You might also add a light dusting of starch or flour to keep the sheets from sticking to surfaces or each other.
Drying and Setting the Soy Paper
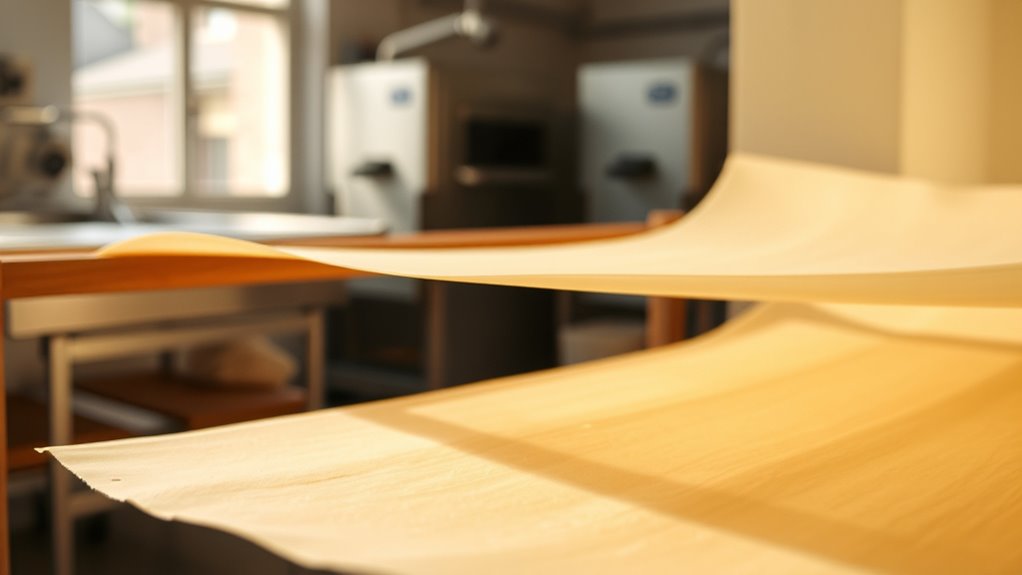
After spreading the soybean paste into thin sheets, the next step is drying and setting the soy paper to lock in its texture and durability. You need to carefully regulate the drying environment to prevent cracking or uneven texture.
Typically, the sheets go through a drying tunnel or are placed on mesh racks where warm air circulates gently. This process helps remove excess moisture while maintaining flexibility.
Key factors you should focus on include temperature control to avoid overheating, humidity levels to keep the paper pliable, airflow consistency to ensure even drying, and drying duration tailored to the sheet thickness.
Keeping an eye on these will help you get that perfect soy paper every time.
Coloring and Flavoring Options
Although soy paper starts off neutral in taste and appearance, you can customize it with various coloring and flavoring options to enhance its appeal. Natural food colorings like turmeric for yellow, beet juice for pink, or spinach powder for green add vibrant hues without artificial additives.
These colors make your soy paper visually appealing and suitable for different culinary themes. Flavoring usually involves subtle additions such as wasabi, sesame, or ginger powders, which complement sushi and other dishes.
You can even infuse mild sweetness or savory notes depending on your recipe. These enhancements don’t overpower the soy base but elevate the overall eating experience.
Packaging and Storage of Soy Paper
You’ll want to use protective packaging materials that keep soy paper fresh and intact. Storing it in cool, dry conditions helps maintain its quality over time.
Plus, understanding its shelf life guarantees you use it before it loses flavor or texture. That way, every sheet tastes just right when you need it.
Protective Packaging Materials
When handling soy paper, choosing the right protective packaging materials is essential to maintain its freshness and flexibility. You want materials that shield the paper from moisture, air, and physical damage.
Commonly, manufacturers use packaging that balances protection with breathability to prevent sogginess or brittleness. It’s all about keeping that perfect texture!
Consider these key packaging materials:
- Food-grade plastic wraps that create a moisture barrier
- Wax paper layers for added flexibility and protection
- Vacuum-sealed bags to minimize air exposure
- Resealable pouches for convenience and freshness
Using the right combo can really make a difference in how long your soy paper stays fresh and ready to use.
Optimal Storage Conditions
Since soy paper is sensitive to moisture and air, storing it properly is essential to keep its texture and flavor intact. You should keep soy paper in an airtight container or resealable plastic bag to minimize exposure to humidity and oxygen.
Make sure the packaging is sealed tightly after each use to prevent drying out or absorbing unwanted odors. Store it in a cool, dry place away from direct sunlight, as heat and light can degrade the quality quickly.
Avoid storing soy paper near strong-smelling foods since it can absorb odors easily. If you don’t plan to use it soon, refrigeration is a good option, but ensure it’s well-wrapped to avoid moisture contact.
Following these steps will help you maintain fresh, pliable soy paper ready for your culinary needs.
Shelf Life Considerations
Proper packaging and storage directly impact how long your soy paper stays fresh and usable. To maximize shelf life, you need to protect soy paper from moisture, air, and light, which can degrade its quality.
Use airtight packaging to keep it dry and prevent contamination. Store soy paper in a cool, dark place to slow down spoilage and maintain texture. Keep it away from strong odors, as soy paper easily absorbs smells.
Here’s what to focus on:
- Use vacuum-sealed or resealable plastic packaging
- Store at temperatures below 25°C (77°F)
- Avoid exposure to direct sunlight or fluorescent light
- Keep soy paper away from strong-smelling foods or chemicals
Conclusion
So, now that you know soy paper starts as humble soybeans and ends up as those delicate sheets wrapping your sushi, you can impress your friends with your newfound “culinary science” skills.
Just remember, it’s not magic—it’s painstakingly processed bean paste getting a glow-up.
Next time you unwrap soy paper, give a little nod to the hardworking soybeans who traded their cozy pod for a life of thin, tasty fame.
Who knew beans could be so glamorous? Soy paper is more than just a sushi wrap; it’s a testament to how soybeans can be transformed through careful processing into a versatile, flavorful food product. So whenever you enjoy that light, chewy texture, remember the journey from soybean to soy paper—a delicious example of culinary innovation.