How to Print Vellum Paper in 3 Simple Steps
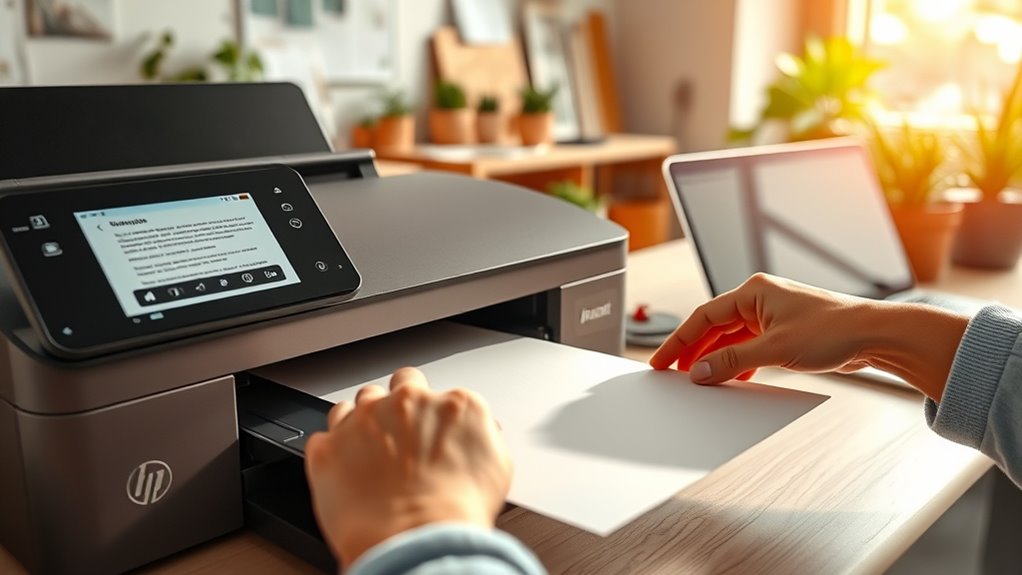
To print vellum paper easily, first prepare your printer by loading the vellum carefully—face up for inkjets or face down for lasers—and handle sheets by their edges to avoid smudges. This step is crucial because vellum is delicate and prone to smearing if not handled properly. Getting this right sets a smooth path for your printing project.
Next, adjust your printer settings to select a specialty paper type, lower the print speed, and increase resolution for sharp results. These tweaks help your printer work with the vellum’s unique texture and transparency, ensuring that your images and text come out crisp and clear.
Finally, print gently, allow the ink to dry fully before touching, and store prints flat in a cool, dry place. Taking your time here prevents smudging and curling, preserving your prints beautifully. Keep following these tips to refine your vellum printing skills—it really makes all the difference!
Preparing Your Printer and Vellum Paper
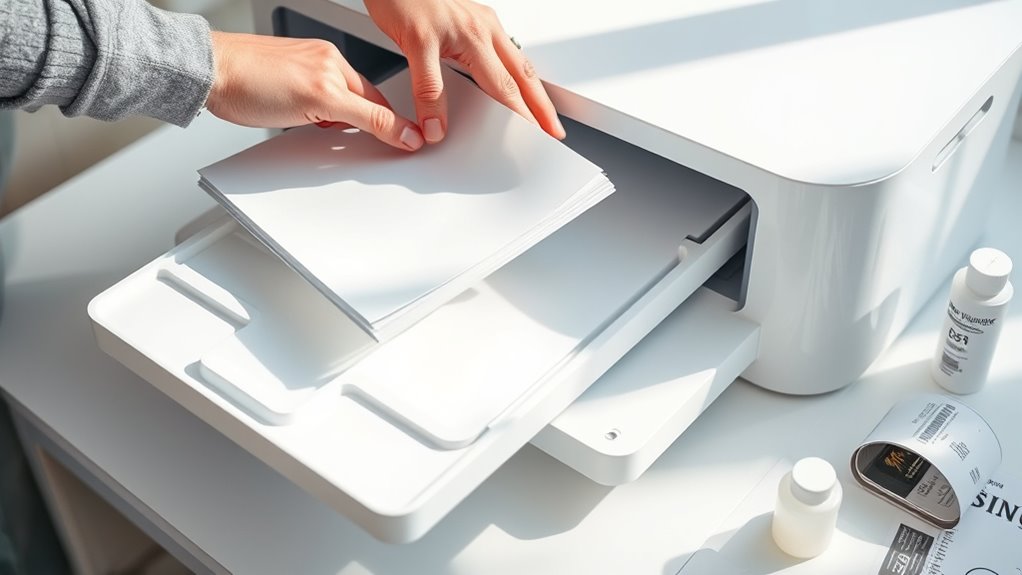
Before you start printing on vellum paper, you’ll need to adjust your printer settings to handle its unique texture and thickness. But first, make sure your vellum is compatible with your printer type—inkjet or laser.
Vellum is delicate, so load it carefully to prevent jams or smudges. Place the vellum sheet in the manual feed tray or the printer’s front tray, usually face up for inkjet printers and face down for laser ones.
Handle the vellum by the edges to avoid fingerprints or oils that can affect print quality. Also, ensure your printer’s rollers are clean to maintain smooth paper feeding.
Taking these preparation steps helps protect your vellum and guarantees crisp, clear prints from the start. It’s worth the extra care to get the best results!
Adjusting Printer Settings for Optimal Results
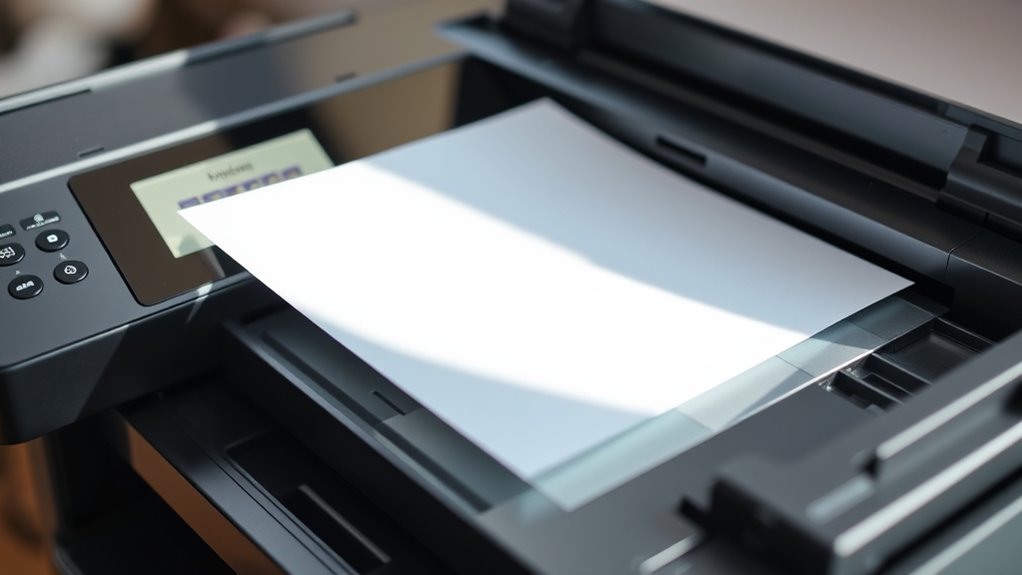
Though vellum requires special care, adjusting your printer settings is key to achieving sharp, smudge-free prints. Start by selecting the correct paper type in your printer menu, usually labeled as “transparency” or “specialty paper.” This helps control ink flow and drying time.
Adjust printer settings and select “transparency” paper type to ensure sharp, smudge-free prints on vellum.
Lower the print speed if your printer allows—it reduces smudging. Also, choose a higher print resolution to enhance detail on vellum’s smooth surface. Disabling duplex printing is wise since vellum can jam or curl.
Finally, turn off any ink smoothing or enhancement features to avoid excess ink buildup.
- Set paper type to “transparency” or similar
- Reduce print speed for better ink absorption
- Increase resolution for crisp detail
- Disable duplex printing to prevent jams
- Turn off ink smoothing to avoid smudges
Printing and Handling Your Vellum Prints
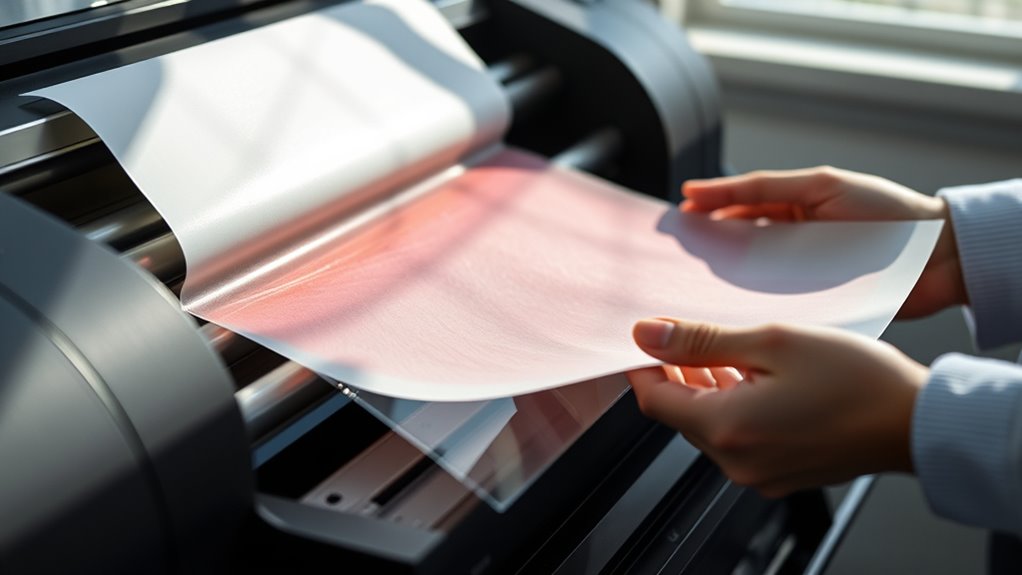
Once your printer settings are dialed in, you can start printing on vellum with confidence. Just remember, you’ll need to handle each sheet carefully to avoid smudges and creases.
Use a gentle touch when removing prints, and allow ink to dry fully before stacking or touching. Also, avoid using too much ink to prevent bleeding or smearing.
Store your prints flat in a cool, dry place to keep their quality intact.
| Task | Tip |
|---|---|
| Removing prints | Handle edges only |
| Drying prints | Let sit 5-10 minutes |
| Storing prints | Store flat, avoid sunlight |
Following these steps ensures your vellum prints stay crisp and professional every time.
Conclusion
Now that you’ve mastered printing on vellum paper, you’ll find the process as smooth as silk when you follow these simple steps. Preparing your printer, adjusting the settings, and handling your prints carefully guarantees crisp, clear results every time.
With a little practice, printing on vellum will become second nature. It adds a beautiful, professional touch to your projects that stands out like a beacon in the night.
Keep experimenting and enjoy the creative process! Printing on vellum paper opens up new possibilities for your designs, making your work look polished and unique. So don’t hesitate to try different techniques and settings until you find what works best for you.