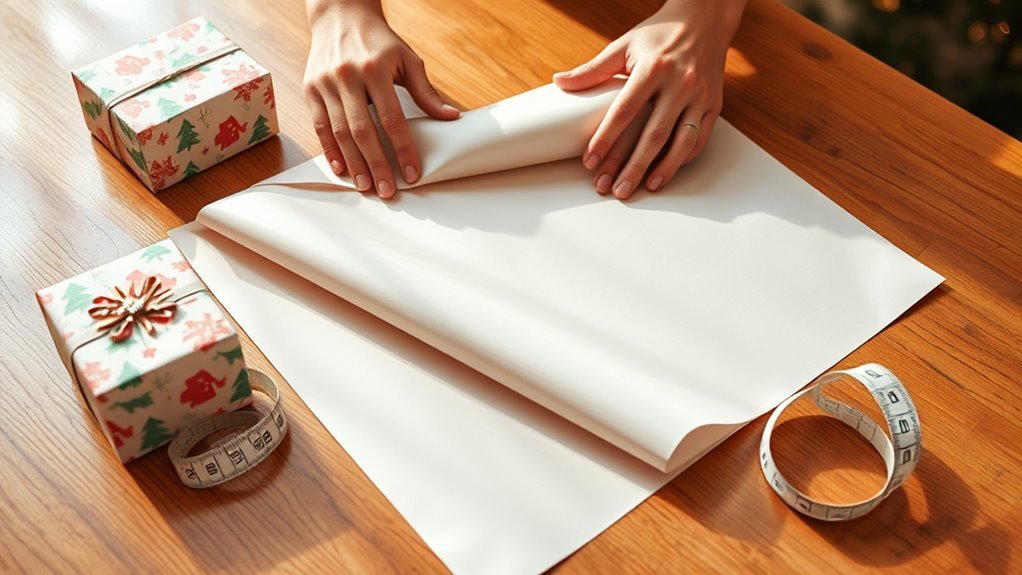
How to Measure Wrapping Paper in 5 Easy Steps
To measure wrapping paper in five easy steps, start by measuring your gift’s length, width, and height with a ruler. This is the first and most important step to get the perfect fit for your wrapping paper.
Next, add 2 to 3 inches to the length so you have enough overlap for secure taping. This little extra makes sure your gift stays wrapped tight and looks neat.
Then, calculate the paper’s width by doubling the sum of the gift’s length and width, plus extra for edges. This helps you cover all sides without running short.
Lay the paper flat, mark your measurements, and cut carefully. Take your time here; precision makes all the difference.
Finally, double-check everything to guarantee a perfect fit before wrapping. Keep going to discover helpful tips and tricks! Wrapping gifts can be fun and easy once you know these simple measuring steps.
Measure the Dimensions of Your Gift
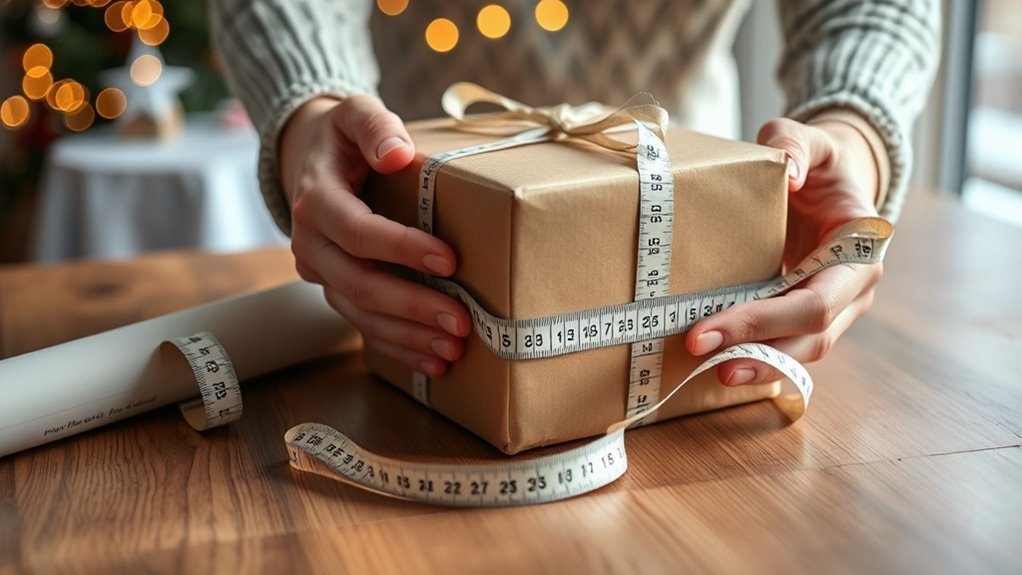
Before you begin wrapping, measure the length, width, and height of your gift carefully. Use a ruler or tape measure to get exact numbers, ensuring your measurements are accurate.
Start by precisely measuring your gift’s length, width, and height with a ruler or tape measure.
Place the gift on a flat surface and measure the longest side first; that’s your length. Next, measure the shorter side for the width. Finally, measure the height from the base to the top.
Write down each dimension clearly. These measurements help you determine how much wrapping paper you’ll need to cover the entire gift without wasting material.
Keep your measuring tool steady and read the numbers at eye level for precision. Taking accurate dimensions at this stage sets you up for a smooth, neat wrapping process.
Don’t rush—small errors can lead to paper that’s too short or overly large. So, take your time and get it right!
Add Extra Length for Overlap
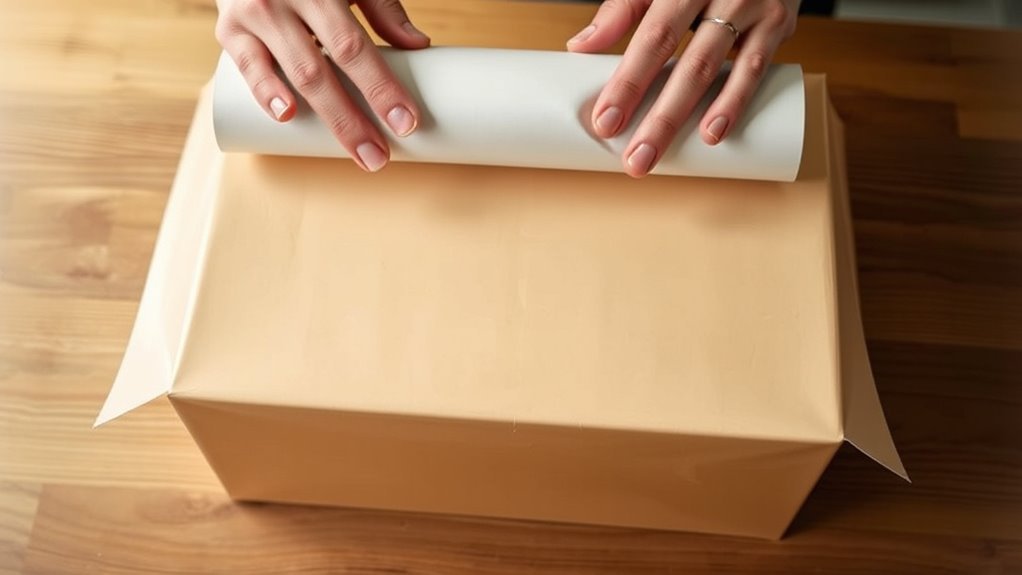
How much extra wrapping paper should you add for overlap? Generally, adding about 2 to 3 inches (5 to 7.5 cm) to the length measurement guarantees you have enough paper to overlap when wrapping your gift.
This overlap is vital because it allows you to secure the paper neatly with tape without risking gaps or exposed edges. Without this extra length, the paper might not cover the gift fully, resulting in a sloppy appearance.
When you add this overlap, you give yourself a margin for error, making the wrapping process smoother and the final result cleaner. So, after measuring your gift’s length, simply add those extra inches to your cut length before you start wrapping.
Calculate the Required Width of Paper
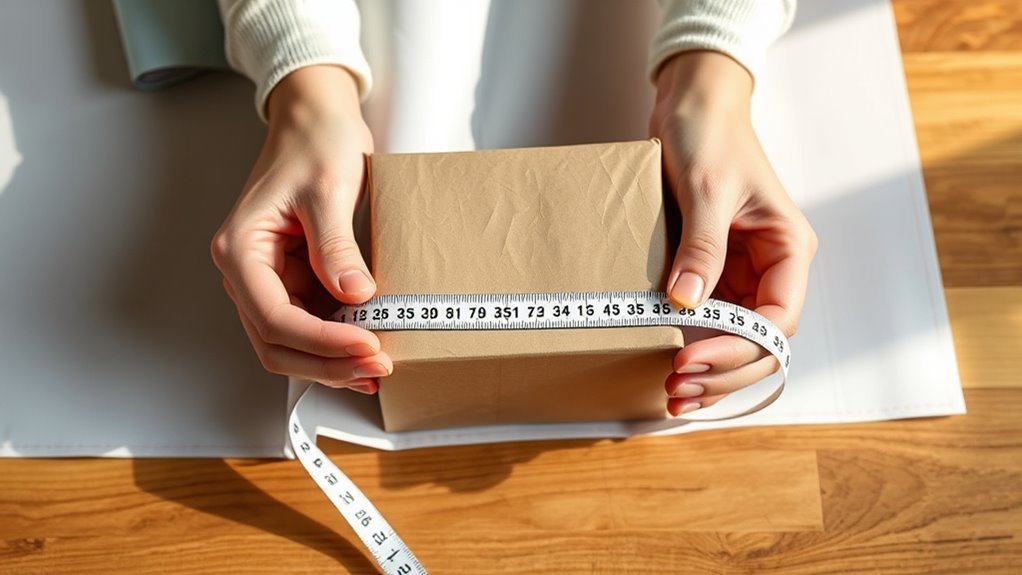
To calculate the required width of wrapping paper, measure the gift’s girth by adding together the length and width of the box, then multiply that sum by two. This measurement guarantees the paper will wrap fully around the box’s perimeter.
Next, add a few extra inches to this width to allow for overlapping edges, which helps secure the paper when you tape it. Don’t forget to contemplate the thickness of bows or embellishments if you plan to add any, adding a little more width accordingly.
Mark and Cut the Wrapping Paper
With the correct width calculated, you can now lay out the wrapping paper flat on a clean surface. Smooth out any wrinkles or folds to guarantee an even cut.
Using a ruler or measuring tape, measure the length you need along the paper, adding a few extra inches for overlap and folding. Mark this length clearly with a pencil or light pen to avoid visible marks later.
Next, align a straight edge or ruler along your marks. Hold it firmly to prevent slipping, then carefully cut along the edge with sharp scissors or a craft knife. Taking your time here assures clean, precise edges, which make wrapping easier and neater.
Once cut, your paper is ready for the next step in wrapping your gift perfectly.
Double-Check Measurements Before Wrapping
Before you start wrapping, double-checking your measurements guarantees the paper fits perfectly around your gift. Measure the length and width again to avoid surprises.
It’s easy to misjudge the size, especially with oddly shaped boxes. Double-checking helps prevent wasted paper and keeps your wrapping neat.
Here’s a quick checklist to review before cutting:
| Step | What to Check | Why It Matters |
|---|---|---|
| Measure Length | Paper length matches box | Ensures full coverage |
| Measure Width | Paper width covers box | Avoids gaps or tears |
| Mark Correctly | Mark lines straight | Makes folding easier |
| Re-Measure | Confirm all dimensions | Prevents mistakes |
Conclusion
Now that you’ve mastered measuring your wrapping paper like a pro, you’re ready to wrap your gift in a perfect hug of paper. Think of your careful measurements as the gentle brushstrokes that turn a simple package into a treasured surprise.
With every fold and cut, you’re weaving anticipation and joy into the gift’s story. So go ahead—wrap it up beautifully, knowing you’ve set the stage for smiles and unforgettable moments.
Measuring wrapping paper correctly is the key to a neat and polished look. It ensures you have just the right amount to cover your gift without waste. So, use these easy steps as your guide whenever you’re ready to wrap a present that looks as thoughtful as the gift inside.
Remember, great wrapping paper measurement makes your gift stand out and adds that special touch everyone will appreciate. Happy wrapping!