How Do You Make a Paper Mache Volcano in 5 Easy Steps
To make a paper mache volcano in 5 easy steps, start by gathering strips of newspaper, glue or flour paste, and a sturdy base. These basic materials are all you need to create an exciting volcano model that’s perfect for school projects or fun crafts at home.
Build the volcano shape around a plastic bottle or cup using paper and tape. This will give your volcano a solid structure to work with, making the next steps easier and more enjoyable.
Next, mix a smooth paste of flour and water. Dip the paper strips in the paste and layer them over your structure, letting each layer dry thoroughly before adding the next.
Finally, finish by painting your volcano with browns and reds to give it a realistic, fiery look. Keep going to discover tips for adding texture and decorations that will make your volcano truly stand out!
Gather Your Materials
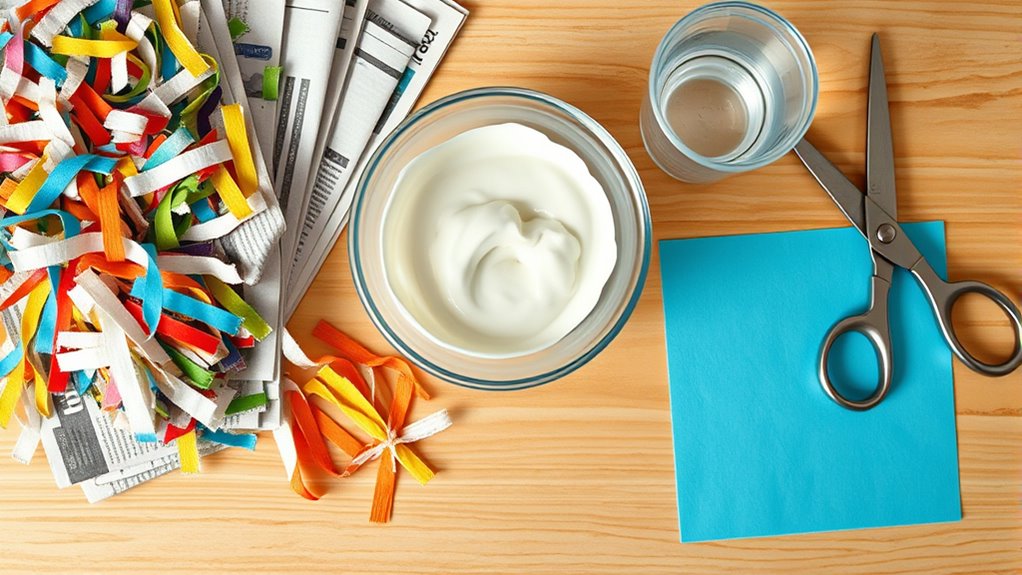
Where do you begin when making a paper mache volcano? First, gather your materials. You’ll need newspaper or scrap paper torn into strips, white glue or flour for your paste, and water.
Collect a large bowl to mix the paste and a spoon or whisk to stir. Grab a sturdy base like cardboard or a tray to build your volcano on. Don’t forget paint—brown, green, red, and orange work well for realistic colors.
You’ll also want a plastic bottle or cup to serve as the volcano’s core. Have some old clothes or a protective covering ready to keep your workspace clean.
Build the Volcano Structure
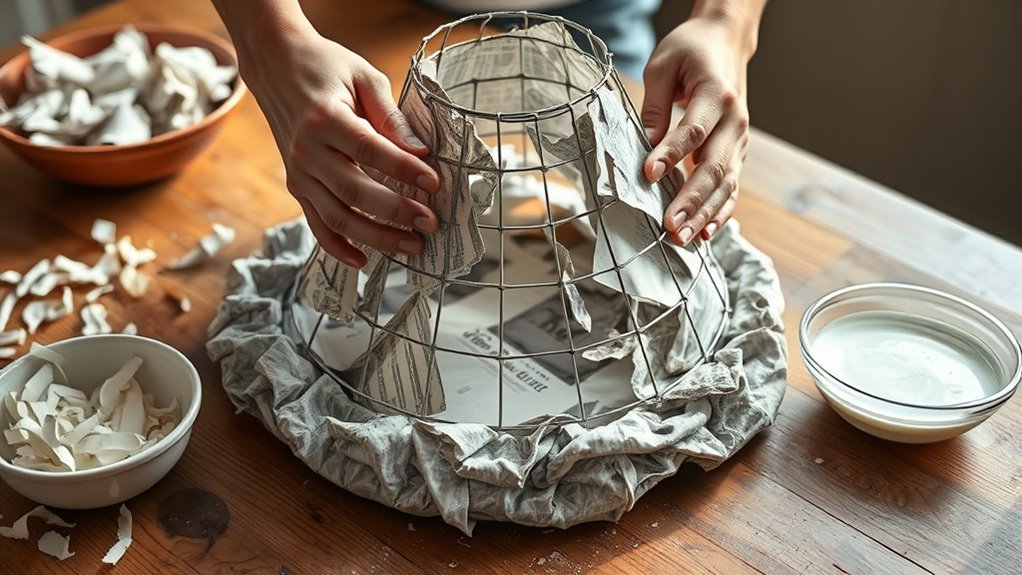
Once you have your materials ready, start by shaping the core of your volcano using the plastic bottle or cup. Position it upside down on a sturdy base like cardboard.
Next, tear newspaper or scrap paper into strips or small pieces. Crumple some paper loosely to form the volcano’s rough outer shape around the bottle.
Use masking tape or painter’s tape to secure the paper, building up layers to create slopes and a crater at the top. Make sure the structure is stable and resembles a mountain shape.
Keep the opening at the bottle’s mouth clear since that will serve as your volcano’s vent. This basic framework sets the stage for applying your paper mache paste later, so guarantee your shape is firm and well-formed before moving on.
Prepare the Paper Mache Paste
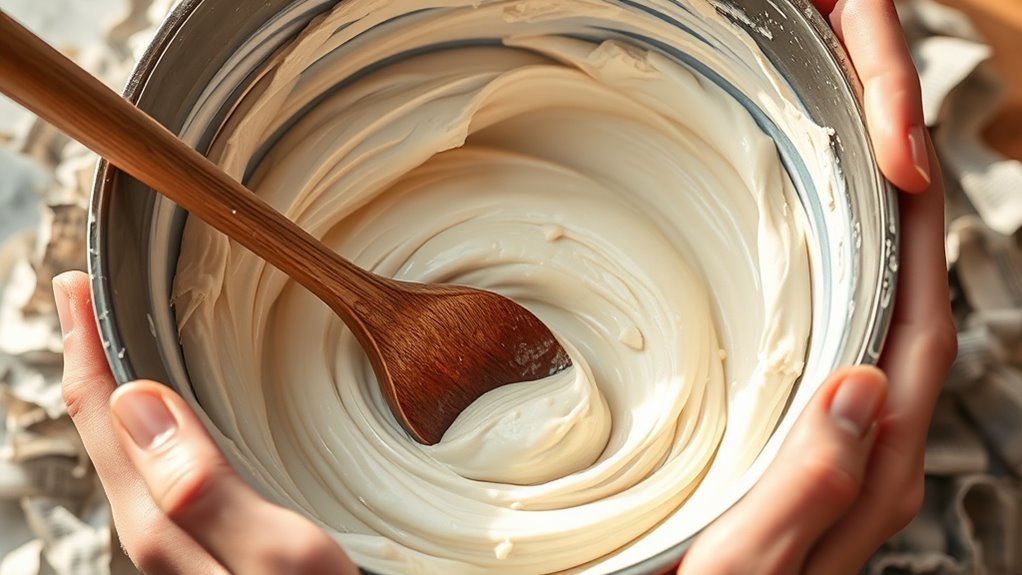
Although the paper mache paste is simple to make, preparing it carefully guarantees your volcano holds together well. Start by mixing one part flour with two parts water in a bowl.
Mix one part flour with two parts water for a strong, reliable paper mache paste.
Stir the mixture thoroughly until it becomes smooth and free of lumps. If the paste feels too thick, add a little more water, but keep it thick enough to coat your paper strips without dripping.
You can also add a pinch of salt to prevent mold. Avoid using glue or overly watery paste, as these can weaken your structure.
Once mixed, let the paste sit for about 10 minutes to thicken slightly. Now, you’re ready to apply it, confident that your volcano will stay sturdy and last through your project’s excitement.
Apply Paper Mache Layers
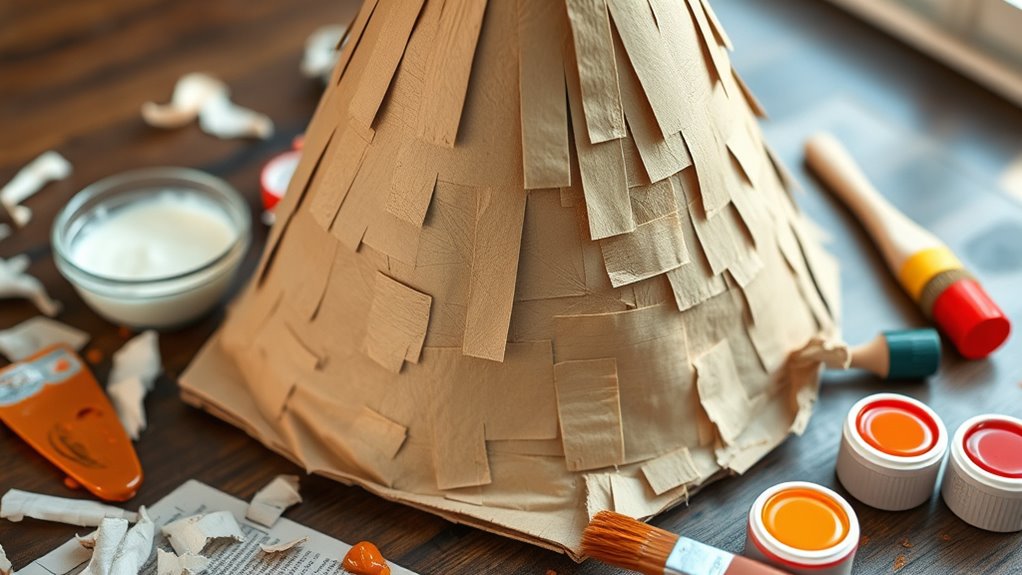
Before the paste dries, dip strips of newspaper into the paper mache mixture and smooth them over your volcano frame. This step is vital for building a sturdy structure.
Follow these tips to apply your layers effectively:
- Overlap Strips: Lay the strips so they overlap slightly, which strengthens the model and prevents cracks.
- Cover Entire Frame: Make sure to cover all parts of the frame, including any openings or edges, to create a uniform surface.
- Apply Multiple Layers: Add 3 to 4 layers, letting each dry partially before adding the next to ensure durability.
Once you finish, let the layers dry completely. This will give your volcano a solid base, ready for the next stage of your project.
Paint and Decorate Your Volcano
After your paper mache layers have dried thoroughly, you can bring your volcano to life with paint and decorations. Start by painting the entire volcano with brown or dark gray acrylic paint to mimic natural rock.
Next, add details like green or mossy patches to represent vegetation. For the crater, use red, orange, and yellow paints to simulate lava. You can blend these colors to create a fiery effect.
Once the paint is dry, consider adding texture with small twigs, sand, or glitter to enhance realism. If you want, glue on tiny plastic dinosaurs or trees around the base for extra fun.
Remember to let every layer dry completely before adding more paint or decorations to avoid smudging. Your volcano is now ready for its big eruption!
Conclusion
Now that you’ve crafted your colorful creation, celebrate your creative courage! Building a paper mache volcano brings both fun and fascination, fueling your imagination and fine-tuning your crafting skills.
With patience and passion, you’ve transformed simple supplies into a spectacular scientific showpiece. Keep experimenting, exploring, and enjoying every exciting endeavor.
Remember, making masterpieces like this volcano isn’t just about the final flourish—it’s about the joyful journey and the skills you sharpen along the way! Creating a paper mache volcano is a fantastic way to learn and have fun, so keep crafting and let your creativity erupt!