How to Stretch Watercolor Paper in 5 Easy Steps
To stretch watercolor paper, start by soaking a clean sheet in cool water for 5-10 minutes. This helps relax the fibers and prepares the paper for painting.
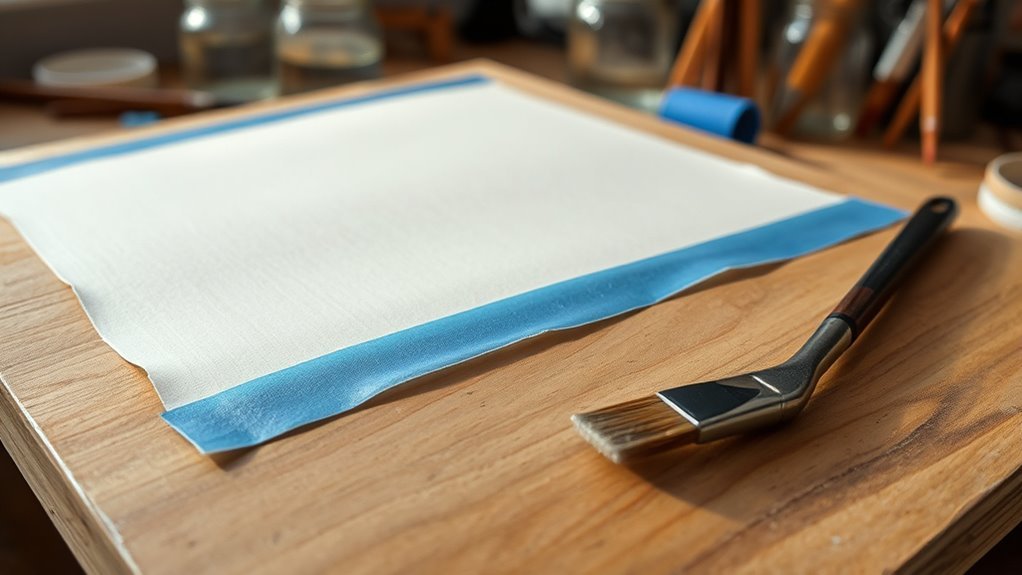
Next, place the wet paper on a smooth board. Firmly tape down all the edges using gummed or artist’s tape to prevent any air pockets from forming.
Let the paper dry completely in a well-ventilated spot until it becomes firm. This step is key to ensuring your paper stays flat while you work.
Finally, carefully remove the tape and flatten the paper if needed.
Follow these simple steps, and your paper will be perfectly prepared for painting. There’s more to mastering the technique ahead, but this is a great place to start!
Preparing Your Materials
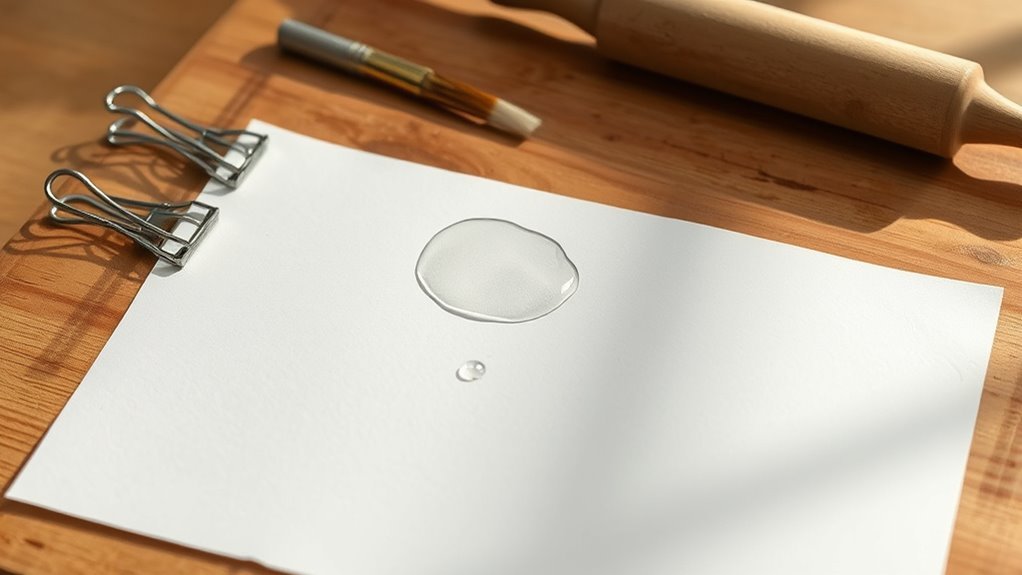
Before stretching your watercolor paper, gather all necessary materials to guarantee a smooth process. You’ll need a clean, flat board, like a wooden or foam board, to mount your paper. Have masking tape or gummed tape ready to secure the paper edges firmly.
Prepare a large enough container or sink for soaking, but we’ll cover soaking in the next section. Keep a sponge or clean cloth handy to remove excess water and air bubbles.
A ruler and pencil help mark dimensions if you want precise edges. Ultimately, confirm your workspace is clean and level to prevent warping during drying.
Having these items ready saves time and helps you focus on stretching your paper evenly for the best painting results.
Soaking the Watercolor Paper
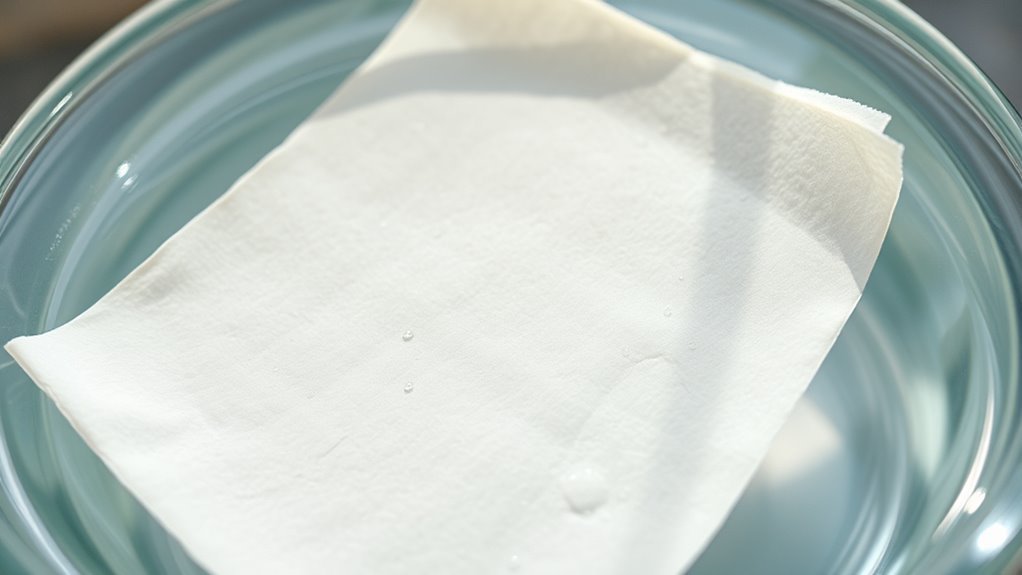
Once you’ve gathered your materials, soak your watercolor paper in clean, cool water to relax the fibers and prevent buckling during painting. Submerge the entire sheet fully, making sure it’s flat and free from air bubbles.
Let it soak for about 5 minutes if you’re using thinner paper, or up to 10 minutes for thicker, heavier sheets. Just be careful not to soak it too long, because that can weaken the paper’s surface.
Soak thinner paper for 5 minutes, thicker for up to 10, but avoid over-soaking to protect the surface.
After soaking, gently lift the paper from the water, supporting it evenly to avoid tears or creases. Let the excess water drip off briefly, but don’t squeeze or wring the paper.
This step is really important because properly hydrated fibers stretch evenly. That gives you a smooth surface that holds paint beautifully without warping or bubbling.
Securing the Paper to a Board
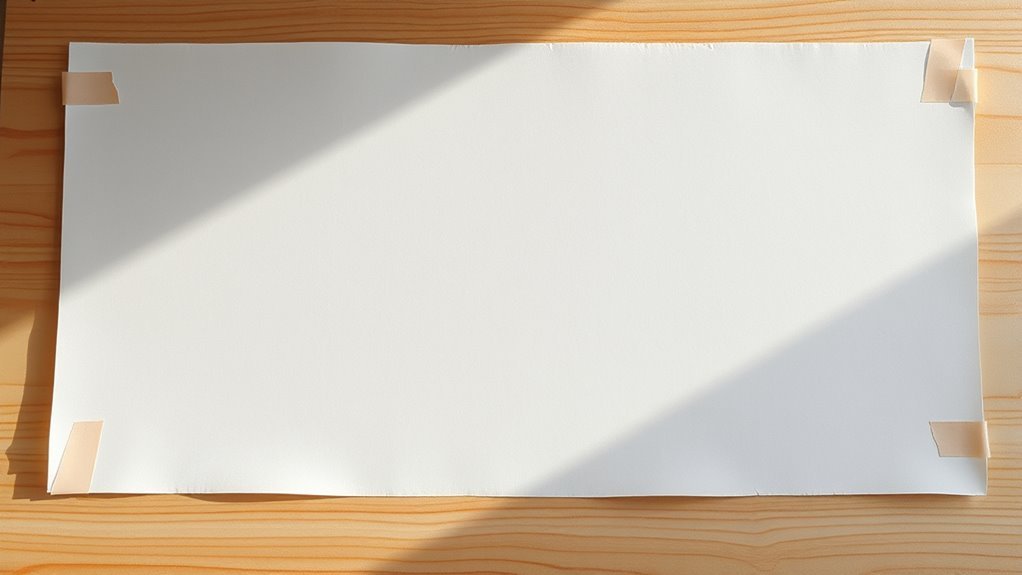
After soaking your watercolor paper, you’ll want to secure it firmly to a board to keep it flat as it dries. Place the wet paper onto a clean, smooth wooden or masonite board. Align it carefully, then use gummed paper tape or artist’s tape along all four edges to hold it in place.
Press the tape down firmly to prevent any air pockets or lifting. You can also use staples or push pins, but tape is gentler and less likely to damage the paper. Make sure the tape overlaps the edges slightly to avoid water seeping underneath.
This setup restricts the paper’s natural tendency to warp, ensuring a smooth, even surface ready for painting once fully dried. It really helps keep things nice and flat, so your colors won’t get distorted as you work.
Allowing the Paper to Dry Completely
While the paper is secured to the board, you’ll need to let it dry completely to guarantee it stays flat and taut. Depending on the humidity and temperature, drying can take anywhere from several hours to overnight.
Avoid rushing this step because damp paper will warp or buckle once you start painting. Place the board in a well-ventilated area with good airflow, but keep it out of direct sunlight to prevent uneven drying or discoloration.
Check the paper’s surface by gently touching it; if it feels cool or damp, it’s not ready yet. When the paper is fully dry, it’ll feel firm and smooth, indicating that the fibers have contracted evenly.
This ensures a perfect, stable base for your watercolor work without unwanted warping later. Just be patient—it’s worth the wait!
Removing the Paper and Final Touches
When your watercolor paper feels completely dry and firm, you can carefully remove it from the stretching board. Start by gently loosening the tape or staples holding the paper in place, taking care not to tear the edges.
If you used tape, peel it back slowly at a low angle. Once freed, lay the paper flat on a clean surface.
Check for any uneven edges or buckling. If slight warping occurs, you can place the paper under a heavy book or board overnight to flatten it further.
Finally, trim the edges if needed to clean up the surface. Now your stretched watercolor paper is ready for painting, offering a smooth, flat surface that prevents unwanted warping during your artistic process.
Conclusion
Now that you’ve stretched your watercolor paper, you’re ready to bring your creativity to life without worrying about unwanted warps or wrinkles. Think of this simple process as giving your artwork a strong, steady foundation—like planting roots that let your colors bloom beautifully.
With just a little patience and care, your paintings will shine even brighter. So, grab your brushes and let your imagination flow freely on that perfectly prepared canvas!
Stretching watercolor paper is a game-changer. It keeps your artwork flat and smooth, making your colors blend more naturally. Whether you’re a beginner or a pro, this technique helps your paintings look their absolute best. So, take these 5 easy steps to stretch your paper and watch your watercolor creations come to life with vibrant, flawless results!