How to Remove Contact Paper in 7 Easy Steps
To remove contact paper in seven easy steps, start by gathering some handy tools like a utility knife, scraper, and hairdryer. These will make the process much smoother and less frustrating.
Preparing the surface is key—clear away any debris and gently loosen the edges with a fingernail or scraper so the paper is ready to come off.
Peel the contact paper slowly at a 45-degree angle. If the adhesive feels stubborn, apply some heat with the hairdryer to soften it up. This little trick helps the paper come off without tearing or leaving too much residue behind.
If you notice any sticky leftover bits, don’t worry. Use rubbing alcohol or a bit of oil to clean those areas.
Finally, wipe and buff the surface to bring back its original shine. Stick with these steps, and you’ll find the whole process a lot easier than you might expect!
Gather Your Supplies
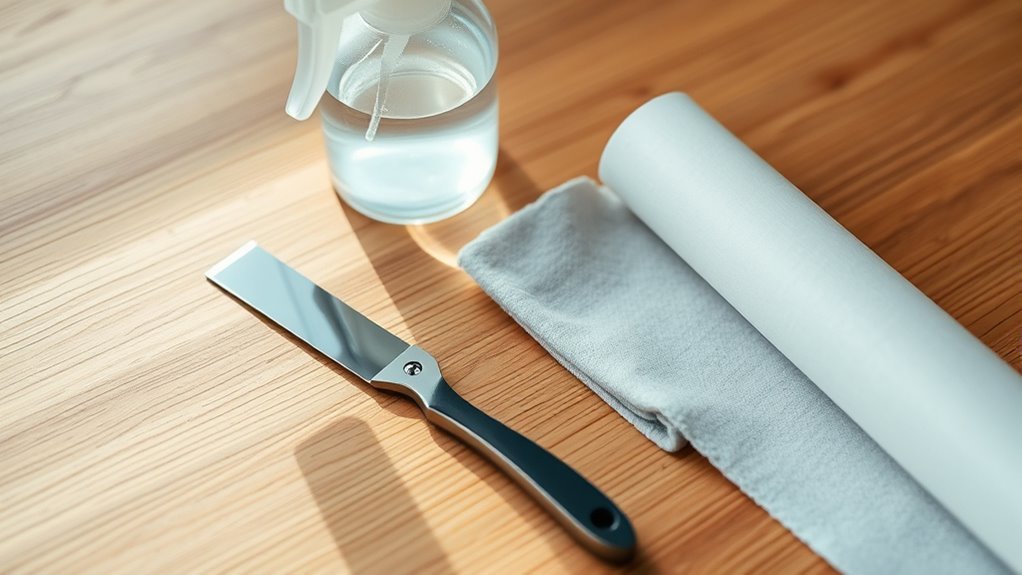
Before you begin removing contact paper, gather all the necessary supplies to make the process smoother. You’ll need a utility knife or razor blade to score the paper gently if it’s stubborn.
Have a plastic scraper or an old credit card handy to peel off the paper without damaging the surface underneath. Keep a hairdryer or heat gun nearby to soften the adhesive, making removal easier.
Prepare some cleaning cloths or sponges to wipe away any residue left behind. You might also want adhesive remover or rubbing alcohol for tough sticky spots.
Finally, keep a trash bag or container ready for discarded paper pieces. Having all these tools at your fingertips will save time and reduce frustration during the process.
Prepare the Surface
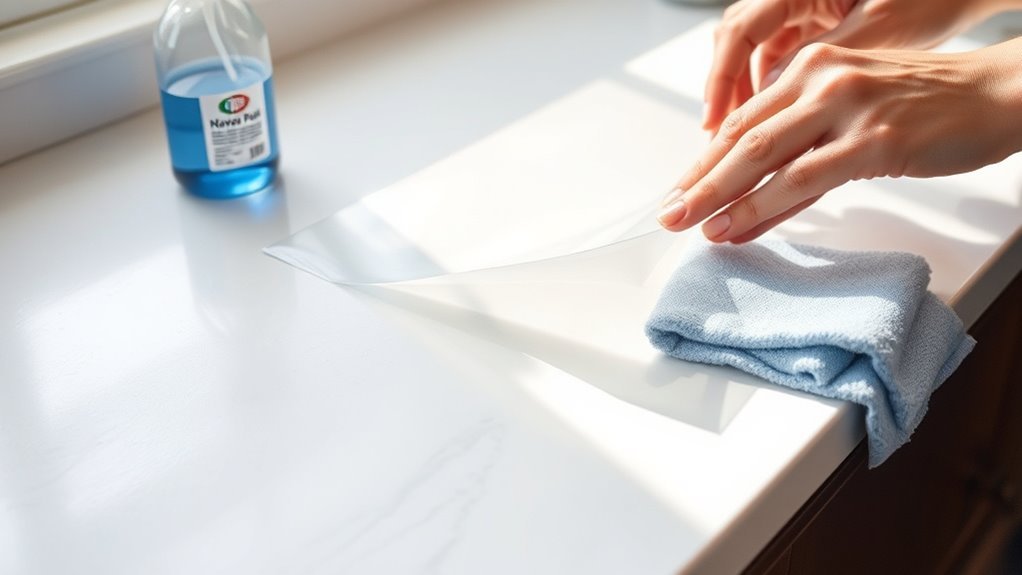
Before you start removing the contact paper, clear the work area to give yourself plenty of room. Make sure you have all the necessary tools within reach to avoid interruptions.
Finally, test a small spot to verify the surface can handle the removal process without damage. This way, you won’t run into any surprises later on.
Clear Work Area
Where will you work to remove the contact paper? Choosing a clear, well-lit space makes the job easier and safer.
Before you start peeling, guarantee your work area is free from clutter to avoid accidents or damage.
Here’s how to clear your work area effectively:
- Remove any objects or decorations near the surface to give yourself ample space.
- Clean the area to prevent dust or debris from interfering with the removal process.
- Lay down a protective cloth or newspaper to catch any adhesive residue or scraps.
Gather Necessary Tools
Once your workspace is clear and protected, gather the tools you’ll need to remove the contact paper efficiently. Start with a plastic scraper or a credit card to gently lift edges without damaging the surface.
Have a hairdryer or heat gun ready to soften the adhesive, making removal easier. Keep a clean cloth or sponge nearby for wiping away residue.
You’ll also want some adhesive remover or rubbing alcohol to tackle stubborn sticky spots. A spray bottle filled with warm, soapy water can help loosen the paper further.
Finally, wear gloves to protect your hands during the process. Having these tools on hand before you start saves time and prevents frustration, ensuring a smoother, faster contact paper removal.
Test Surface Compatibility
Although removing contact paper might seem straightforward, testing your surface’s compatibility first can save you from damage and extra work. Different surfaces react differently to adhesives and removal methods, so performing a quick test helps ensure a smooth process.
Here’s how to test your surface:
- Choose a small, hidden area on the surface.
- Apply a small piece of contact paper and press it down firmly.
- After 15-30 minutes, gently peel it off to check for any damage, discoloration, or residue.
If the surface shows no harm or leftover adhesive, you’re good to proceed with removing the rest of the contact paper. If not, consider alternative removal methods or protective measures to avoid permanent damage.
Loosen the Edges
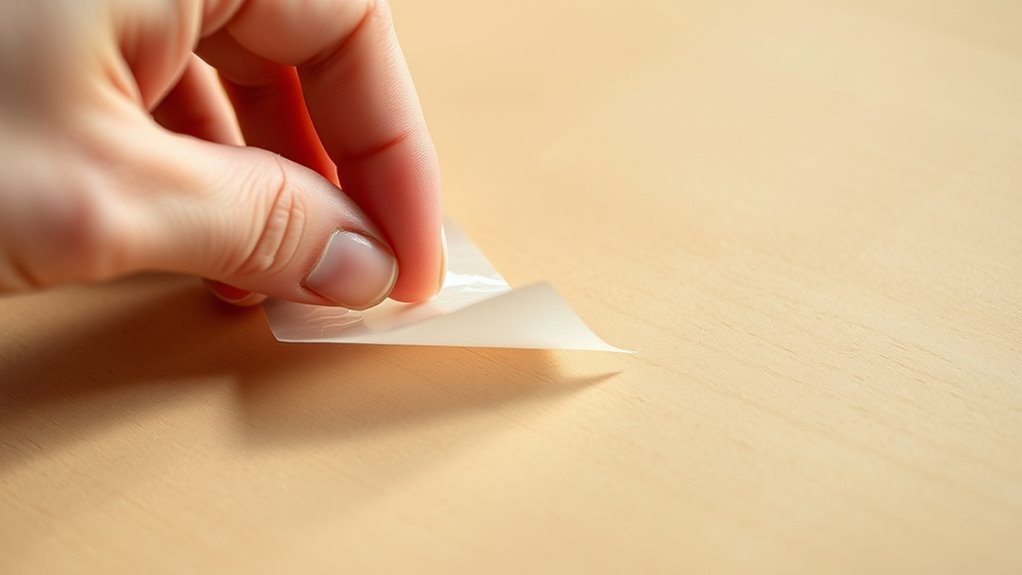
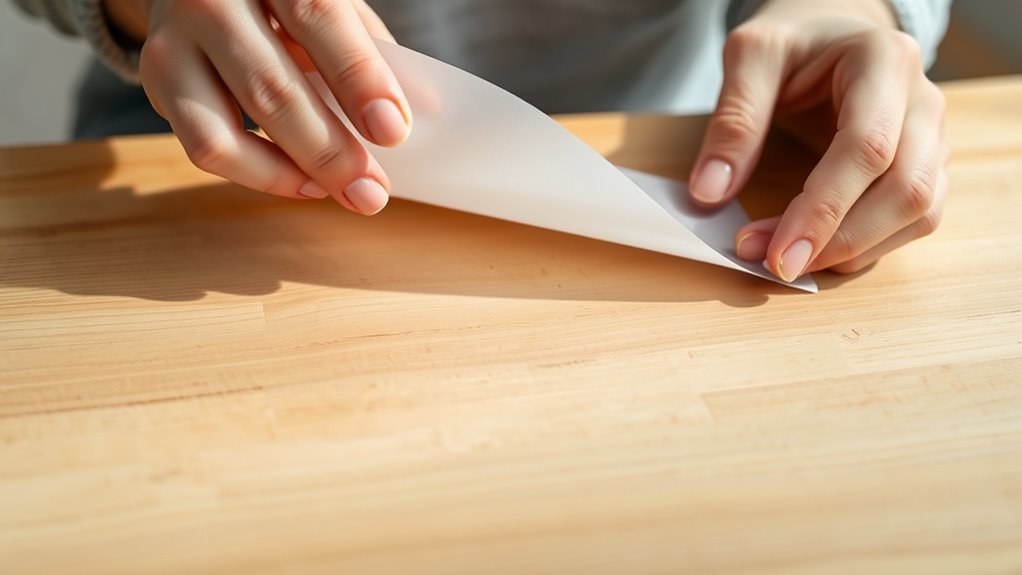
Before you start peeling off the contact paper, focus on loosening the edges carefully. Use your fingernail or a plastic scraper to gently lift a corner or edge without scratching the surface underneath.
If the edges feel stubborn, apply a little heat with a hairdryer set on low to soften the adhesive. Hold the heat source a few inches away and move it slowly across the edge for about 30 seconds.
This will make the adhesive more pliable and easier to separate. Take your time to avoid tearing the paper or damaging the surface.
Once you’ve loosened the edges sufficiently, you’re ready for the next step, which involves peeling off the contact paper slowly and steadily.
Peel Off the Contact Paper Slowly
How should you approach peeling off the contact paper to prevent damage? You want to be gentle and take your time.
Ripping it off quickly can leave adhesive behind or even damage the surface beneath. Instead, peel slowly and steadily, keeping control over the process.
Follow these tips to peel off the contact paper safely:
- Start from a loosened edge and pull the paper back at a 45-degree angle.
- Use your other hand to press down on the surface, reducing tension and preventing tears.
- If you feel resistance, pause and adjust your angle or slow down to avoid ripping.
Use Heat to Soften Adhesive
When you encounter stubborn adhesive that won’t peel off easily, applying heat can help soften it, making removal much smoother. Grab a hairdryer and set it to medium heat. Hold it a few inches away from the contact paper, moving it slowly across the surface.
The warmth will loosen the adhesive’s grip, allowing you to peel the paper back without tearing. Just be careful not to overheat, as excessive heat can damage some surfaces.
If you don’t have a hairdryer, a heat gun on a low setting works too, but keep it moving to avoid burns. Once the adhesive feels tacky and pliable, gently lift the edge and continue peeling.
Using heat saves time and effort, especially with older or more stubborn contact paper. It’s a simple trick that really makes a difference!
Remove Residual Adhesive
Though you’ve peeled away the contact paper, sticky residue often lingers behind. It makes the surface look messy and attracts dirt.
Even after removing contact paper, sticky residue remains, making surfaces look messy and attracting dirt.
To tackle this, you’ll want to remove the adhesive carefully without damaging the surface.
- Use Rubbing Alcohol or Vinegar: Apply a small amount to a cloth and gently rub the sticky spots. These solvents break down adhesive effectively.
- Try Oil-Based Products: Cooking oil, baby oil, or commercial adhesive removers can loosen stubborn residue. Let it sit for a few minutes before wiping.
- Scrape Gently: Use a plastic scraper or old credit card to lift off softened adhesive. Just be careful to avoid scratches.
Clean and Restore the Surface
Now that you’ve removed the adhesive, it’s time to clean the surface thoroughly. Use gentle cleaning techniques to avoid damaging the material while removing any leftover residue.
Finally, restore the original finish by applying the right products to bring back its shine and smoothness. This way, your surface will look as good as new!
Surface Cleaning Techniques
After removing contact paper, you’ll often find sticky residue or dirt left behind that needs your attention. Cleaning the surface properly ensures it’s ready for whatever’s next.
Here’s how you can tackle it:
- Use Warm Soapy Water: Mix mild dish soap with warm water. Dip a cloth in the solution and gently scrub the surface to remove dirt and loosen residue.
- Apply Rubbing Alcohol or Vinegar: Dab a cotton ball with rubbing alcohol or white vinegar. Rub the sticky spots carefully until the residue dissolves.
- Try a Commercial Adhesive Remover: For stubborn residue, use a product designed to break down adhesives. Follow the instructions, and always test in an inconspicuous area first.
These steps will leave your surface clean and ready for the next phase. Give it a go—you’ll be surprised how well it works!
Restoring Original Finish
How do you bring back the original shine and texture once the surface is clean? Start by drying the area thoroughly with a soft cloth to prevent water spots.
Next, apply a suitable polish or conditioner designed for your surface type—wood, laminate, or metal. Use a microfiber cloth to gently buff the product in, following the grain or pattern of the material. This step revives the surface’s natural luster and smoothness.
Avoid harsh chemicals or abrasive tools, as they can damage the finish. If you notice any residual adhesive, a little rubbing alcohol on a cloth can help without harming the surface.
Finally, let everything dry fully before using the area again. This simple routine restores your surface to its original beauty efficiently.
Conclusion
Removing contact paper might seem tricky, but with these simple steps, you’ll find it’s easier than you think. Even if you worry about damaging your surface, taking your time and using gentle heat will protect it while loosening the adhesive.
Just follow the process carefully, and you’ll have a clean, residue-free surface in no time. You’ll be surprised how quickly and smoothly it comes off once you know the right approach!
When you’re ready to remove contact paper, patience is key. Using a hairdryer or warm water to soften the glue makes the job much easier. Slowly peeling it back at a gentle angle helps prevent any damage to your walls, cabinets, or countertops.
If you notice any sticky residue, don’t worry. A little bit of rubbing alcohol or a mild adhesive remover will take care of that without harming your surface. In the end, removing contact paper is straightforward once you know these easy steps. Stick to this guide, and you’ll achieve a clean, smooth finish that looks great!