7 Steps to Marble Paper With Acrylic Paint
To make marble paper with acrylic paint, first gather your paints, sturdy paper, a shallow tray, and tools like toothpicks. Cover your work surface to keep it clean.
Thin your acrylics with water, then drip them onto calm water in the tray.
Use a tool to swirl the colors into marble patterns.
Carefully dip your paper onto the water to pick up the design, then lift and let it dry flat.
Keep moving forward, and you’ll discover tips to perfect this eye-catching craft.
Gather Your Materials
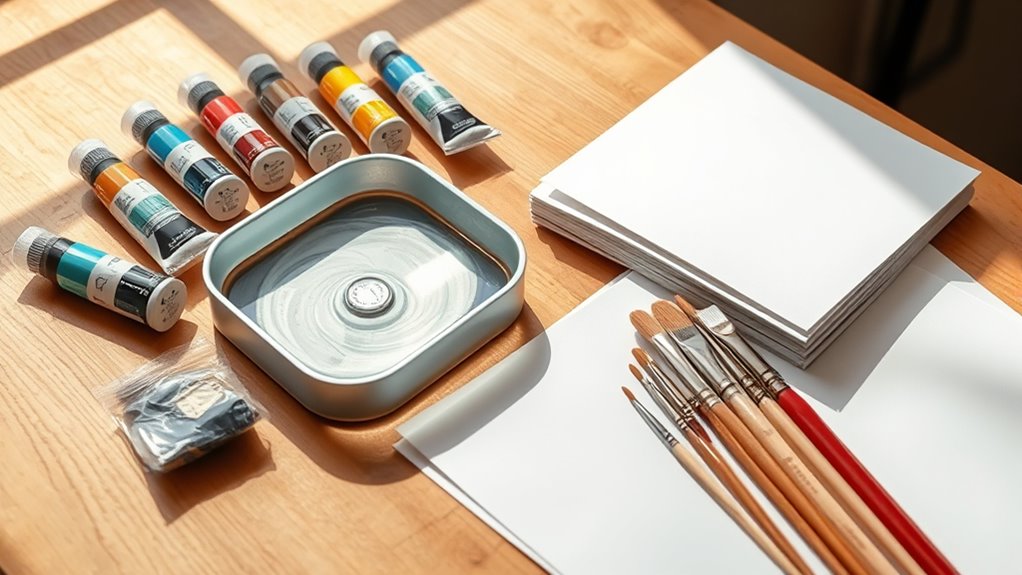
Before you begin, gather all the materials you’ll need to create your marble paper with acrylic paint. Start with a few acrylic paint colors of your choice, ideally ones that contrast well to highlight the marbling effect.
You’ll also need a shallow container or tray large enough to dip your paper into. Select a thick, sturdy paper like watercolor or mixed media paper to withstand the paint and water without tearing.
Have some water handy for rinsing brushes and thinning paint if necessary. Grab a couple of paintbrushes or droppers to apply paint to the water’s surface.
Finally, keep some paper towels or rags nearby to clean up spills and blot excess water from your finished paper. With these materials ready, you’re set to start the marbling process smoothly.
Prepare Your Work Surface
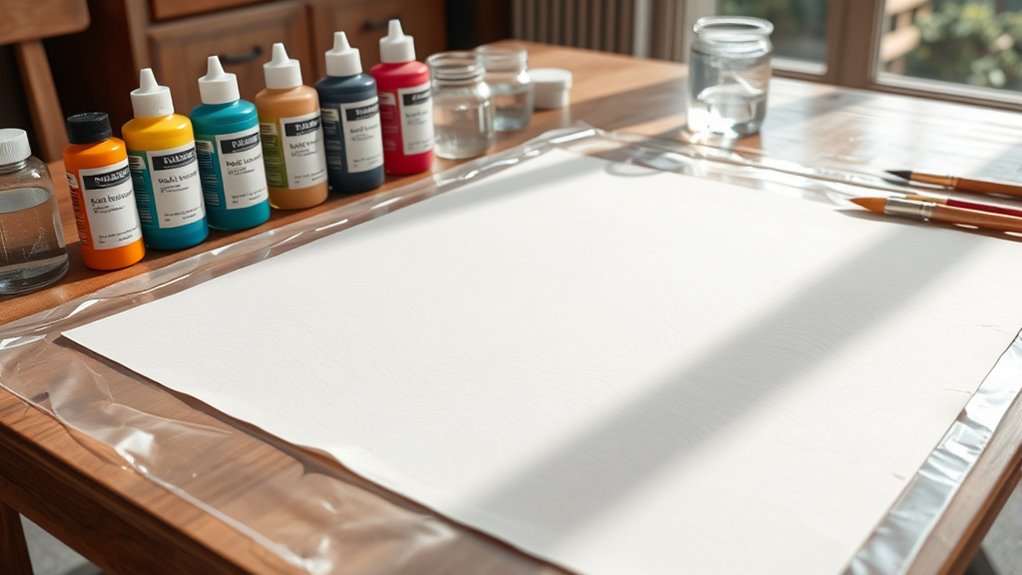
Since marbling can get messy, you’ll want to set up your work surface carefully to protect it and keep your materials organized. Start by covering your table with a plastic sheet, old newspapers, or a disposable tablecloth to catch any paint splatters.
Make sure you have enough space to spread out your paper and paint containers comfortably. Arrange your brushes, paint bottles, water cups, and any tools within easy reach to avoid unnecessary movement.
Keep a roll of paper towels or clean rags nearby for quick cleanups. If you’re working indoors, consider placing a drop cloth on the floor beneath your workspace.
Properly preparing your work area helps you focus on the creative process without worrying about accidental spills or clutter slowing you down.
Mix Your Acrylic Paints
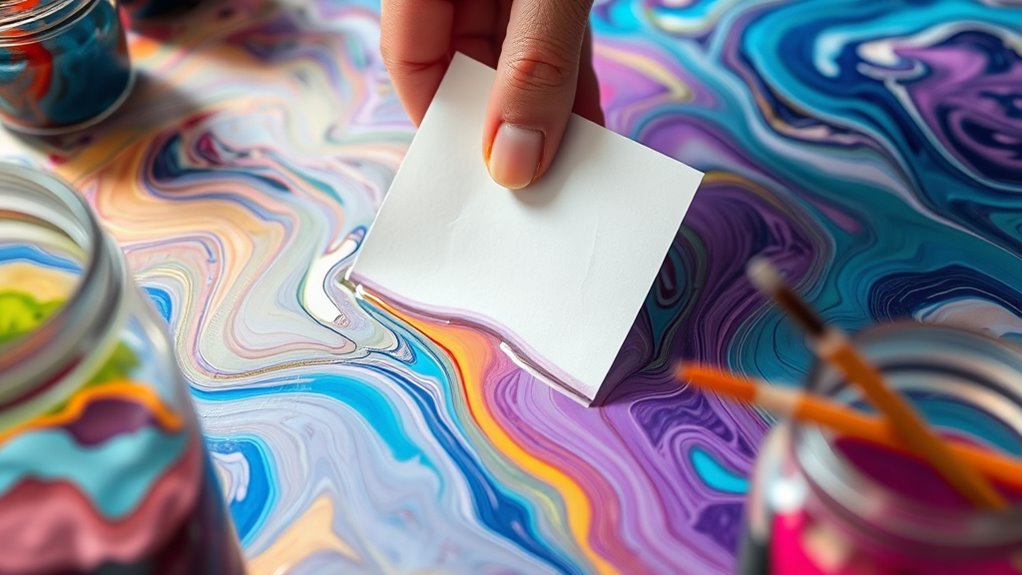
With your workspace set up and protected, you can start mixing your acrylic paints to create the vibrant colors needed for marbling. Begin by selecting a variety of hues that complement each other and reflect the design you want.
Set up your space, then mix acrylic paints in vibrant, complementary hues for stunning marbling effects.
Use a palette or disposable plate to combine colors, adjusting shades as you go. Keep your paints fluid but not too watery, so they spread smoothly on the water’s surface.
- Add a few drops of water or acrylic medium to thin the paint slightly
- Stir each color gently to maintain consistency
- Test small amounts on scrap paper to check flow and opacity
- Prepare enough paint for multiple dips to ensure consistent color
This careful mixing guarantees the stage for beautiful, dynamic marble patterns. It’s all about getting those colors just right before you start.
Apply Paint to Water or Medium
Now that your paints are mixed, it’s time to prepare the water surface for application. You’ll want to guarantee the water or medium is calm and at the right temperature to help the paint float properly.
Then, apply your paint carefully using different techniques to create the patterns you want. Take your time with this step—it really makes a difference!
Preparing the Water Surface
Before you start applying paint, make sure your water or medium is perfectly still to create a smooth surface. Any ripples or movement can mess up the marbling pattern, so take your time to prepare carefully.
Here’s how to get your water surface ready:
- Use a shallow tray that’s wide enough for your paper to float without touching the sides.
- Fill it with clean, room-temperature water or your chosen marbling medium.
Let the water sit for a few minutes to settle completely, and try to avoid any disturbances while it does. Check the surface under good lighting to make sure it’s free of dust, bubbles, or debris.
Once your water surface is calm and clean, you’re all set to start applying your acrylic paints for beautiful marble effects.
Techniques for Paint Application
Although it might seem tricky at first, applying paint to the water surface is a key step that defines your marble pattern. Start by thinning your acrylic paint with water or a pouring medium until it flows easily.
Use a dropper or brush to gently drip paint onto the water’s surface, allowing each color to spread naturally. Don’t overcrowd the surface—leave space so colors don’t merge into a muddy mess.
You can add paint in layers, alternating colors for contrast. Use tools like toothpicks or skewers to swirl and create intricate patterns by dragging through the paint on water.
Work quickly before the paint starts to dry or sink. With practice, you’ll control the flow and design to get stunning, unique marble effects every time.
Create Marble Patterns
Once you have prepared your paint and water mixture, you can start creating the marble patterns by gently swirling the colors on the water’s surface. Use tools like toothpicks or skewers to manipulate the paint without disturbing the water too much.
Keep your movements slow and deliberate to maintain distinct lines and shapes. It really helps to take your time here.
Move slowly and carefully to create clear, beautiful marble patterns—patience makes all the difference.
Experiment with different techniques to achieve unique designs, such as:
- Dragging a toothpick through the paint to create feathered effects
- Making circular motions for a whirlpool pattern
- Pulling straight lines for a striped look
- Blowing gently on the paint to spread and soften edges
Give these a try and see what cool patterns you come up with!
Transfer the Pattern to Paper
After you’ve perfected your marble pattern on the water’s surface, gently lay your paper onto the paint to transfer the design. Lower the paper slowly at an angle, starting from one edge, to avoid trapping air bubbles.
Press it down lightly, making sure the entire surface contacts the paint evenly. Let it sit for a few seconds so the paint can adhere properly.
Then, carefully lift the paper off in a smooth, steady motion to reveal your marbled design. If any paint pools or smudges occur, avoid touching them to keep the pattern crisp.
You can repeat this process with new paint patterns for multiple sheets. Just be mindful not to disturb the water’s surface until you’ve finished transferring all your desired papers.
Let the Paper Dry Completely
Carefully lifting your paper reveals the beautiful marbled pattern you’ve created, but the process isn’t over yet. You need to let the paper dry completely to preserve the vibrant design and prevent smudging.
Carefully lift your paper to reveal the marbled design, then let it dry fully to keep colors vibrant and sharp.
Here’s how to guarantee your masterpiece dries perfectly:
- Lay the paper flat on a clean, dry surface.
- Avoid stacking or folding the paper to prevent creases.
- Keep it away from direct sunlight or heat sources that could warp the paper.
- Allow ample time; drying can take several hours depending on humidity and thickness.
Patience here pays off, as rushing this step may ruin your marbling. Once dry, your paper will be ready for framing, crafting, or any creative project you have in mind.
Conclusion
Now that you’ve mastered these steps, imagine the endless designs you can create with just a splash of paint and a swipe of paper. But here’s the twist—each marble pattern is one of a kind, waiting for you to uncover its secrets.
Ready to experiment, make mistakes, and discover your signature style? Keep pushing your creativity because the real magic happens when you least expect it.
Your next masterpiece in marble paper with acrylic paint is just a swirl away. Embrace the process, have fun with the colors and textures, and watch how your unique marbling art comes to life. With these 7 steps to marble paper, your creative possibilities are truly limitless!