Would Heat Transfer Paper Work on Lanyards Successfully?
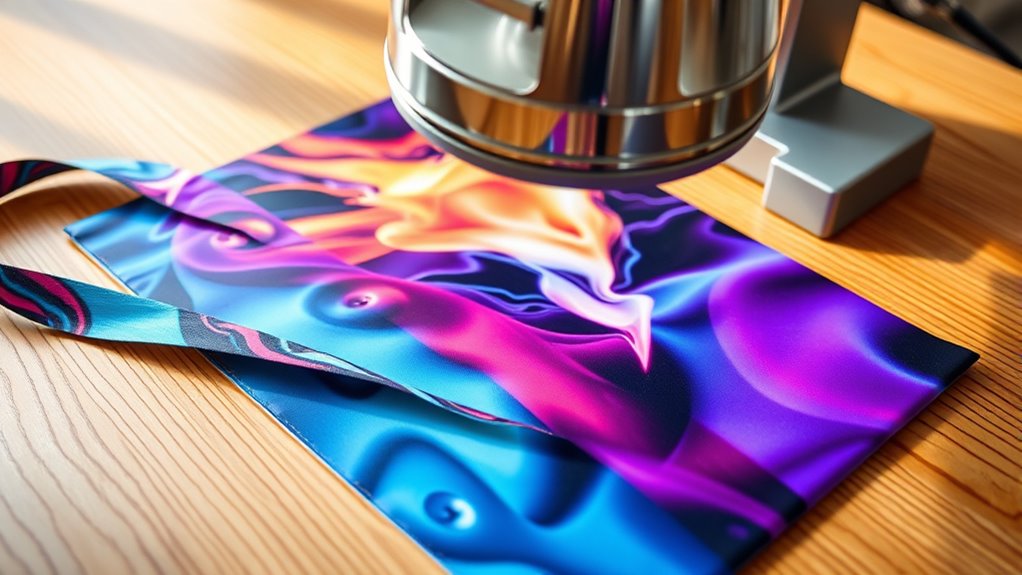
You can successfully use heat transfer paper on polyester lanyards, but it’s less reliable on nylon, cotton, or textured materials.
Getting vibrant, long-lasting results means you’ll need to apply the right heat, pressure, and timing. Plus, prepping the fabric properly plays a big role.
Using high-quality transfer paper and ensuring an even surface are key to making your design pop.
If you want to create professional, colorful designs on lanyards, understanding these details will definitely help you get the best outcome.
Understanding Heat Transfer Paper and Its Uses
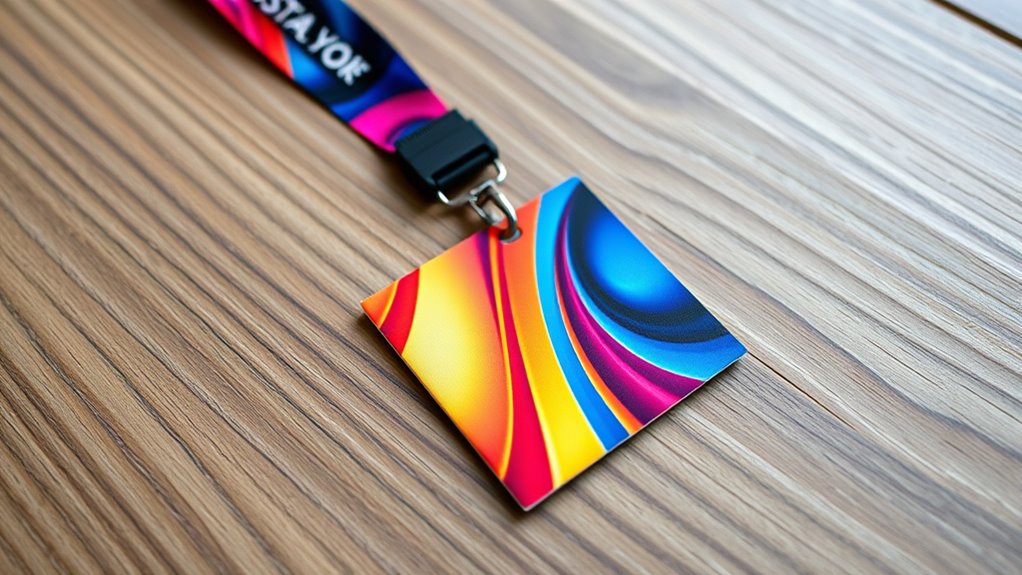
Although heat transfer paper might seem complex, you’ll find it’s a straightforward way to customize lanyards with vibrant, durable designs. You start by printing your desired image or text onto the transfer paper using an inkjet or laser printer, depending on the paper type.
Once printed, you place the paper onto the lanyard fabric and apply heat and pressure, usually with a heat press or iron. This process transfers the ink into the fabric’s fibers, creating a long-lasting design resistant to fading and cracking.
Heat transfer paper works well for intricate, multicolor designs, making it ideal for personalizing lanyards for events, branding, or gifts. It’s quick, efficient, and doesn’t require messy inks or complicated setups, making it accessible even if you’re new to custom printing.
Types of Lanyard Materials and Their Compatibility
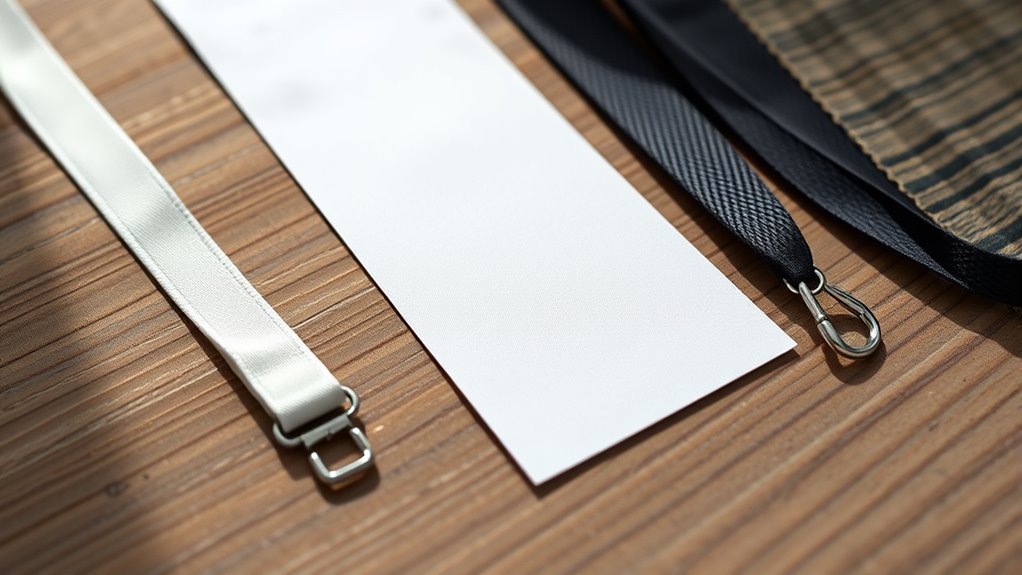
You’ll find lanyards made from polyester, nylon, and cotton, each reacting differently to heat transfer paper. Choosing the right fabric is key to ensuring your design sticks well without damage.
Let’s look at which materials work best with heat transfer methods. It’ll help you pick the perfect lanyard for your project!
Common Lanyard Fabrics
What makes certain fabrics better suited for heat transfer paper on lanyards? It’s all about how well the material can handle heat and pressure without damage.
Here are four common lanyard fabrics you’ll encounter:
- Polyester: Durable and smooth, it’s the top choice for heat transfer due to excellent ink adhesion.
- Nylon: Strong but tricky; it can melt or warp under high heat, so you’ll need to adjust settings carefully.
- Cotton: Breathable but less common for lanyards; it absorbs ink well but may shrink or distort with heat.
- Woven fabrics: These have textured surfaces that might cause uneven transfers, making them less ideal.
Understanding these fabrics helps you pick lanyards that’ll showcase your heat transfer designs clearly and last longer. It’s all about getting the best look without ruining your lanyard!
Heat Transfer Paper Suitability
When choosing heat transfer paper for lanyards, you need to contemplate the material’s compatibility with heat and pressure. Synthetic fabrics like polyester respond well to heat transfer because they withstand high temperatures without damage.
Cotton lanyards, however, might scorch or shrink under intense heat, making them less ideal for this method. Nylon is another common lanyard material, but it’s sensitive to heat and may melt or deform during the transfer process.
If you’re working with blends, test a small area first to ensure the transfer adheres properly without ruining the fabric. Ultimately, you want a lanyard made from materials that can handle the heat press’s temperature and pressure without compromising durability or comfort.
This way, you’ll get vibrant, lasting designs every time.
Factors Affecting Heat Transfer Success on Lanyards
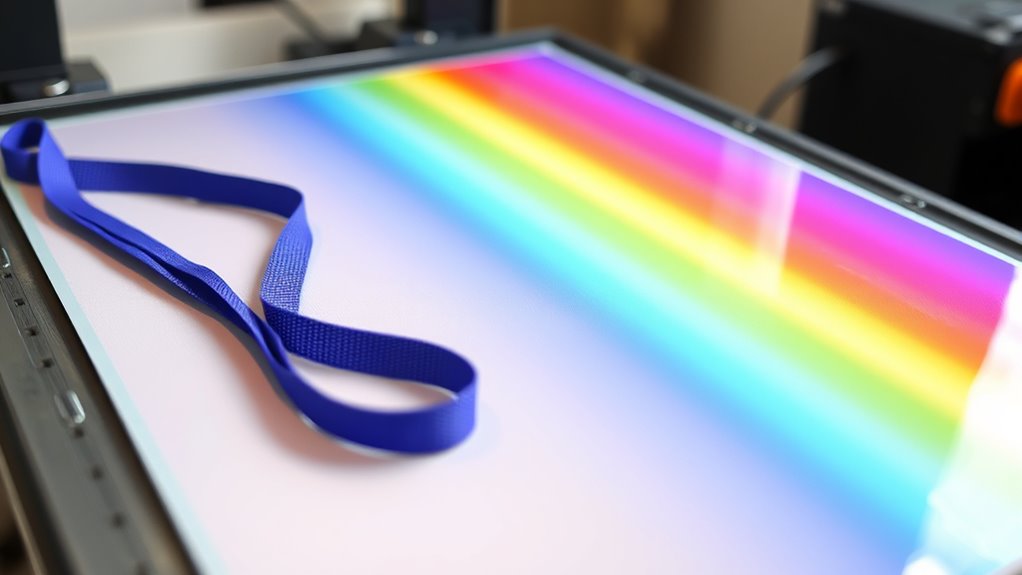
Although heat transfer paper offers a straightforward way to customize lanyards, several factors influence the quality and durability of the final design. You need to contemplate these key elements to achieve the best results:
- Material Type – Synthetic fibers like polyester respond better to heat transfer than natural fibers, which may not hold the design well.
- Surface Texture – Smooth surfaces allow for more even heat application, preventing patchy transfers.
- Heat and Pressure Settings – Applying the correct temperature and pressure ensures the design adheres properly without scorching the lanyard.
- Transfer Paper Quality – Higher-quality papers provide sharper images and longer-lasting prints.
Step-by-Step Process for Applying Heat Transfer to Lanyards
Before you start, make sure the lanyard surface is clean and smooth for the best results. This step is key to getting a nice, even transfer.
Next, position the heat transfer paper carefully on the lanyard. Take your time here so everything lines up just right.
Finally, set your heat press to the right temperature and pressure. This will guarantee a perfect transfer every time.
Preparing the Lanyard Surface
Since a clean and smooth surface guarantees the heat transfer adheres properly, you should start by thoroughly cleaning the lanyard. Dirt, oils, or residues can prevent the transfer from sticking well or cause uneven results.
Follow these steps to prepare your lanyard:
- Use a lint-free cloth dampened with rubbing alcohol to wipe down the entire surface.
- Let the lanyard air dry completely to avoid moisture interfering with adhesion.
Inspect the surface for any stubborn stains or rough spots. If needed, gently sand these areas with fine-grit sandpaper.
Flatten the lanyard on a hard surface to remove any wrinkles or folds that could disrupt the heat transfer process.
Taking these steps ensures your lanyard is primed for a smooth, lasting heat transfer application.
Heat Transfer Paper Application
Once you’ve prepared the lanyard surface, you can start applying the heat transfer paper. First, position your design face-down on the lanyard where you want the image to appear. Use heat-resistant tape to secure the transfer paper and prevent shifting during pressing.
Next, place a Teflon sheet or parchment paper over the transfer to protect it. With your heat press or iron off for now, align everything carefully. When ready, apply heat and pressure according to your equipment’s instructions (we’ll cover specifics later).
After the allotted time, carefully peel the backing sheet while it’s warm or cool based on your paper’s guidelines. Avoid rushing this step to prevent peeling or smudging. Following these steps ensures your design bonds well and looks sharp on the lanyard.
Proper Heat Press Settings
Although applying heat transfer paper to lanyards may seem straightforward, getting the heat press settings right is essential for a durable and vibrant design. You need to carefully control temperature, pressure, and timing to avoid damaging the lanyard or ruining the print.
Follow these steps for best results:
- Set the temperature to 320°F (160°C). This balance ensures proper ink adhesion without melting the lanyard material.
- Apply medium pressure—enough to secure the transfer but not crush the fabric.
- Press for 15 seconds to allow the transfer to bond fully.
- Peel the backing paper cold to prevent smudging or lifting the design.
Common Challenges and How to Overcome Them
When applying heat transfer paper on lanyards, you’ll often face issues like uneven adhesion, color fading, or fabric damage. To get the best results, you need to address these challenges directly.
| Challenge | Cause | Solution |
|---|---|---|
| Uneven adhesion | Incorrect pressure or temp | Adjust heat press settings |
| Color fading | Excessive heat or time | Lower temperature or press time |
| Fabric damage | High heat or rough surface | Use protective sheet, lower heat |
| Transfer peeling | Poor surface prep | Clean lanyard before pressing |
| Curling edges | Cooling too quickly | Let lanyard cool under press |
Following these tips ensures your design stays vibrant and intact on your lanyards. Just take it step by step, and you’ll get great results every time.
Alternative Methods for Customizing Lanyards
If heat transfer paper doesn’t quite fit your needs or you want to explore different looks, several alternative methods can help you customize lanyards effectively. You might consider:
- Screen Printing: Ideal for bold, durable designs. This method applies ink through a stencil directly onto the fabric.
- Embroidery: Adds a professional, textured look by stitching your design onto the lanyard. It’s perfect for logos.
- Sublimation Printing: Uses heat to infuse dye into polyester fabric, creating vibrant, long-lasting images.
- Heat Press Vinyl: You cut your design from vinyl sheets and use a heat press to adhere it. This allows for sharp, clean graphics.
Each option offers unique benefits. So, match the method with your design complexity, fabric type, and budget to get the best results.
Conclusion
Picture your custom design melting perfectly onto your lanyard, vibrant and smooth, ready to turn heads. While heat transfer paper can work well on certain lanyard materials, you’ll want to weigh fabric type and temperature carefully to avoid fading or peeling.
With the right prep and technique, your personalized lanyard will shine bright. If not, don’t worry—there are other creative ways to make your lanyard truly yours.
Heat transfer paper can be a great option for customizing lanyards, especially if they’re made from cotton or polyester blends that handle heat well. Just make sure to test a small area first and follow the recommended temperature settings closely. If you’re working with materials like nylon or vinyl, heat transfer might not hold up as well, and the design could start to peel or fade over time.
In conclusion, heat transfer paper can work successfully on lanyards, but its effectiveness depends largely on the fabric type and your application method. Take care with temperature and prep to prevent damage, and your custom lanyard will look fantastic. If heat transfer isn’t the right fit, explore other options like screen printing or embroidery to create a durable, eye-catching design.