How You Can Print on Notebook Paper Step by Step
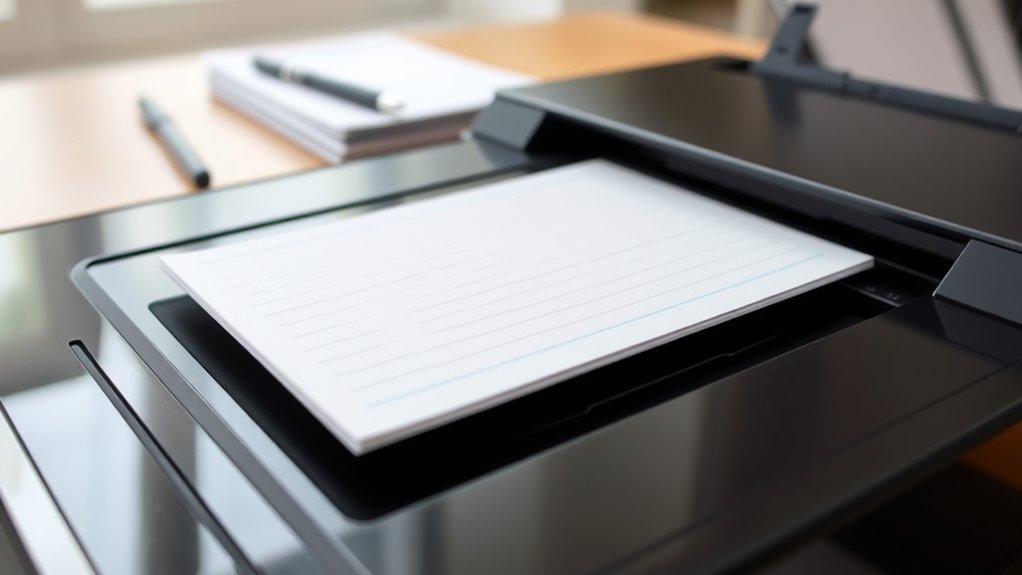
To print on notebook paper, first choose smooth, uncoated sheets that fit your printer size and load them with the ruled side facing up. This helps ensure your printing looks clean and lines aren’t obscured.
Next, prepare your document to match the paper dimensions and set margins carefully to avoid printing over lines or holes. Adjust your printer settings for paper type and quality to get the best results.
Before you print on the actual notebook paper, test print on plain paper to check alignment. Once you’re happy with that, replace it with your notebook sheets and print carefully.
If you want to avoid jams and achieve perfect results, there’s a bit more to think about. But following these steps will definitely get you started on the right foot!
Selecting the Right Notebook Paper for Printing
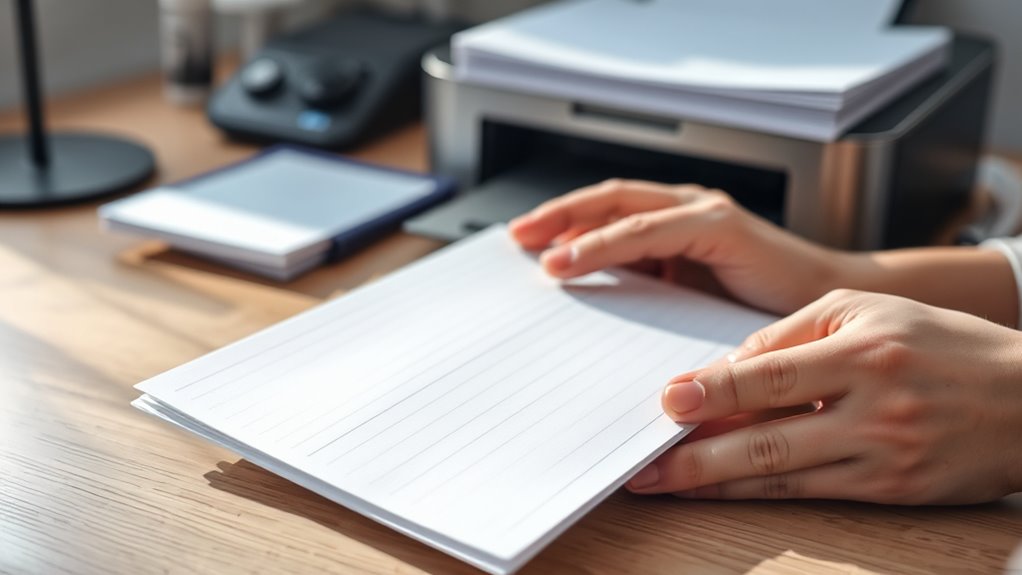
When you choose notebook paper for printing, consider the paper’s weight and texture to guarantee your printer handles it smoothly. Opt for a weight between 70 to 90 gsm; it’s thick enough to prevent ink bleed but light enough to feed easily.
Choose notebook paper weighing 70 to 90 gsm for smooth printing without ink bleed or jams.
Smooth textures work best because rough surfaces can cause smudging or paper jams. Also, check if your printer supports the paper size—standard ruled notebook paper usually fits well, but some might be slightly different.
Avoid glossy or heavily coated notebook paper, as these can cause ink to smudge or not dry properly. Finally, test a single sheet first to ensure your printer settings match the paper type.
This careful selection helps you get crisp, clean prints without wasting supplies. It’s a simple step that makes a big difference!
Preparing Your Design or Document for Printing
How can you guarantee your design or document prints perfectly on notebook paper? Start by adjusting your layout to fit the paper’s dimensions and ruling. Use margins that won’t interfere with the lines or holes.
Choose fonts that are clear and legible. Avoid overly thin or fancy styles that might blend with the notebook lines.
If you’re adding graphics or color, keep them simple and not too dense to prevent bleeding or smudging. Preview your document on screen, zooming in to check alignment and spacing carefully.
Also, convert your file to a PDF to keep formatting consistent across devices. By preparing your design with these steps, you ensure a clean, professional print that works seamlessly on notebook paper.
Adjusting Printer Settings for Notebook Paper
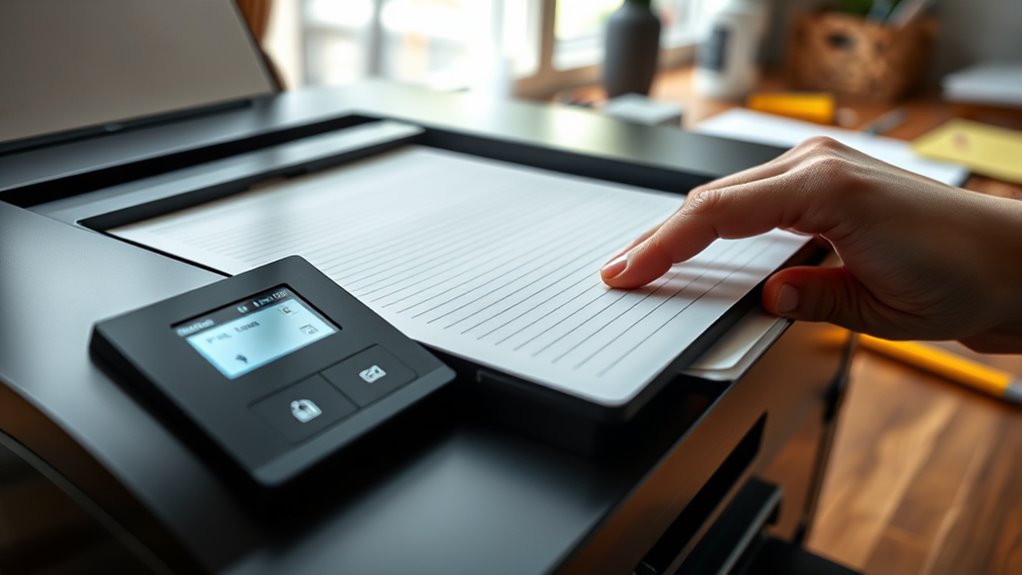
Before you start printing, make sure you select the correct paper size to match your notebook paper. Adjust the print quality to balance clarity and ink usage.
Don’t forget to set a custom paper type if your printer offers that option for better results. It really helps get the best out of your print job. Just a little tweak can make a big difference!
Paper Size Selection
Since notebook paper often comes in unique dimensions, you’ll need to adjust your printer settings to match its size precisely. This way, your printout aligns perfectly on the page without cutting off margins or leaving uneven borders.
Start by measuring your notebook paper’s width and height accurately. Then, access your printer’s properties or preferences menu and select “Custom Paper Size.” Input your exact measurements to create a new paper profile.
Keep these tips in mind:
- Verify measurements before entering them
- Save custom sizes for future use
- Check for orientation options (portrait or landscape)
- Confirm that the paper tray supports custom sizes
- Preview your print layout before printing
Following these steps will help you get the best results every time. It’s a little extra effort, but definitely worth it!
Print Quality Adjustment
What settings will give your prints the best clarity on notebook paper? You want to adjust your print quality to balance sharpness and ink absorption.
Choose a setting that prevents smudging while keeping text crisp. Usually, “Normal” or “Best” quality modes work well. Avoid “Draft” mode as it can blur fine lines.
Here’s a quick guide to help you tweak settings effectively:
| Setting | Description | Recommendation for Notebook Paper |
|---|---|---|
| Print Quality | Defines resolution and ink | Use “Normal” or “Best” |
| Paper Type | Adjusts ink flow | Select “Plain Paper” |
| Color Mode | Color or grayscale print | Choose grayscale for notes |
Give these settings a try and see what works best for you. It’s all about getting the clearest prints without any bleeding or fading.
Custom Paper Type Settings
When you adjust your printer’s settings to a custom paper type, you can fine-tune how the ink interacts with your notebook paper, ensuring better print quality. This step is vital because notebook paper often differs in thickness and texture from standard paper.
To set it up, access your printer’s properties or preferences before printing. Look for the paper type or media settings and select a custom option if available. Then, specify characteristics that match your notebook paper.
Here’s what you should adjust:
- Paper thickness or weight
- Paper finish (matte, glossy, plain)
- Ink saturation level
- Drying time for ink
- Print speed settings
Customizing these ensures crisp, clear prints without smudging or bleeding. It’s a simple tweak that really makes a difference!
Loading Notebook Paper Into the Printer Correctly
Make sure you load the notebook paper with the correct orientation to avoid printing errors. Take a moment to adjust your printer settings to match the paper type for the best results.
Doing this helps prevent paper jams and keeps your printing smooth. It’s a small step that can save you a lot of hassle!
Paper Orientation Tips
How you load notebook paper into your printer can greatly affect print quality and prevent jams. To get the best results, pay close attention to the paper’s orientation before printing.
First, make sure the ruled lines face the correct direction, usually facing up. The holes or binding edge should be placed away from the printer’s feeding mechanism to avoid jams.
Also, align the paper neatly in the tray without bending or folding it. Finally, check your printer’s specifications for any unique paper loading instructions.
- Place lined side facing up
- Avoid feeding from the hole-punched edge
- Align edges flush with tray guides
- Don’t overload the paper tray
- Use fresh, flat sheets for smooth feeding
Following these tips helps ensure crisp printing and smooth operation. Give it a try, and you’ll notice the difference!
Adjusting Printer Settings
Properly loading your notebook paper is just the first step; adjusting your printer settings guarantees your prints come out clear and aligned.
Start by selecting the correct paper type in your printer’s settings—choose “Plain Paper” or “Lightweight” to avoid smudging or ink bleeding. Next, set the paper size to match your notebook sheets, commonly letter or A4.
Adjust the print quality to “Standard” or “High” for crisp text. If your notebook paper has lines or margins, enable the “Borderless” or “Custom Margin” option to prevent cutting off important areas.
Finally, perform a test print on a single sheet to check alignment and make any necessary tweaks. These simple adjustments assure your prints look professional and precise every time.
Preventing Paper Jams
Although loading notebook paper might seem straightforward, incorrect placement often causes frustrating paper jams. To avoid this, you need to handle the paper carefully and load it properly in your printer.
First, fan the stack lightly to prevent pages from sticking together. Align the edges neatly before placing them in the tray. Make sure the paper guides fit snugly without bending the sheets. Position the paper with the correct side facing up, depending on your printer model.
Follow these tips to prevent jams:
- Use only clean, unwrinkled notebook paper
- Avoid overfilling the paper tray
- Adjust paper guides to match paper size
Also, load paper straight without tilting. Keep the printer’s feed path clear of debris.
These simple steps help guarantee smooth printing every time. Just a little care goes a long way!
Performing a Test Print to Ensure Accuracy
Before you print on your notebook paper, you’ll want to perform a test print to confirm your settings are accurate. Start by using a plain sheet of regular paper. Load it into your printer the same way you plan to load the notebook paper.
Print a sample page, checking alignment, margins, and text clarity. If the output looks off-center or too close to the edges, adjust your printer settings accordingly. You might need to tweak the paper size, orientation, or print quality options.
Once you’re satisfied with the test print, replace the plain paper with your notebook paper. This step helps prevent wasting your notebook sheets and ensures your final printout looks exactly as intended. It’s a simple trick that saves you time and materials.
Troubleshooting Common Printing Issues on Notebook Paper
When you run into printing problems on notebook paper, it helps to identify common causes quickly so you can fix them without wasting sheets. Start by checking if the paper is loaded correctly and the printer settings match the paper size and type.
Misaligned prints or smudges often result from dirty rollers or low-quality paper. If pages jam, inspect for wrinkles or folds. Also, ensure your ink or toner levels are sufficient to avoid faint prints.
Common issues to troubleshoot include:
- Paper jams caused by incorrect loading or damaged sheets
- Misalignment due to improper tray settings
- Ink smudging from using the wrong paper type
- Faded prints because of low ink or toner
- Printer driver conflicts or outdated software
Address these to improve your notebook paper printing results. It’s usually just a few simple fixes away!
Conclusion
Printing on notebook paper might seem tricky, but with the right steps, you’ll get crisp results every time. Did you know that 72% of people find adjusting printer settings essential for avoiding paper jams and misprints?
By selecting the proper paper, prepping your design, and loading the sheets correctly, you’ll save time and frustration.
Remember to always perform a test print first—it’s a small step that makes a big difference in quality and accuracy.
So, when you want to print on notebook paper, keep these tips in mind. Adjusting your printer settings, choosing the right kind of notebook paper, and preparing your design carefully will help you avoid common issues. Loading the notebook sheets properly also ensures smooth printing without jams or misprints. And don’t forget that test print—it’s a quick way to check everything before the final run. Follow these simple steps, and printing on notebook paper will be a breeze every time!