How Does Tracing Paper Work Step by Step
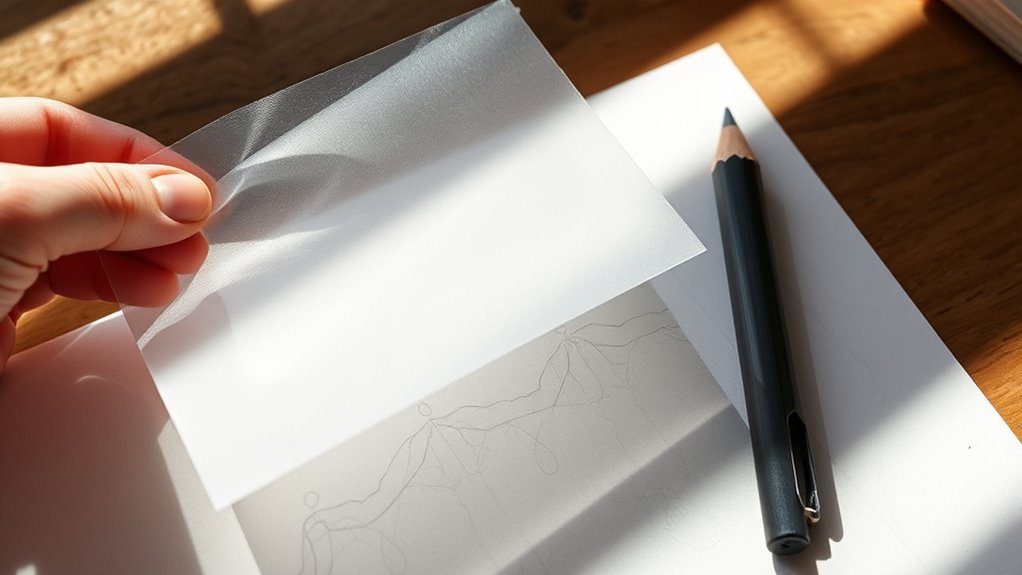
Tracing paper works by letting you see and trace the lines of an original image clearly thanks to its translucent quality. This special paper allows light to pass through, making the lines underneath visible so you can copy them accurately. It’s perfect for artists, designers, or anyone wanting to replicate a drawing without freehand guesswork.
You start by selecting the right paper and pencil, then prepare a clear, flat image with good contrast. Securing the tracing paper over the image using tape helps keep everything in place.
From there, you trace gently along the lines using controlled strokes to capture the details precisely.
After tracing, you can transfer your design to another surface, like canvas or wood. Keep following to explore detailed techniques for even more precise results and tips to make your tracing smoother and cleaner.
Understanding the Properties of Tracing Paper
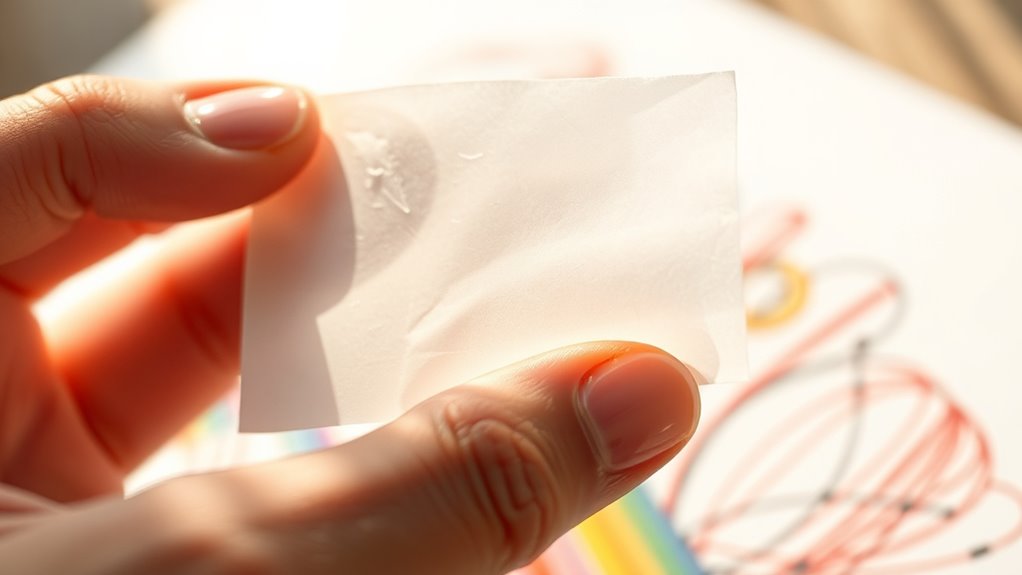
Although tracing paper looks delicate, it has unique properties that make it perfect for transferring images. When you place it over a drawing, its translucency allows you to see the lines clearly beneath.
This transparency is key—you can easily follow and replicate details without guessing. You’ll also notice tracing paper is smooth and thin, which helps your pencil or pen glide effortlessly, producing clean, sharp lines.
Unlike regular paper, it resists smudging and tearing, so your work stays neat. Plus, its lightweight nature means you can handle it without damaging your original artwork underneath.
Understanding these qualities helps you appreciate why tracing paper is the go-to for artists, designers, and architects who need precision and clarity in their work.
Selecting the Right Materials for Tracing
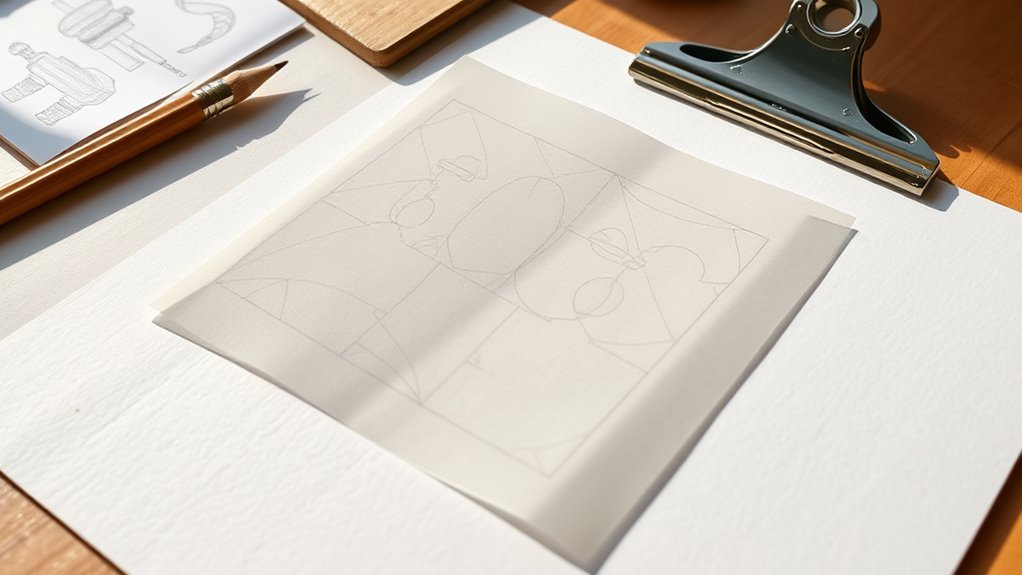
To get the best results, you’ll need to pick the right paper, pencils, and tools for tracing. Different paper types affect how clearly your lines show up, while the right pencil hardness ensures clean, precise marks.
Plus, having extra tools like erasers and tape can make your process smoother and more accurate. It’s all about making tracing easier and your final image look great!
Choosing Paper Types
When you choose the right paper for tracing, you’ll make the process smoother and your results clearer. Not all papers are created equal—some offer better transparency, texture, or durability.
You want paper that lets light pass through easily without tearing or smudging.
Here’s a quick guide to common paper types:
| Paper Type | Transparency Level | Best Use |
|---|---|---|
| Tracing Paper | High | Detailed line work |
| Vellum | Medium | Sketching and overlays |
| Wax Paper | Low | Temporary tracing projects |
Pick the paper that fits your project’s needs. Tracing paper works great for precision, vellum offers a bit more texture, and wax paper is a budget-friendly option.
With the right paper, your tracing will be effortless and clean.
Ideal Pencil Selection
Selecting the right pencil can make a big difference in how clean and accurate your tracing turns out. You’ll want to choose a pencil that’s soft enough to leave visible marks but not so soft that it smudges easily.
A 2B or 4B pencil usually works best because it balances darkness and control. Harder pencils like H or HB may not show up clearly on tracing paper, while very soft pencils like 6B can smudge and blur your lines.
Also, keep your pencil sharp to maintain precision, especially when tracing intricate details. Avoid using colored pencils or pens at this stage since they can bleed through the paper or make corrections difficult.
Picking the ideal pencil helps you create crisp, clean tracings that are easy to follow. So, take your time choosing the right one—it really pays off!
Additional Tracing Tools
Although a good pencil is essential, having the right additional tools can make your tracing process smoother and more accurate. Selecting the right materials helps you maintain clean lines and avoid smudging.
Here are three must-have tools for effective tracing:
- Eraser: Use a soft, kneaded eraser to gently lift unwanted marks without damaging the tracing paper.
- Masking Tape: Secure your tracing paper and original image with low-tack tape to prevent shifting while you work.
- Lightbox or Window: These backlighting options enhance visibility, making it easier to trace details precisely.
Preparing Your Original Image
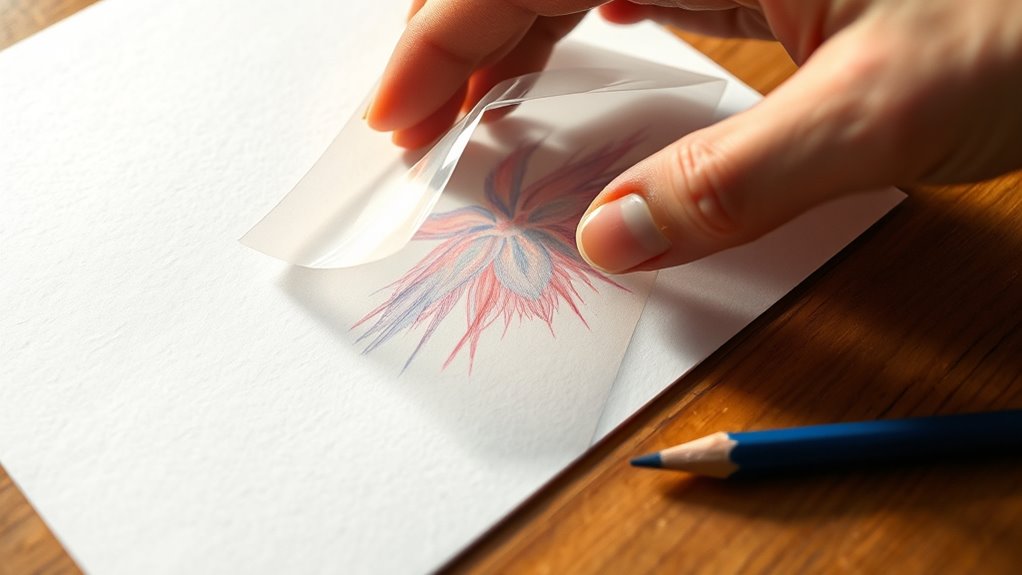
How do you make sure your original image is ready for tracing? First, choose a clear, high-contrast image with distinct lines or shapes. If your image is too faint or detailed, simplify it by enhancing the contrast using photo editing software or printing it in black and white.
This helps you see the important lines when tracing. Next, verify the image is flat and smooth—remove any wrinkles or folds that could distort your tracing.
If you’re working with a physical photo or drawing, place it on a sturdy, well-lit surface. Good lighting is key; it makes the lines stand out and reduces eye strain.
Taking these steps ensures your original image is perfectly prepared, so your tracing will be clean and accurate.
Positioning and Securing the Tracing Paper
Before you start tracing, make sure the tracing paper is properly positioned over your original image to keep everything aligned. This step guarantees your final tracing is accurate and clean.
Here’s how to position and secure it effectively:
- Align the tracing paper so the edges match your original image’s key points.
- Use small pieces of low-tack tape on the corners or sides to hold the tracing paper in place without damaging your original.
- Check that the paper lies flat and doesn’t shift when you move your hand or pencil.
Techniques for Accurate Tracing
When you start tracing, focus on using light, controlled strokes to capture the essential lines without pressing too hard. This prevents indentations on the tracing paper and allows for easy corrections.
Use a sharp pencil or fine-tip pen, which helps maintain clarity and precision. Work slowly, following the contours carefully, and avoid rushing to ensure accuracy.
If the original image has intricate details, zoom in or move closer to trace those parts meticulously. Keep your hand steady and consider resting your pinky finger lightly on the paper for stability.
Periodically check your progress by lifting the tracing paper slightly to ensure alignment. These techniques help you create a clean, accurate trace that stays true to the original design.
Transferring the Traced Design to a New Surface
Once you’ve completed a precise trace, you’ll want to transfer that design onto your chosen surface accurately. Start by positioning the traced paper where you want the design to appear.
Then, follow these steps to guarantee a clean transfer:
- Secure the tracing paper with tape to prevent any shifting during transfer.
- Use a pencil or stylus to firmly trace over the lines; this pressure will imprint the design onto the surface beneath.
- Carefully lift the tracing paper to reveal the transferred design, then refine or darken the lines as needed.
It’s pretty straightforward once you get the hang of it! Just take your time, and you’ll have a perfect transfer in no time.
Conclusion
Now that you know how tracing paper works step by step, you might think it’s magic—just place it, trace, and voilà! But surprise: it’s really just good old patience, the right materials, and careful positioning.
Who knew that something so simple could require such precision? So next time you breeze through tracing, remember, it’s not just tracing paper doing all the work—it’s you, making the invisible visible, one line at a time.
Tracing paper works by allowing light to pass through, which helps you see the image beneath clearly. This transparency is key to accurately copying designs, sketches, or text. So, understanding how tracing paper works step by step isn’t just about the tool itself—it’s about mastering the process and your technique.