How to Make a Paper Fan in 7 Easy Steps
To make a paper fan in 7 easy steps, start by gathering your materials. You’ll need paper, scissors, tape, and decorations to get started. Choosing sturdy paper is key because it holds the shape better and lasts longer.
Next, fold the paper accordion-style with even, crisp folds. This step is fun and sets the foundation for your fan.
Once folded, secure the base tightly with tape or glue to keep it from unfolding.
Now, gently spread the folds into a fan shape. Adding a handle makes it easier to hold and use your fan.
Finally, personalize your creation by decorating it with stickers, ribbons, or glitter. These simple touches make your paper fan uniquely yours.
With these basics, you’re all set! But a few extra tips can really elevate your creation and make it stand out. Give it a try and enjoy crafting your very own stylish paper fan!
Gather Your Materials
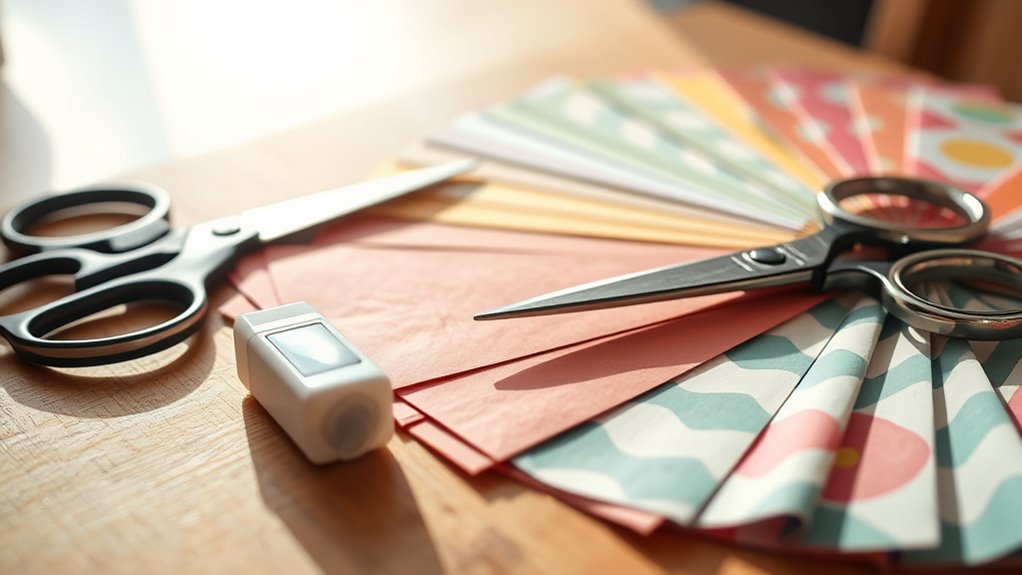
Before you begin folding, gather all the materials you’ll need to make your paper fan. You’ll want a sheet of paper—standard letter size works great. Have a ruler handy for crisp folds and a pencil to mark guidelines if needed.
Scissors will come in handy for trimming edges or shaping your fan. Grab some tape or glue to secure the folds once your fan is assembled. If you like, collect decorative items like stickers or markers to personalize your fan later.
A flat surface will make folding easier and more precise. Having everything ready upfront helps you stay organized and speeds up the process. Once you have these essentials, you’ll be ready to move on confidently and create a beautiful paper fan.
Choose and Prepare Your Paper
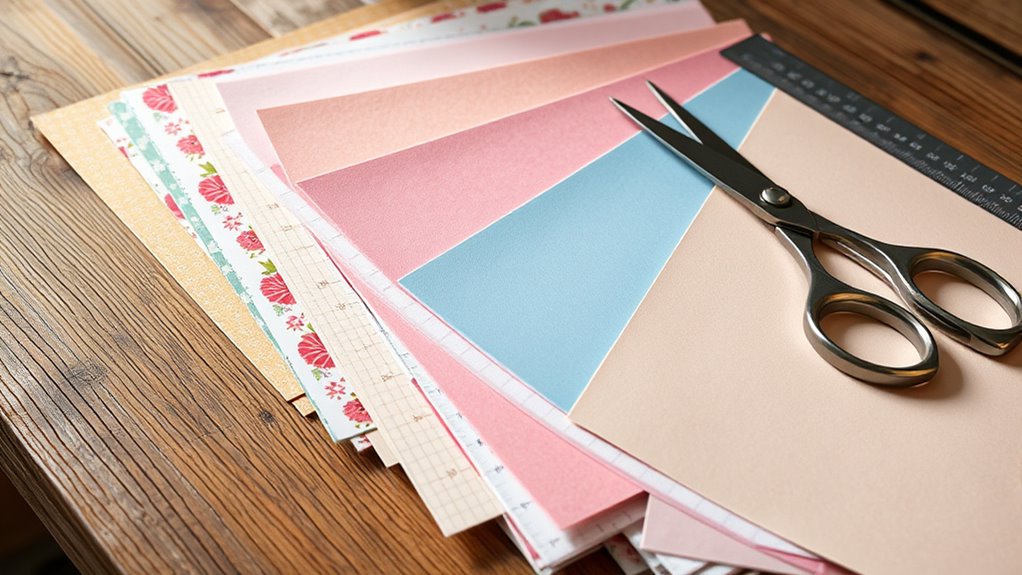
You’ll want to pick the right paper type to make your fan sturdy yet flexible. Consider the size carefully, as it affects both the look and function of your fan.
Before folding, make sure the paper surface is smooth and clean for the best results. This little step really makes a difference!
Best Paper Types
Which type of paper works best for crafting a durable and attractive paper fan? You’ll want to choose paper that’s sturdy yet flexible. Cardstock is a great option because it holds its shape well and resists tearing.
If you prefer something lighter, construction paper works nicely, offering a balance between durability and ease of folding. Avoid thin printer paper—it’s too flimsy and tears easily.
For a more elegant look, consider patterned or textured paper, which adds visual interest without sacrificing strength. Before you start folding, make sure your paper is clean and flat, free of wrinkles or creases that could affect the fan’s appearance.
Selecting the right paper sets the foundation for a fan that looks great and lasts long. It really makes all the difference!
Paper Size Selection
Choosing the right paper size plays a big role in how your fan will look and function. For a standard hand fan, a rectangular sheet about 8.5 by 11 inches works perfectly. It gives you enough surface area to create crisp folds without making the fan too bulky.
If you want a larger fan for more airflow, try doubling the size to 11 by 17 inches. Just keep in mind, it might be a bit heavier.
Smaller sizes, like 5 by 7 inches, make cute mini fans but won’t move as much air. Make sure the paper is sturdy enough to hold folds but flexible enough to open easily.
Once you pick your size, cut or trim your paper neatly to avoid uneven edges. Those could affect folding later on, so it’s worth taking your time.
Preparing Paper Surface
How should you prepare your paper before folding? First, pick a smooth, clean sheet without wrinkles or tears. If you want a sturdier fan, choose thicker paper like cardstock.
Once you’ve selected your paper, lay it flat on a clean surface. If it’s slightly curled or folded, gently flatten it by pressing down with your hands or placing a heavy book on top for a few minutes.
Avoid dampening the paper, as moisture can weaken it and cause creases that won’t fold neatly. Also, if you plan to decorate your fan, do so before folding to keep the surface smooth.
Preparing your paper this way guarantees crisp folds and a professional look for your paper fan. Easy, right? Just a bit of prep goes a long way!
Fold the Paper Accordion Style
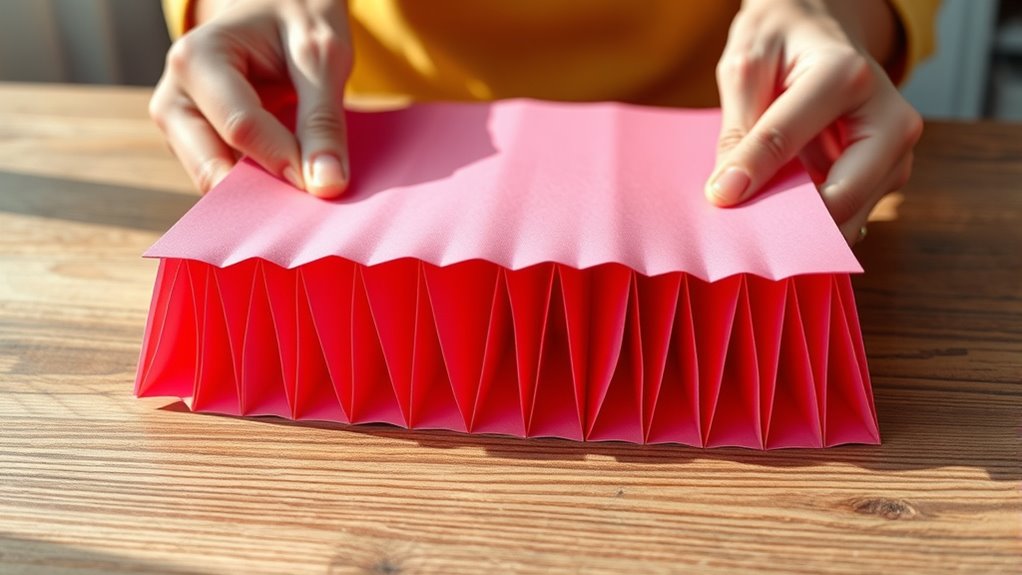
Start by choosing the right paper size for your fan—usually something long and rectangular works best. Then, fold the paper back and forth in even sections to create that classic accordion shape.
Keep your folds crisp and consistent to make certain your fan opens smoothly. It really helps if you take your time with each fold, you know? That way, everything lines up nicely and looks great!
Choose Paper Size
Selecting the right paper size sets the foundation for your fan’s shape and functionality. You’ll want to pick a sheet that’s easy to handle but large enough to create a full, impressive fan.
Standard letter or A4 sizes work well for beginners—they provide enough surface area without being cumbersome. If you prefer a smaller, more delicate fan, try half of these sizes.
Remember, wider paper creates a broader fan, while taller paper results in a longer one. Also, consider the thickness; thinner paper folds smoothly, making your accordion folds crisp.
Avoid overly thick or stiff paper, as it can be hard to fold neatly. By choosing the right size and type, you guarantee your fan will look great and function perfectly when folded accordion style.
Start Folding Technique
With the right paper size chosen, you’re ready to fold your fan in an accordion style. Start by laying your paper flat on a clean surface. Take one edge and fold it over about one inch, creating a sharp crease.
Flip the paper over and fold the same width back in the opposite direction. Keep flipping and folding, maintaining consistent one-inch folds. This back-and-forth folding forms the classic accordion pattern.
Make sure each crease is crisp by pressing firmly with your fingers or a ruler’s edge. Continue folding until you reach the paper’s other end. Once finished, you’ll have a compact, zigzag shape that easily opens into a fan.
This technique builds the fan’s structure and allows it to expand smoothly when you hold it by one end. It’s pretty simple once you get the hang of it!
Secure the Base of the Fan
To secure the base of the fan, you’ll need to gather your materials and prepare the foundation carefully. Once your paper is folded accordion-style, hold the bottom tightly where all the folds meet.
Use a strong adhesive like glue or double-sided tape to bind the layers together firmly. Or, if you prefer, you can wrap a small rubber band or string around the base to keep the folds from unraveling.
Make sure the binding is snug but not so tight that it damages the paper. Give the secured area a little press for a few seconds to help the glue set, if you used it.
This step is super important because a well-secured base keeps your fan working well and stops it from falling apart while you’re using it.
Spread Out the Paper to Form the Fan Shape
After securing the base, gently pull the outer edges of the folded paper apart to reveal the fan’s full shape. As you do this, the folds will spread evenly, creating a semi-circle that resembles a traditional hand fan.
Make sure you hold the base firmly so the folds don’t slip out of place. Adjust the spacing between the folds if needed, ensuring the fan opens smoothly and symmetrically.
If the paper feels stiff, you can slightly crease each fold again to reinforce the shape. Take your time spreading the paper—this helps the fan hold its form better.
Once the fan looks balanced and fully opened, you’re ready to move on to the next step. This simple unfolding transforms your folded paper into a functional, decorative fan.
Add a Handle for Easy Holding
Although your paper fan already looks great, adding a handle will make it easier to hold and use. Start by selecting a sturdy stick, like a popsicle stick or a thin wooden dowel, about 5 to 6 inches long.
Place the bottom edge of your folded paper fan against the handle’s top. Use strong glue or double-sided tape to secure the fan to the handle, pressing firmly for a few seconds to guarantee it sticks well.
If you want extra stability, wrap a small piece of tape around the joint where the fan meets the handle. This simple addition will give you a comfortable grip, making it easier to wave your fan and keep cool.
Now your paper fan is both functional and ready to use!
Decorate Your Paper Fan
How can you make your paper fan truly stand out? Decorating your fan adds personality and charm, turning a simple craft into a unique accessory.
Here are four easy ways to decorate your paper fan:
- Use Markers or Paints: Add colorful patterns, shapes, or even your favorite designs to the paper before folding.
- Attach Stickers: Choose fun stickers that match your style or theme for a quick decoration boost.
- Add Glitter or Sequins: Apply glue along the edges or in patterns and sprinkle glitter or sequins for sparkle.
- Tie a Ribbon: Wrap a bright ribbon around the handle or tie a bow to give your fan a polished look.
Try mixing these ideas to create a fan that’s both functional and eye-catching!
Conclusion
There you have it—your very own paper fan, the pinnacle of summer survival tools. Who needs fancy gadgets or air conditioning when you’ve mastered the ancient art of accordion folding?
Now you can wave away heat waves and awkward silences alike with style and flair. Just don’t be surprised if people start calling you “Breeze Master” or asking for your autograph.
Congrats, you’ve officially leveled up in the fan game! Making a paper fan is not only fun but also a handy skill to beat the heat. So, next time the temperature rises, grab some paper and follow these easy steps to create your very own cooling companion. Stay cool and enjoy the breeze!