How to Laminate Paper With a Laminator in 7 Easy Steps
To laminate paper with a laminator, first gather your materials, including the laminator, laminating pouch, and paper.
Pick a pouch slightly bigger than your paper and suitable thickness.
Make sure your paper is clean and flat, then preheat the laminator to the right temperature.
Place your paper inside the pouch, insert the sealed edge first, and feed it slowly through the laminator.
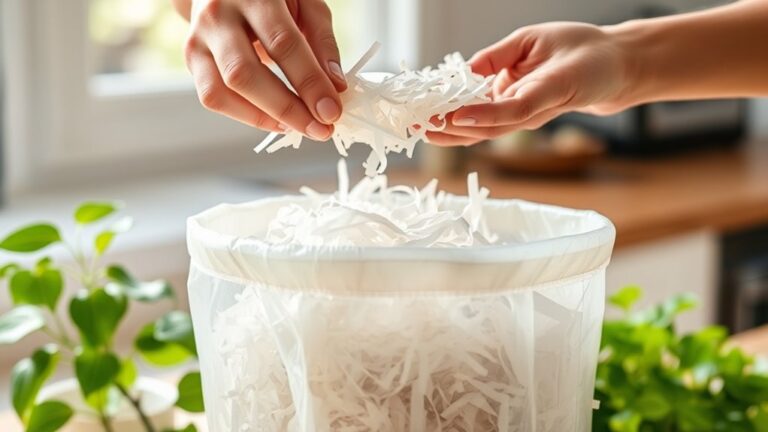
After it cools, trim the excess pouch for a neat seal.
Keep going, and you’ll find even easier tips to get perfect lamination every time.
Gather Your Materials
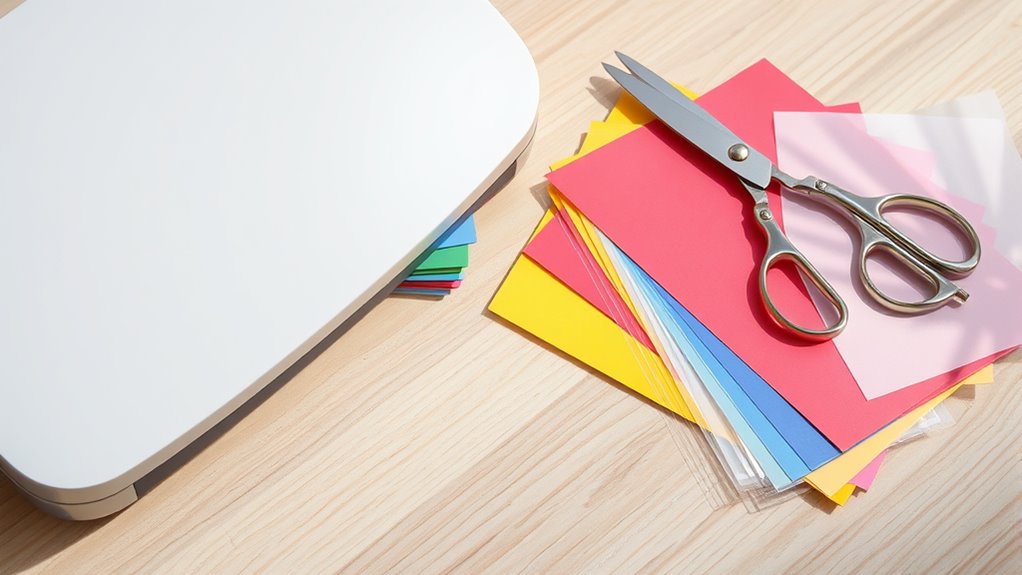
To laminate paper effectively, you’ll need a few key materials. First, grab your laminator—this is essential for sealing your paper inside plastic. Make sure it’s clean and functioning properly.
Next, have some clean, dry paper ready to laminate. You’ll also need laminating pouches, but we’ll cover choosing the right ones later.
Don’t forget scissors or a paper cutter to trim excess laminate after sealing. It’s helpful to have a flat surface nearby for feeding your paper into the laminator smoothly.
Finally, keep a lint-free cloth handy to wipe the laminator’s rollers if needed. Having these materials ready will make your laminating process quick and hassle-free, ensuring your documents come out neat and durable.
Choose the Right Laminating Pouch
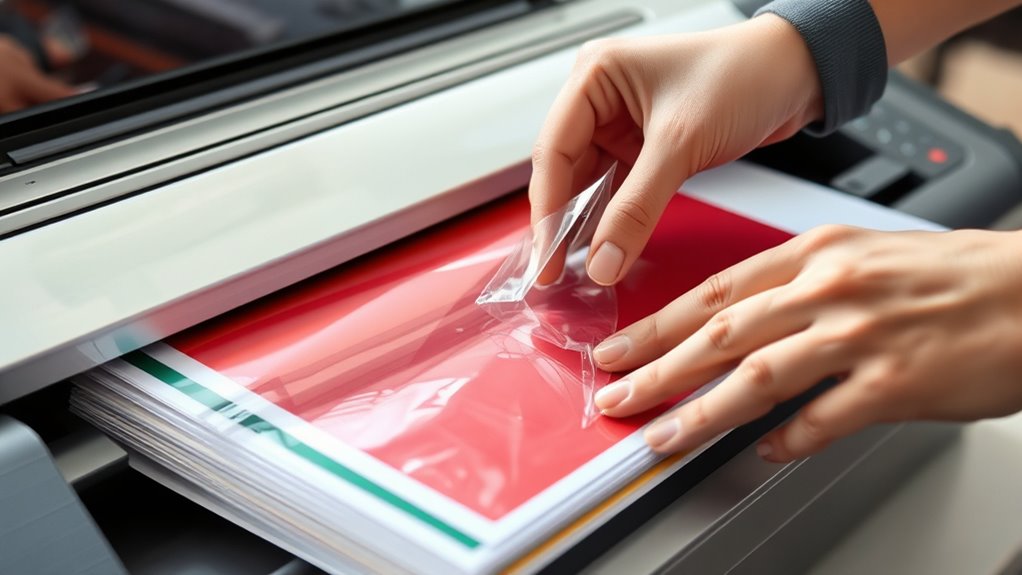
Selecting the right laminating pouch is essential for protecting your paper and achieving a smooth finish. You’ll want to pick a pouch that matches your laminator’s size and thickness capabilities.
Typically, laminating pouches come in various thicknesses measured in mils (thousandths of an inch). Thicker pouches offer more durability but require a laminator that can handle higher heat.
Also, consider the pouch size: it should slightly exceed your paper’s dimensions to ensure full coverage.
| Thickness (mils) | Best For |
|---|---|
| 3 | Lightweight items |
| 5 | Standard documents |
| 7 | ID cards, photos |
| 10+ | Heavy-duty protection |
Choose wisely to protect your paper and get a flawless laminated result every time.
Prepare Your Paper for Laminating
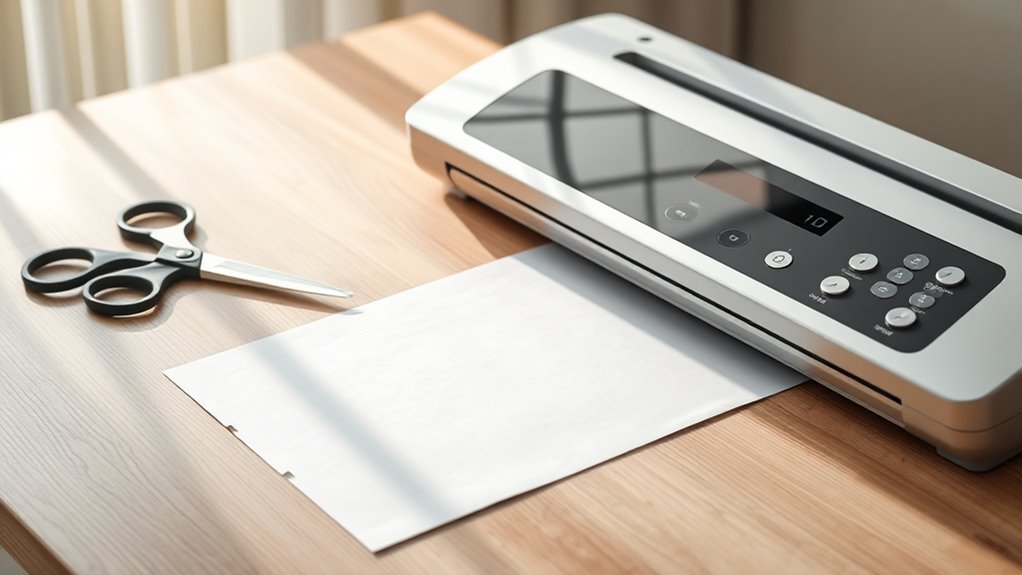
Before you start laminating, make sure your paper is clean, dry, and free of wrinkles or creases. Any dirt, moisture, or imperfections can cause bubbles or poor adhesion during the laminating process.
Ensure your paper is clean, dry, and smooth to prevent bubbles and ensure perfect lamination.
Lay your paper flat on a clean surface and smooth out any folds or bends. If your document has sharp edges, trim them slightly to prevent jams in the laminator.
Position your paper inside the laminating pouch carefully, centering it to avoid uneven sealing. Double-check that the pouch is sealed on one end if it’s not a fully sealed pouch, so your paper stays in place.
Taking these steps guarantees a smooth lamination, protecting your document effectively without defects or damage.
Preheat the Laminator
Before you start laminating, make sure to set your laminator to the ideal temperature recommended for your laminating pouches. Most machines take a few minutes to warm up, so give it time to reach the right heat for a smooth seal.
Skipping this step can cause bubbles or wrinkles, so patience pays off. Just wait a bit, and your laminator will be ready to do its job perfectly.
Optimal Temperature Settings
Although it might be tempting to start laminating right away, you’ll want to let your laminator reach the ideal temperature first.
Setting the right temperature is essential because too low won’t seal properly, and too high can damage the paper or laminating pouch.
Most laminators have adjustable settings tailored to the thickness of your laminating film.
Here’s a quick guide to common temperature settings:
| Laminating Film Thickness | Recommended Temperature (°F) |
|---|---|
| 3 mil | 250 |
| 5 mil | 300 |
| 7 mil | 320 |
| 10 mil | 340 |
Check your laminator’s manual to match the film thickness with its ideal temperature.
This guarantees crisp, smooth lamination every time!
Warm-up Duration Tips
How long should you let your laminator warm up before using it? Most laminators need about 3 to 5 minutes to reach the ideal temperature. Check your machine’s indicator light—it usually turns green or stops blinking when ready.
Don’t rush this step; laminating too early can cause bubbles or incomplete sealing. If your laminator has adjustable temperature settings, warm-up time might vary slightly. Always follow the manufacturer’s guidelines for the best results.
Once warmed up, test with a scrap piece to ensure the laminator is working properly. Remember, patience here saves you from ruining your documents.
Keeping your laminator clean and well-maintained also helps it warm up efficiently and perform consistently. It’s a small step that makes a big difference!
Insert the Paper Into the Laminating Pouch
Where exactly should you place your paper in the laminating pouch? You want to center your document between the two layers of the pouch, leaving a small border of about ¼ inch around all edges. This border guarantees the laminate seals properly and prevents any gaps or bubbles.
Carefully open the pouch and lay it flat on a clean surface with the shiny side facing down. Then, place your paper on the inside of the pouch, making sure it’s aligned straight. Avoid touching the inside surfaces as oils from your fingers can cause defects.
Double-check that the paper isn’t sticking out of the pouch’s edges. Once positioned, you’re ready for the next step—feeding the pouch through the laminator.
Feed the Pouch Through the Laminator
Once your paper is properly positioned inside the pouch, you’ll want to carefully feed it into the laminator’s entrance slot. Make sure the sealed edge goes in first to avoid jams.
Keep your hands steady and let the machine pull the pouch through at its own pace. Don’t force it; the laminator’s rollers will do the work smoothly.
Here’s a quick guide to keep in mind:
| Step | Action | Tip |
|---|---|---|
| 1 | Align pouch edge | Sealed edge first |
| 2 | Insert into slot | Straight and steady |
| 3 | Let rollers pull | No pushing necessary |
| 4 | Wait for exit | Watch for smooth feeding |
| 5 | Collect laminated item | Handle carefully |
Trim the Laminated Paper
After the laminated pouch has cooled, you’ll want to trim the excess plastic to give your project a clean, professional look. Use a sharp pair of scissors or a paper trimmer to carefully cut around the edges. Make sure to leave a small border of about 1/8 inch to maintain the seal.
Trim excess plastic after cooling, leaving a 1/8-inch border for a neat, sealed finish.
Here’s how to trim the laminated paper effectively:
- Place the laminated sheet on a flat surface.
- Align your cutting tool along the edge, maintaining a consistent border.
- Cut slowly and steadily to avoid jagged edges or damage.
- Inspect the edges to ensure the seal is intact and there are no gaps.
Taking your time with this step really pays off. It helps keep everything sealed and looking neat. So, don’t rush it!
Conclusion
So, you’ve survived the epic journey of laminating paper—who knew it could be this thrilling? With just a pouch, some patience, and a trusty laminator, you’ve turned fragile paper into a plastic fortress.
No more coffee spills or accidental tears—unless, of course, you forget to trim the edges. But hey, that’s part of the charm, right?
Now go ahead, enjoy your shiny, wrinkle-free masterpiece like the laminating pro you are! Laminating paper with a laminator not only protects your documents but also gives them a professional look. It’s a simple process that anyone can master with a little practice. So next time you want to preserve important papers or create durable signs, remember these easy steps to laminate paper perfectly every time!