How to Make Paper Look Aged in 7 Easy Steps
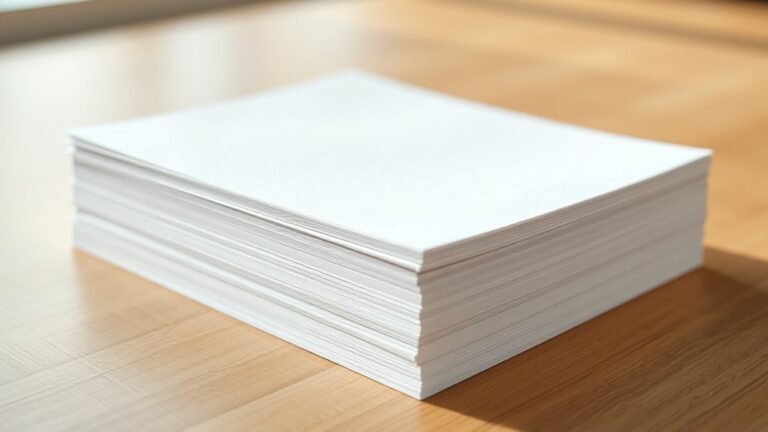
Start by choosing off-white or textured paper for a natural look. Setting up a clean workspace with all your materials ready is key to a smooth process.
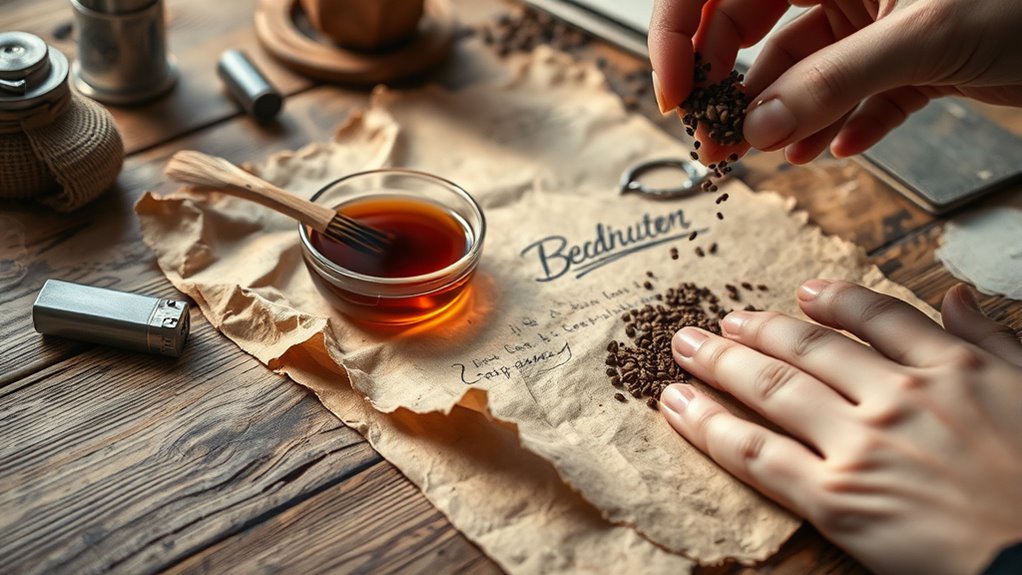
Brew strong tea or coffee and stain the paper by dipping or brushing it on. Let it dry fully before moving on to the next step.
Crumple the paper gently, then flatten it with pressure to add wrinkles that mimic real aged paper. This little trick really brings out that vintage feel.
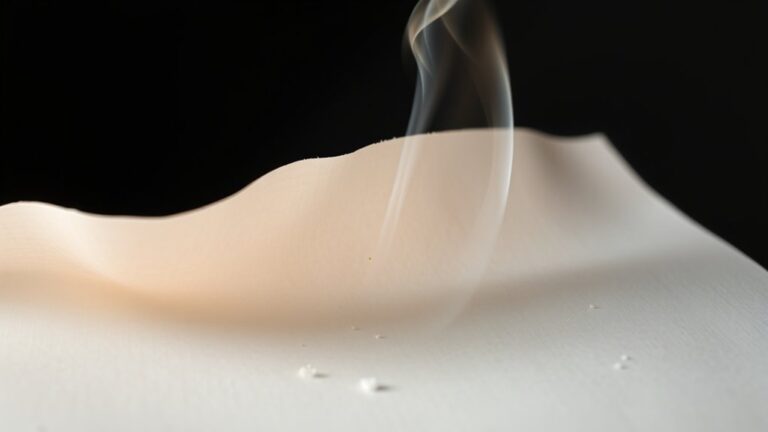
Carefully singe the edges to add authenticity without burning the whole sheet.
Adding ink or smudges next gives your paper character and detail.
Finish by sealing your work to preserve the effect. Keep following these guidelines and you’ll perfect your aged paper craft in no time!
Choose the Right Paper
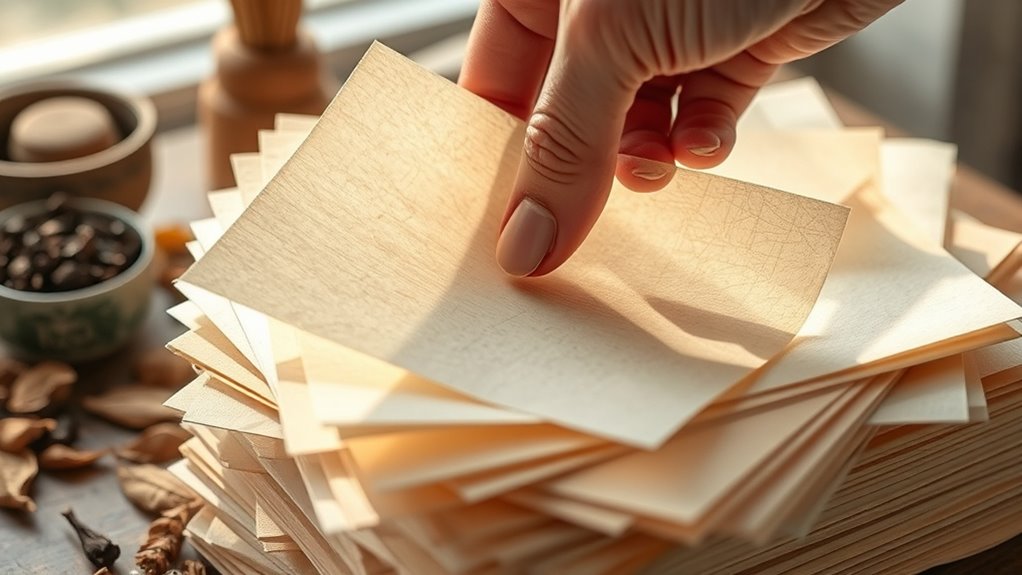
How do you pick the perfect paper to make your project look authentically aged? Start by choosing paper with some texture; rough or fibrous surfaces mimic old parchment better than smooth, glossy sheets.
Thicker paper holds up well during aging treatments, so consider cardstock or watercolor paper. Avoid ultra-bright white paper—it looks unnatural once aged.
Instead, go for off-white, cream, or light beige tones as your base. If you want to replicate antique documents, handmade or recycled papers add character through their uneven edges and slight imperfections.
Also, consider the paper’s weight: lightweight paper might tear easily during distressing, while heavier paper resists damage. Choosing the right paper sets a strong foundation, so take your time selecting one that’ll complement your aging methods and final look perfectly.
Prepare Your Workspace
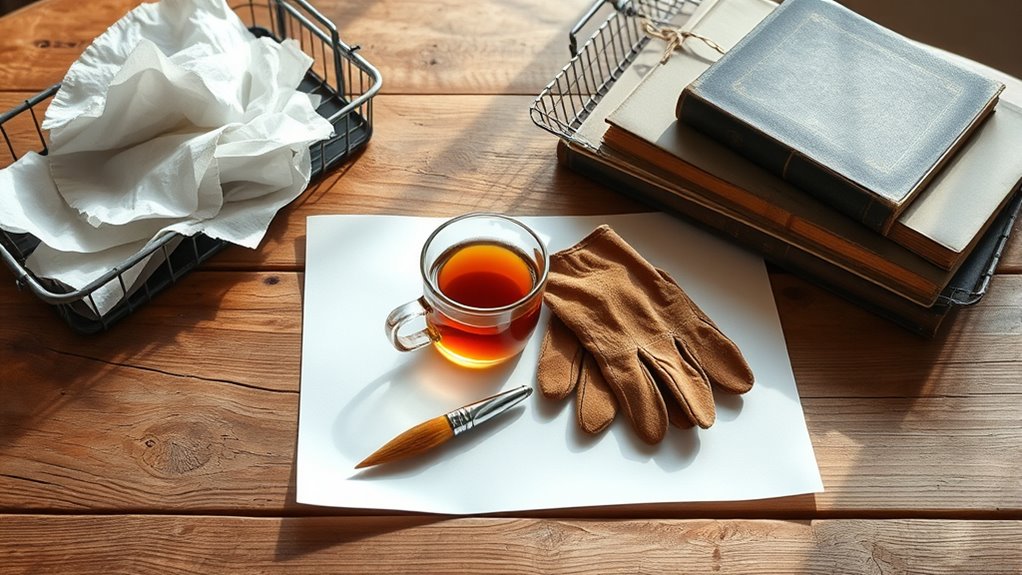
Once you’ve selected the perfect paper, setting up your workspace properly will make the aging process smoother and more controlled. Choose a flat surface with enough room to spread out your materials.
Cover it with old newspapers or a disposable tablecloth to protect against spills or stains. Gather all necessary supplies—brushes, cups, gloves, and paper towels—within easy reach.
Make sure your area is well-ventilated, especially if you’ll be using liquids or sprays. Have a drying rack or clean surface nearby to lay your paper flat after treatment.
Keep a bowl of water handy for quick cleanups, and wear gloves to avoid staining your hands. A tidy, organized workspace helps you focus and reduces the risk of unwanted smudges or damage to your paper.
Stain the Paper With Tea or Coffee
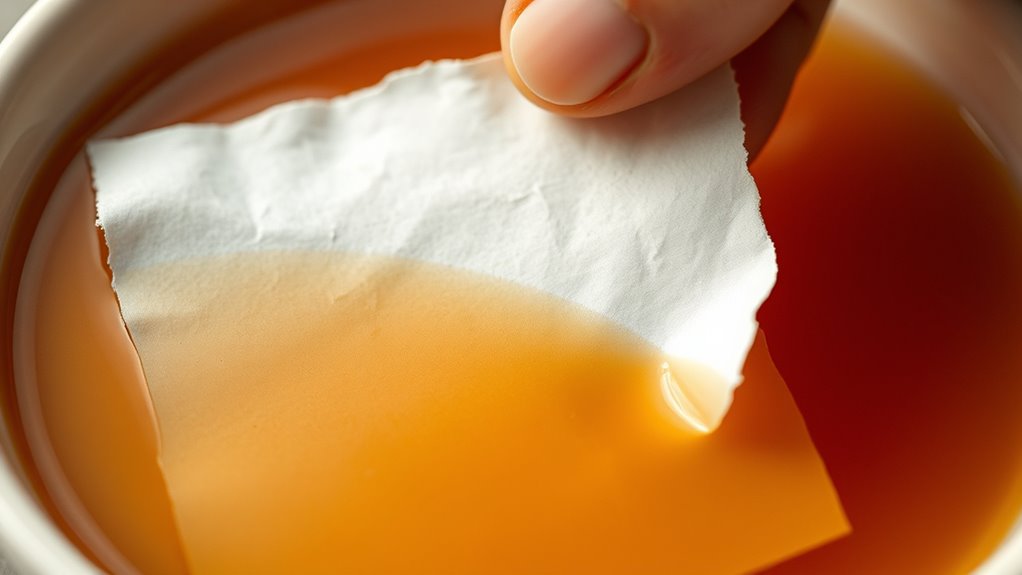
Although you can use various methods to age paper, staining it with tea or coffee remains one of the simplest and most effective ways to give your paper a warm, vintage look. Start by brewing a strong cup of tea or coffee and let it cool.
Then, gently brush or dip your paper into the liquid. For a more uneven, natural effect, blot some areas with a sponge or cloth. Allow the paper to dry completely, either air-dried or with a hairdryer.
| Step | Action |
|---|---|
| Brew | Make strong tea or coffee |
| Apply | Dip or brush onto paper |
| Blot (optional) | Use sponge for texture |
| Dry | Air dry or use hairdryer |
Crumple and Flatten the Paper
You’ll want to pick a paper that holds creases well without tearing. Start by crumpling it gently or tightly, depending on the aged look you want.
Then, flatten it carefully using your hands or a smooth surface to create natural wrinkles. It’s a simple trick but really adds character to the paper. Give it a try!
Choosing the Right Paper
When selecting paper to age, consider how its texture will respond to crumpling and flattening. Thinner papers, like old book pages or lightweight printer paper, tend to wrinkle easily and create sharp creases, enhancing the aged look.
Heavier papers, such as cardstock, may resist crumpling but hold folds more distinctly once shaped. Avoid glossy or coated papers—they don’t absorb moisture well and can tear when manipulated.
Also, choose paper with a natural off-white or cream color to start; it blends better with aging techniques. You want a paper that feels authentic and reacts well to both physical distress and staining.
Testing a small piece first lets you see how it handles folding and unfolding without falling apart. This step ensures your final aged paper looks convincingly vintage.
Techniques for Crumpling
How do you create authentic creases that make paper look genuinely aged? Start by gently scrunching the paper into a loose ball. Don’t squeeze too hard at first; you want natural, uneven folds rather than sharp, harsh lines.
Then, carefully unfold it and repeat the process a few times, each time loosening your grip a bit to create varied textures. Focus on different areas to avoid uniform crumpling, which looks unnatural.
You can also lightly twist and fold the paper along different angles before scrunching it again. This technique introduces random creases that mimic wear from handling over time.
Flattening Methods Explained
Although crumpling creates authentic creases, flattening the paper afterward helps regulate the overall texture and shape. Once you’ve crumpled the paper, carefully unfold it and place it between two heavy books or under a flat, weighted object.
Leave it for several hours or overnight to smooth out excessive wrinkles without losing the aged look. Alternatively, you can gently iron the paper on a low heat setting, placing a cloth between the iron and paper to prevent damage.
This method quickly flattens the sheet while preserving some texture. By balancing crumpling with flattening, you ensure the paper looks naturally aged but remains easy to handle and display.
Give these techniques a try and see which one works best for your project. Experiment until you find the perfect aged effect!
Add Burnt Edges for Authenticity
You can give your paper a truly authentic look by carefully burning the edges.
Make sure you have water nearby and work in a well-ventilated area to stay safe while doing this.
Let’s go over some simple techniques to create those perfect burnt edges without overdoing it.
Techniques for Burning Edges
When you carefully burn the edges of your paper, you instantly add an authentic, aged look that’s hard to replicate with other methods. Start by holding the paper with tweezers or tongs to keep your hands steady and away from the flame.
Use a lighter or candle flame and slowly pass the edges through the fire, moving quickly to avoid burning too much. Focus on small sections at a time, letting the paper catch just enough to char the edges without igniting fully.
You can also blow gently on the flame to control the burn and create uneven, natural-looking edges. It’s a great way to get that rustic vibe.
Just make sure to practice on scrap paper first to get a feel for the timing and technique before working on your final piece. That way, you won’t accidentally ruin your project!
Safety Tips for Burning
Since working with open flames can be risky, taking proper safety measures guarantees you add those authentic burnt edges without accidents. Always work in a well-ventilated area, away from flammable materials like curtains or paper piles.
Keep a bowl of water or a fire extinguisher nearby just in case. Use tweezers or tongs to hold the paper, so your fingers stay clear of the flame.
Light the edges carefully with a lighter or candle, and quickly blow out the flame before it spreads too far. Never leave burning paper unattended, and make sure the paper is fully extinguished before discarding it.
Following these tips helps you create that vintage look safely and confidently every time. Easy, right? Just stay cautious and you’ll be all set!
Apply Additional Aging Techniques
Although basic methods can create a convincing aged look, applying additional aging techniques will enhance the authenticity and depth of your paper’s appearance. You can gently crumple the paper, then smooth it out to introduce natural-looking wrinkles.
Lightly rubbing the edges with sandpaper or a nail file creates subtle wear and tear. For stains, dab tea or coffee spots with a sponge and let them dry unevenly to mimic water damage.
You might also use a fine brush to add small ink blots or faded writing. If you want slight discoloration, hold the paper near a candle’s smoke briefly, but be careful not to burn it.
These extra touches give your paper a rich, weathered character that basic aging alone can’t achieve.
Seal and Preserve Your Aged Paper
To guarantee your aged paper lasts and maintains its character, you’ll want to seal and preserve it properly. Start by choosing a clear fixative spray or archival-quality sealant designed for paper.
Hold the spray about 12 inches away and apply a light, even coat to avoid smudging or wrinkling. Let it dry completely before handling.
If you prefer a natural option, consider applying a thin layer of beeswax, gently buffed to a matte finish.
Store your paper away from direct sunlight, moisture, and extreme temperatures to prevent further deterioration.
Using acid-free folders or sleeves will also protect your work from dust and environmental damage.
Conclusion
Isn’t it funny how the very act of aging paper mirrors life itself? As you stain, crumple, and burn those edges, you’re not just making an old-looking sheet—you’re telling a story of time, wear, and character.
Just like us, paper gains beauty through its imperfections. So, as you seal your creation, remember: every wrinkle and mark holds meaning.
This shows that aging isn’t about losing value, but about gaining depth and history. Making paper look aged adds a unique charm and authenticity to your project. It’s a simple yet powerful way to bring a vintage feel and character to your artwork or letters. So dive into the process and enjoy how these easy steps transform plain paper into something truly special!