How to Make Paper Look Older in 7 Easy Steps
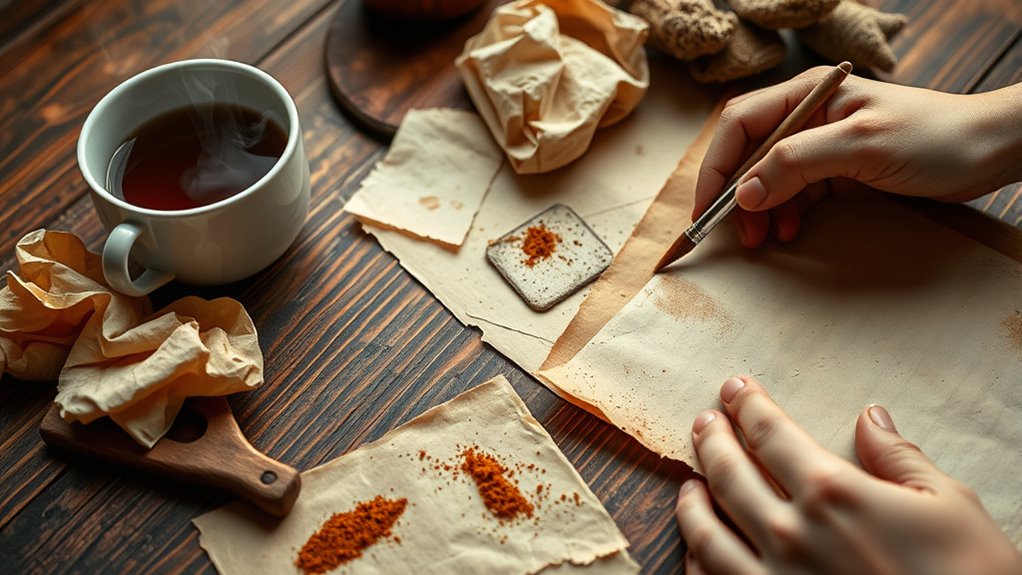
Start by choosing textured or thick off-white paper for an authentic look. This kind of paper gives your project a great vintage vibe right from the start. Next, stain it with strong tea or coffee, and be sure to let it dry naturally.
Once dry, crumple and smooth the paper to add character. It’s a simple trick, but it really makes the paper look like it’s been well-used over time. Then, carefully singe the edges using a lighter or candle. Just be cautious here—take your time to avoid burning too much!
After that, add realistic creases and fold marks. These little details make all the difference. You can also use fine sandpaper on the edges for a worn feel. It gives the paper an authentic touch that’s hard to fake.
Finally, finish with subtle ink or pencil details to mimic age. Maybe add some faint writing or smudges. Keep going, and you’ll uncover more tricks to perfect your vintage paper. It’s all about experimenting and having fun with the process!
Choose the Right Paper Type
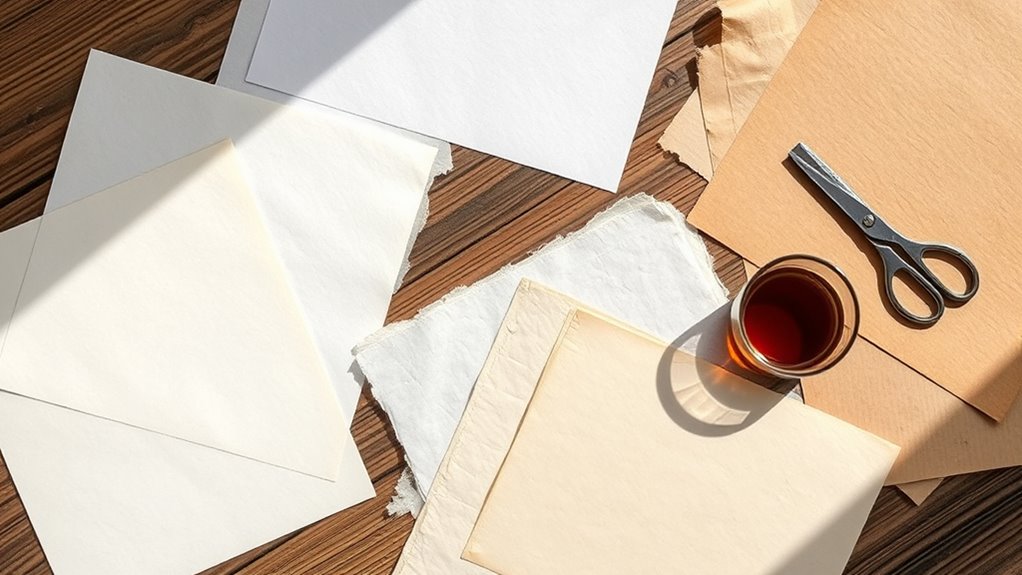
When you want to make paper look older, choosing the right type of paper is essential. You should pick paper that already has some texture or thickness, like parchment or watercolor paper, because these naturally hold aging effects better.
Avoid glossy or ultra-smooth paper since they resist absorbing treatments and look more modern. If you’re working with printer paper, consider using a heavier weight to mimic vintage styles.
Also, papers with a slight off-white or cream tint give a more authentic aged feel right from the start. Keep in mind, the paper’s durability matters too—you don’t want it falling apart while you’re working on it.
Selecting the right paper sets the foundation, making your aging process more effective and the final result much more convincing.
Stain the Paper With Tea or Coffee
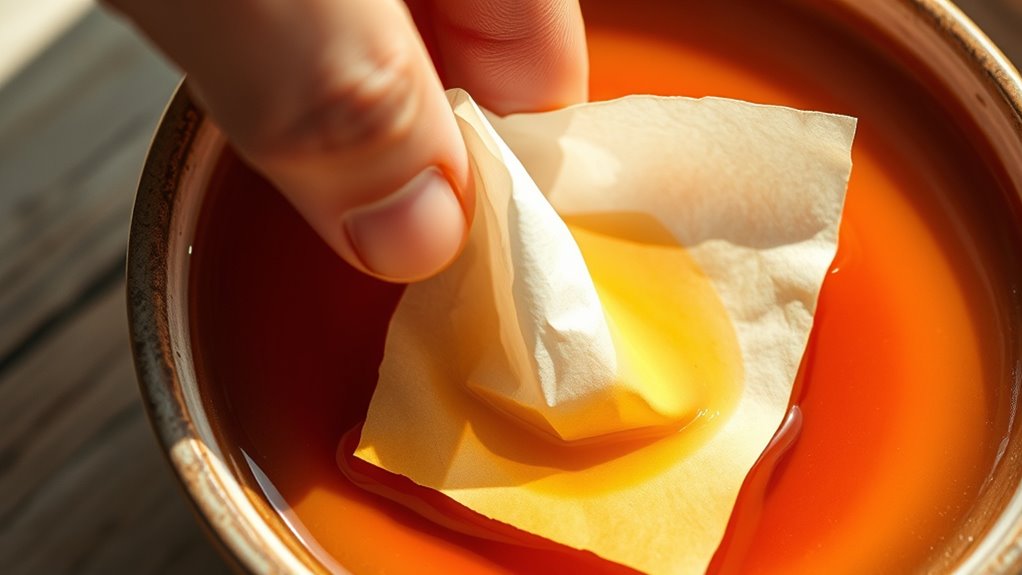
You’ll want to pick between tea and coffee based on the shade you prefer—tea gives a lighter, more subtle tone, while coffee offers a richer, darker stain.
Apply your chosen brew using a brush, sponge, or by soaking the paper, then let it dry completely to set the effect.
Feel free to experiment with multiple coats and drying times to get that perfect aged look. It’s all about finding what works best for you!
Choosing Tea or Coffee
Selecting between tea and coffee depends on the shade and texture you want for your aged paper. If you prefer a lighter, more subtle yellow-brown tint, tea is your best bet. It creates a soft, vintage look that mimics natural aging without being too overpowering.
On the other hand, coffee gives a richer, darker brown stain, perfect if you want a more dramatic, weathered appearance. Coffee also tends to add a bit more texture and grain, enhancing the antique effect.
Consider the type of paper too; delicate papers respond well to tea, while thicker stock can handle coffee’s intensity. Ultimately, your choice shapes the final look, so pick the stain that matches the mood you want your aged paper to convey.
Application Techniques
How exactly do you apply tea or coffee to achieve that perfect aged look? First, brew a strong cup of tea or coffee and let it cool. Then, lay your paper on a flat surface and use a sponge or brush to evenly coat it with the liquid.
You can also gently dip the paper into the tea or coffee for a more saturated effect. For added texture, try sprinkling some grounds onto the wet paper or blotting with a cloth to create uneven stains.
Make sure to cover the edges well, as these naturally darken over time. Remember, applying multiple thin layers will give a richer, more authentic antique appearance compared to one thick coat.
Keep your strokes consistent to avoid streaks.
Drying and Effects
Once you’ve applied the tea or coffee, let the paper dry naturally to enhance its aged appearance. Avoid using heat, which can cause uneven coloring or curling.
As it dries, watch the liquid settle into the fibers, creating that authentic vintage look you want. To add depth and texture, consider these effects:
- Blot with a sponge to create darker, irregular patches.
- Sprinkle coffee granules lightly for subtle speckles.
- Fold and crumple the paper before drying for natural creases.
- Lightly brush with diluted ink on edges for a burnt, worn effect.
These techniques give your paper character and make it convincingly old. Patience during drying is key—don’t rush it!
Crumple and Smooth Out the Paper
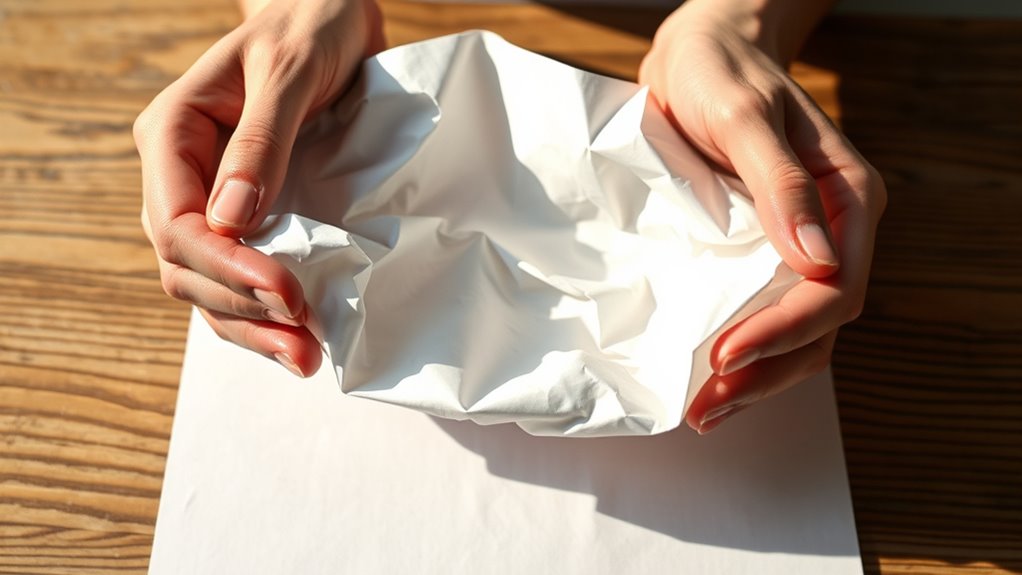
Start by gently crumpling your paper to create natural wrinkles that mimic age. Then, smooth it out carefully to keep some texture without making it too flat.
Finding the right balance between crumpled and smooth gives your paper an authentic, worn look.
Crumpling Techniques Explained
Although it might seem simple, crumpling and smoothing out the paper plays a crucial role in giving it an aged appearance. This step creates natural creases and texture that mimic the wear of time.
To master this technique, follow these steps:
- Gently scrunch the paper into a loose ball to avoid tearing.
- Slowly unfold it to reveal soft wrinkles instead of harsh folds.
- Repeat crumpling several times, varying pressure for an uneven look.
- Lightly flatten the paper with your hands, leaving subtle creases intact.
Benefits of Smoothing Paper
When you smooth out crumpled paper, you soften the texture while preserving the natural wrinkles that give it character. This step helps make your paper look authentically aged without turning it into a mess of harsh creases.
By gently flattening the paper, you keep it easy to handle and write on, which is perfect if you plan to add notes or sketches. Smoothing also prevents the paper from tearing easily, extending its durability as you work on aging effects.
Plus, it creates subtle variations in the surface that catch light differently, enhancing the vintage feel. This balance between texture and usability ensures your paper looks convincingly old while remaining practical for further crafting or display.
Balancing Texture and Flatness
Finding the right balance between texture and flatness helps you achieve a convincingly aged look without sacrificing usability. You want the paper to show signs of wear but still lie flat enough for writing or framing.
Start by gently crumpling the paper to create natural creases and wrinkles. Then, carefully smooth it out with your hands or a flat surface, preserving some texture while reducing bulk. Here’s how you can do it step-by-step:
- Lightly scrunch the paper into a loose ball to form subtle wrinkles.
- Unfold it and let it rest for a minute to settle the creases.
- Press the paper flat with your palm or a book, leaving some texture intact.
- Repeat if necessary until you get the perfect aged yet functional feel.
Burn or Singe the Edges Carefully
How can you add authentic, aged character to your paper? Burning or singeing the edges carefully is a great technique.
First, work in a well-ventilated area and have water nearby for safety. Hold your paper with tweezers or tongs to keep your fingers safe.
Light a candle or use a lighter, then gently pass the paper edges close to the flame—don’t touch the flame directly. The paper will start to darken and curl slightly.
Move the paper steadily to avoid burning too much or creating holes. If it catches fire, quickly blow it out or dip the edge in water.
This subtle burning mimics natural wear, giving your paper an authentic, vintage look without compromising its structure. Take your time to achieve the perfect aged effect.
Add Creases and Fold Marks
Adding creases and fold marks gives your paper a realistic, handled appearance that enhances its aged character. To achieve this, gently fold your paper along natural lines where old documents typically bend.
Don’t be afraid to make several folds to simulate frequent use. After folding, press firmly along the creases to create sharp lines. You can even unfold and refold the paper multiple times to soften the edges of the creases for a more authentic look.
- Fold the paper in half and press along the edge.
- Unfold and fold corners diagonally to form triangle creases.
- Create small wrinkles by scrunching parts lightly.
- Open the paper and press down on the creases to flatten but keep texture.
These steps add depth and realism to your aged paper project. Give it a try—you’ll love how natural it looks!
Use Sandpaper for a Worn Texture
While you might think paper is too delicate, gently rubbing it with sandpaper can create a convincingly worn texture that mimics years of handling. Choose a fine-grit sandpaper to avoid tearing the paper.
Gently sanding paper with fine-grit sandpaper creates a realistic worn texture without damaging it.
Lightly sand the edges and areas that would naturally experience the most wear, like corners and folds. Move the sandpaper in small, circular motions to thin the fibers and create subtle rough patches.
Don’t overdo it—build up the effect gradually so the paper looks naturally aged, not damaged. Sanding also softens the paper, giving it that fragile, fragile feel old documents have.
Remember to sand both sides of the paper if you want a uniform worn look. This simple step adds depth and authenticity to your aging process without compromising the paper’s integrity.
Apply Ink or Pencil for Authentic Details
Once you’ve created the worn texture, applying ink or pencil can bring authentic details that truly make the paper look aged. You’ll want to add subtle marks and imperfections that mimic natural wear and tear.
Use a fine-tip pen or a sharpened pencil to carefully:
- Draw faint lines or creases along edges and corners.
- Add small smudges or blotches to resemble ink stains.
- Sketch tiny, uneven dots or speckles to mimic dirt or dust.
- Lightly shade areas to create shadows and depth.
Don’t overdo it; subtlety is key. These small touches add character and depth, making your paper look genuinely old and well-used.
Take your time, step back often, and adjust as needed for a realistic effect. It’s all about those little details that bring your work to life.
Conclusion
Now that you’ve aged your paper with rich tea stains and singed edges, imagine holding a timeworn letter, its creases telling stories of years gone by. The rough texture beneath your fingertips and the faded ink bring history to life in your hands.
With each fold and worn mark, you’ve transformed plain paper into a relic, ready to spark imagination or add a vintage touch to any project. You’ve truly breathed life into the past.
By following these simple steps to make paper look older, you can create authentic-looking aged paper that adds character and charm. Whether it’s for a creative craft, a historical reenactment, or unique decorations, aged paper offers a beautiful way to evoke nostalgia and tell stories through texture and color. So go ahead—bring a touch of antiquity to your next project and watch your plain sheets transform into timeless treasures.