How Is Papad Made?
You make papad by mixing lentil flour with salt, spices, and water to form a firm dough. This dough is the base for making those delicious, crispy papads we all love.
Then, you roll it into thin discs and prick them to ensure even cooking. After that, you dry them in the sun until they become completely crisp.
Once dried, you can fry, roast, or microwave the papad to enjoy a crunchy snack. Proper drying and cooking are key for great texture and flavor.
If you want to know the step-by-step process and storage tips, keep going. I’ll walk you through everything you need to make perfect papad every time!
Ingredients Used in Papad Preparation
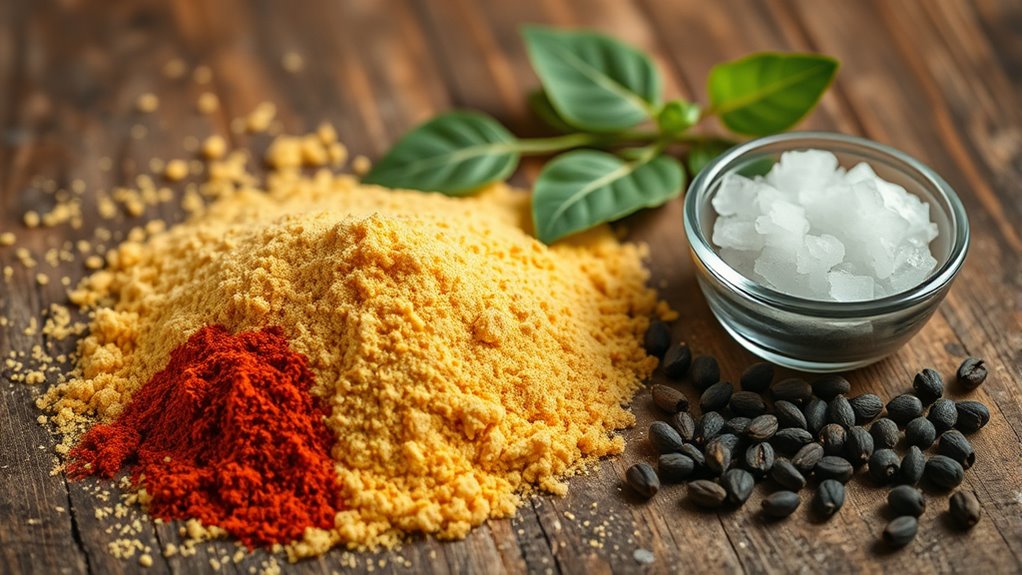
What ingredients go into making papad? When you make papad, you start with a base of lentil flour, usually from urad dal, chickpeas, or moong dal. You’ll add salt for flavor and a bit of baking soda to give it a slight crispness.
To spice things up, you can mix in black pepper, cumin seeds, or chili powder, depending on your taste. Some recipes call for asafoetida, which adds a unique aroma.
Add black pepper, cumin seeds, chili powder, or asafoetida for a flavorful, aromatic twist to your papad.
You’ll also need water to bind everything together into a dough. Oil is optional but sometimes used to enhance texture.
These ingredients come together simply but perfectly, giving papad its signature taste and crunch. You won’t need anything fancy—just these basics to get started.
Preparing the Papad Dough
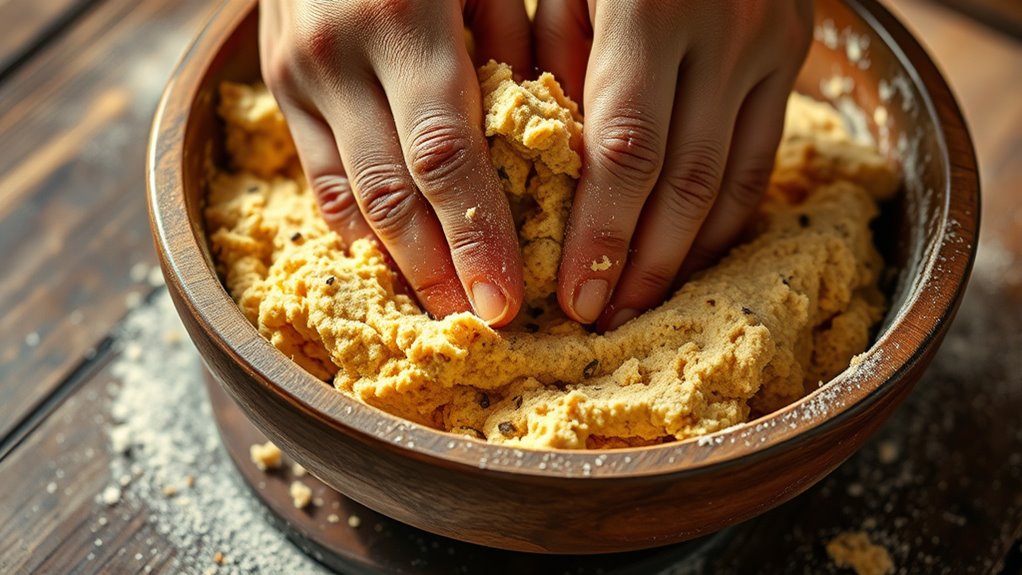
Now that you know the key ingredients, it’s time to prepare the papad dough. You’ll mix the flours with spices and water until the dough reaches the right consistency—firm but pliable.
Getting this balance right is vital for shaping and cooking papads perfectly. It might take a little practice, but you’ll get the hang of it!
Key Ingredients Overview
How do you start preparing papad dough? You begin by gathering the essential ingredients that give papad its distinct texture and flavor. The main base is usually urad dal flour or other lentil flours, which provide the structure.
Salt and spices like black pepper or cumin add taste. A little oil or ghee helps with binding and crispiness. Don’t forget water to bring everything together.
| Ingredient | Purpose | Typical Quantity |
|---|---|---|
| Urad dal flour | Base flour | 1 cup |
| Salt | Flavor enhancer | 1 tsp |
| Black pepper | Spice | 1/2 tsp |
| Oil or ghee | Binding & crispness | 1 tbsp |
These ingredients are key before mixing your dough.
Mixing and Consistency
Once you’ve gathered your ingredients, start by gradually adding water to the urad dal flour mixture while stirring constantly to form a smooth, pliable dough. Be careful not to add too much water at once; the dough should be firm but flexible, not sticky or crumbly.
Knead it thoroughly for about 8-10 minutes to develop the right texture, ensuring all ingredients blend evenly. If the dough feels too dry, add a few drops of water; if too wet, sprinkle a little more flour.
Achieving the right consistency is essential because it affects how thinly you can roll the dough and how evenly the papad will cook. Once mixed properly, cover the dough with a damp cloth to keep it moist until you’re ready to shape the papads.
Rolling and Shaping the Papad
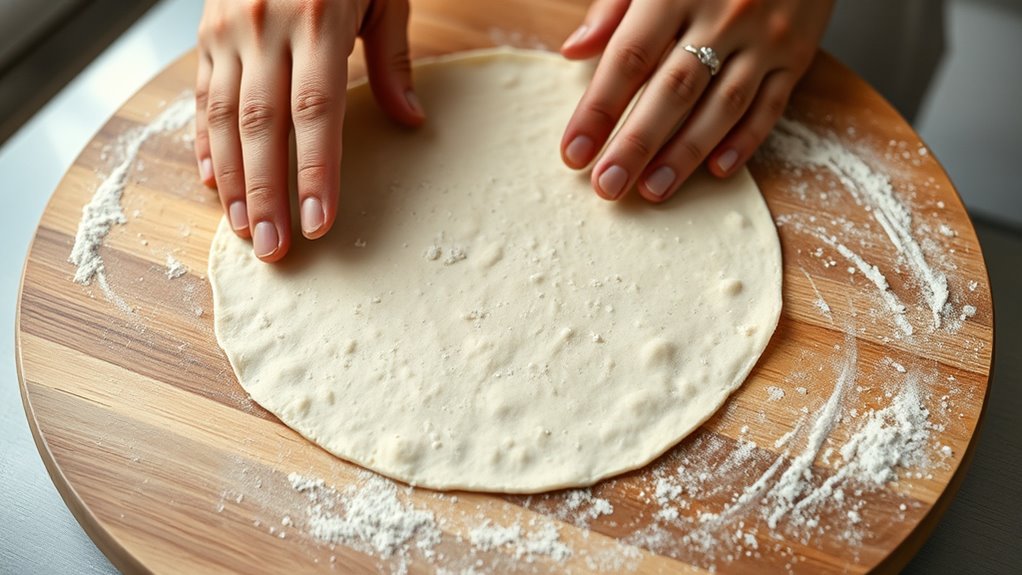
Once your dough is ready, you’ll start rolling it out into thin, even circles. You’ll use traditional methods to shape each papad just right, ensuring they cook evenly.
This step is key to getting that perfect crispiness later on. It’s a bit of an art, but you’ll get the hang of it quickly!
Dough Preparation Techniques
Although the dough is simple, rolling and shaping papad requires careful attention to achieve the perfect thinness and roundness.
You’ll need to handle the dough gently to avoid tearing while ensuring an even thickness throughout. Here’s how you can master this step:
- Divide the dough into small, equal portions to make rolling manageable and uniform.
- Dust your rolling surface and pin lightly with flour or chickpea flour to prevent sticking.
- Roll each portion into a thin, circular disc, applying even pressure and rotating frequently to keep the shape consistent.
Traditional Shaping Methods
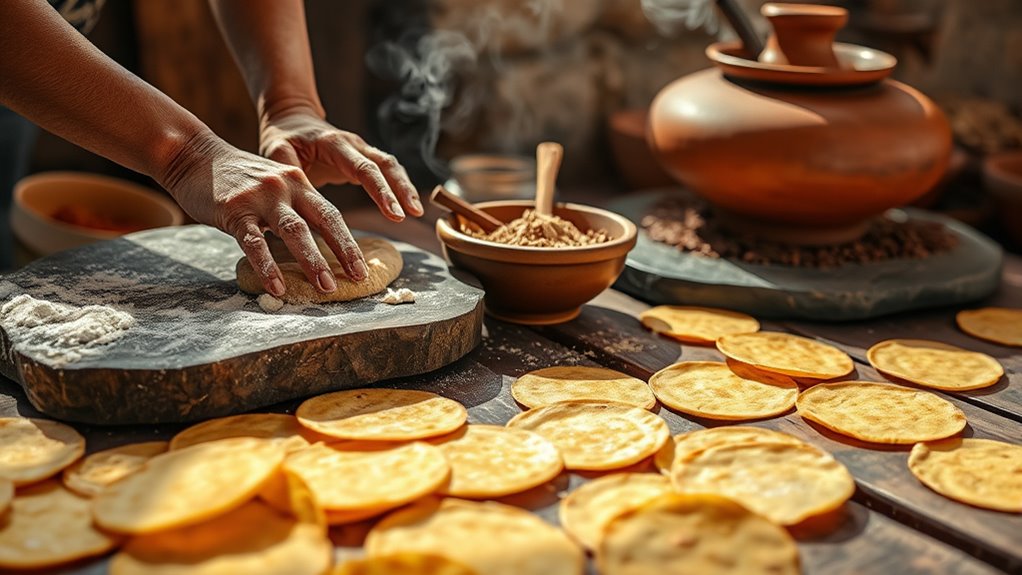
After preparing your dough and dividing it into manageable portions, you’ll move on to shaping the papad using traditional methods. First, take one portion and roll it into a small ball.
Lightly dust your rolling surface and rolling pin with flour or rice flour to prevent sticking. Then, gently roll the ball into a thin, circular sheet, aiming for an even thickness. You want the papad to be thin enough to crisp up but sturdy enough to handle.
Traditional shaping often involves hand-rolling, which gives it an authentic texture. Once rolled, you can prick the surface with a fork or use a special tool to create tiny holes.
These holes help the papad cook evenly and prevent bubbling during frying or roasting.
Drying the Papad Discs
Before you can enjoy the crispy texture of papad, you need to dry the discs thoroughly. Proper drying guarantees they become crisp and store well without spoiling.
To dry the papad discs effectively, follow these steps:
- Lay the Discs Flat: Place the shaped papad discs on a clean, flat surface like a bamboo mat or clean cloth. Make sure they don’t overlap to dry evenly.
- Expose to Sunlight: Leave the discs under direct sunlight for several hours. The sun’s heat will remove moisture gradually, preventing cracks.
- Flip Occasionally: Turn the discs every few hours to ensure both sides dry uniformly and avoid any damp spots.
Once dried completely, your papads will be ready for cooking or storage. Easy, right? Just a bit of patience and you’ll have perfect crispy papads!
Cooking Methods for Papad
Once your papad discs are completely dry, the next step is cooking them to achieve that signature crispiness. You can fry them in hot oil for just a few seconds until they puff up and turn golden.
After drying, fry papad discs briefly until they puff up and turn golden for perfect crispiness.
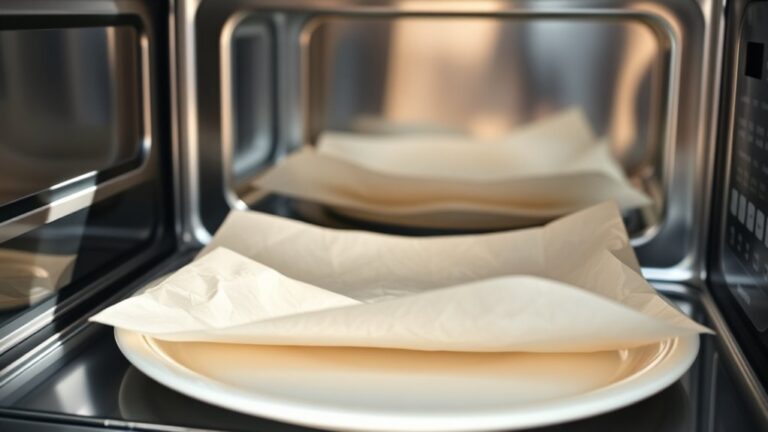
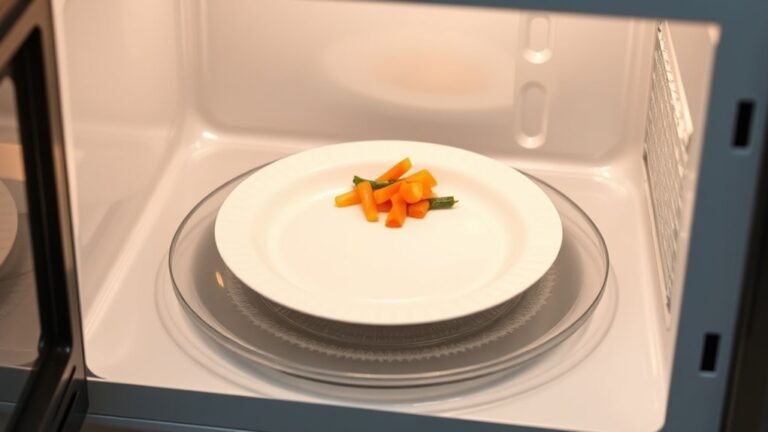
Alternatively, roasting over an open flame on a gas stove gives a smoky flavor and crunch. If you prefer a healthier option, microwave the papads for about 30–60 seconds; they’ll crisp up without added oil.
Another method is cooking on a hot griddle or tawa, flipping until both sides are evenly cooked and crispy. Whichever method you choose, keep a close eye to avoid burning.
Cooking papad is quick, and once crisp, it’s ready to enjoy as a crunchy snack or accompaniment.
Storing and Serving Papad
Properly storing your papad guarantees it stays fresh and crispy for longer periods. To do this, keep your papad in an airtight container away from moisture and direct sunlight. This prevents them from becoming soft or stale.
When serving, you can either roast, fry, or microwave the papad depending on your preference. It’s all about what texture and flavor you like best.
Here are three tips for storing and serving papad:
- Store papad in a cool, dry place in a sealed container to maintain crispness.
- Roast papad over an open flame or fry in hot oil for a crunchy texture.
- Serve papad as a side dish, snack, or garnish with chutneys and pickles for added flavor.
Following these steps ensures you enjoy papad at its best every time. Give it a try and enjoy that perfect crunch!
Conclusion
Now that you know how papad comes to life—from mixing the dough to drying those delicate discs—you might think it’s all straightforward. But here’s the twist: the real magic happens when you cook it.
Whether you fry, roast, or microwave, the final crispiness and flavor will surprise you every time. So, next time you enjoy papad, remember, there’s more to it than meets the eye—
Ready to uncover its secret crunch? Cooking papad properly brings out its unique texture and taste, making it a perfect snack or accompaniment. Understanding how papad is made adds a new appreciation for every crispy bite you take.