How to Make a Paper Plane Launcher in 10 Easy Steps
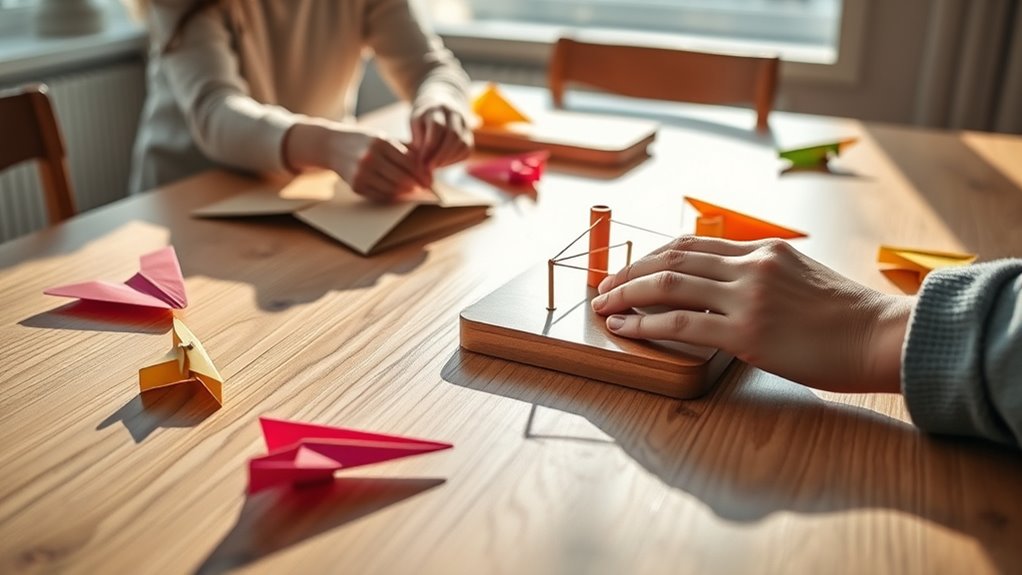
Start by gathering sturdy materials like wood or thick cardboard for your base, plus elastic bands and glue. These materials will give your paper plane launcher a strong and durable foundation.
Cut and smooth the base carefully to ensure stability. Then, attach a launch arm vertically using screws or strong adhesive so it stands firm.
Next, secure an elastic band tightly around hooks on the launcher. This band will provide the tension you need for a powerful launch.
Add a trigger mechanism that can hold and release the tension smoothly. This makes launching your paper plane easier and more controlled.
Test your launcher by adjusting the tension to get the perfect amount of power.
Fold a sharp paper plane and fine-tune its flight for the best results.
Keep going to discover more tips and tricks for perfecting your paper plane launcher and making your flights fly farther and straighter!
Gather Your Materials
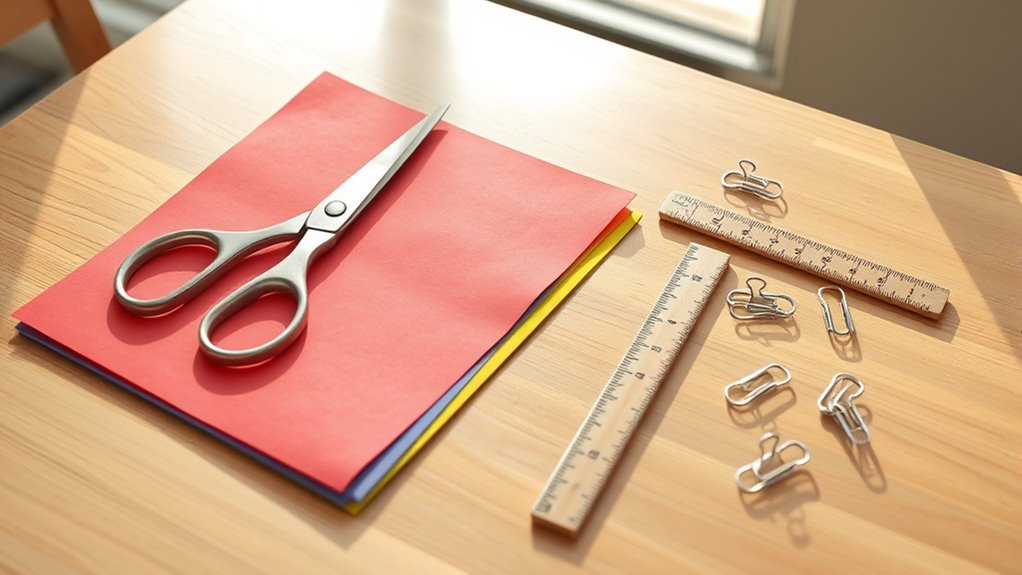
Before you begin building your paper plane launcher, gather all the necessary materials. You’ll need a sturdy base, like a wooden board or thick cardboard, to support the launcher.
Grab a rubber band or two to provide the launching force. Scissors will help you cut any materials to size, and tape or glue will secure parts together. A ruler or measuring tape ensures your pieces are accurately sized for smooth operation.
If you want extra stability, small clamps or clips can hold components while you assemble. Finally, have some paper ready for your planes.
Having everything on hand before you start saves time and frustration. This way, you can focus on building a launcher that works efficiently and reliably.
Choose a Design for Your Launcher
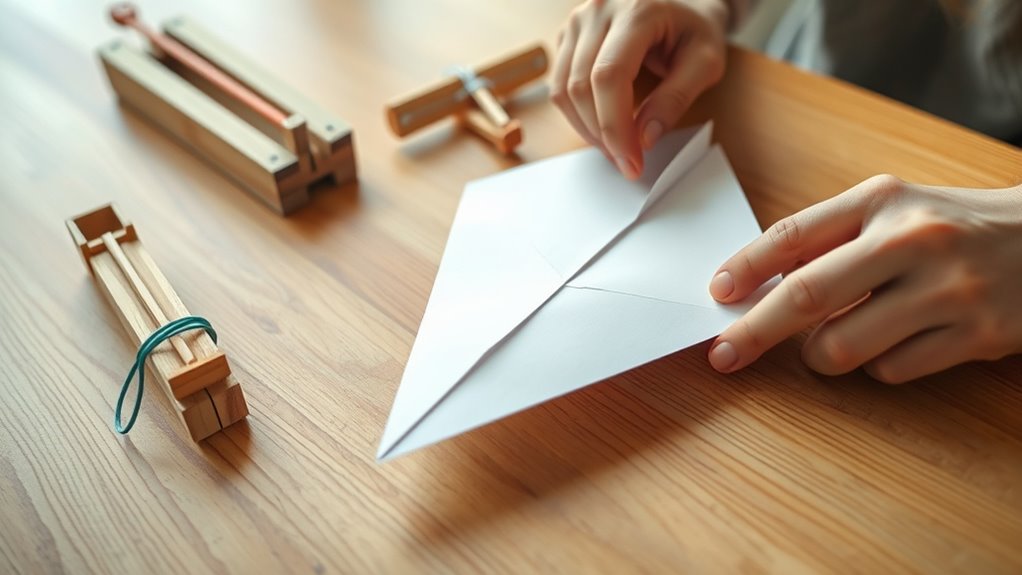
While selecting a design for your paper plane launcher, consider how simple or complex you want it to be. If you’re new to building launchers, start with a basic design using a rubber band for propulsion. It’s easy to assemble and effective for getting your plane airborne.
If you want more control and power, choose a design with a lever or catapult mechanism. These might take more materials and effort but offer better launch distance. Think about the materials you have and how portable you want your launcher to be.
Sketch your design before building to visualize how parts will fit and function. Choosing the right design sets the foundation for your launcher’s performance, so take a moment to pick one that matches your skills and goals.
Cut the Base for Stability
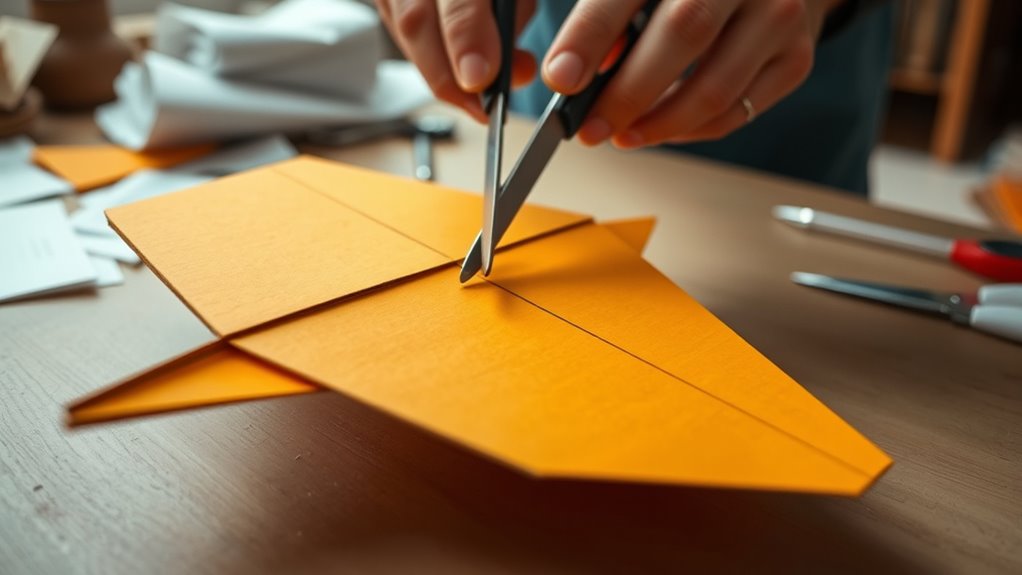
Once you’ve settled on a design for your launcher, focus on cutting the base to guarantee it stays stable during use. Start by selecting a sturdy piece of wood or thick cardboard. Measure and mark the dimensions according to your design, usually a rectangle wide enough to support the launcher’s arm without tipping.
Use a saw or sharp utility knife to make clean cuts along your marks. Make sure the edges are smooth by sanding or trimming any rough spots. A stable base prevents wobbling and keeps your launcher steady when you pull back the arm to launch your paper plane.
Don’t rush this step—precision here ensures better performance and durability for your launcher. Keep your workspace clear and handle tools safely while cutting. It really pays off to take your time!
Assemble the Launch Arm
Choose a sturdy, lightweight material for your launch arm to guarantee both strength and ease of movement.
Next, attach the arm securely to the base using screws or strong adhesive to keep it stable during launches. Make sure the connection is tight so your paper plane will have a smooth and powerful release.
Selecting Launch Arm Materials
What materials will give your paper plane launcher the best performance? You’ll want a launch arm that’s lightweight yet sturdy to guarantee quick, smooth motion without bending.
Wood, like a thin dowel or craft stick, works well because it’s strong and easy to handle. Plastic strips can also be effective if they’re rigid enough to avoid flexing under tension.
Avoid metal unless it’s very light, as it might add unnecessary weight and complicate assembly. You’ll also want a smooth surface to minimize friction with your plane during launch.
Keep your arm narrow to reduce air resistance but wide enough to hold your plane securely. Choosing the right material sets the foundation for a reliable and consistent launcher, so pick carefully before moving on to the next steps.
Securing Arm to Base
How do you firmly attach the launch arm to the base for maximum stability? Start by positioning the launch arm vertically on the base where you want it secured. Use strong adhesive like epoxy or wood glue to bond the contact surfaces.
Clamp the arm in place or press it firmly for several minutes to ensure a solid hold. If you want extra strength, reinforce the joint with small screws or nails. Just remember to drill pilot holes first to prevent splitting.
Make sure the arm is perfectly perpendicular to the base so your paper planes launch straight. Let the glue cure fully according to the manufacturer’s instructions before testing.
Taking these steps will give you a sturdy, reliable launch arm that won’t wobble or detach during use. Easy, right?
Attach the Elastic Band
Choose an elastic band that’s strong but flexible enough to provide a good launch.
Make sure you secure it firmly to the launch arm so it won’t slip during use.
This will give your paper plane the right amount of tension for a powerful flight.
Choosing the Right Band
Since the elastic band provides the tension that launches your paper plane, selecting one with the right thickness and elasticity is essential. You want a band that’s thick enough to provide strong tension but flexible enough to stretch without snapping.
Thin bands might break easily, while overly thick ones can be tough to pull back. Look for a medium-width band made from natural rubber for the best balance.
Also, consider the band’s length; a longer band offers more stretch, increasing launch power. Test a few bands by stretching them to see how they feel—choose one that stretches smoothly and returns to its original shape quickly.
Picking the right band guarantees your launcher performs consistently and your paper planes fly farther every time. It’s a simple choice that makes a big difference!
Securing the Band Firmly
After selecting the perfect elastic band, you’ll need to secure it firmly to your launcher to guarantee consistent tension. Begin by looping the band around the designated hooks or notches on your launcher frame. Make sure the band sits snugly without slipping.
If your launcher lacks built-in hooks, you can create small grooves or use strong adhesive tape to hold the band in place. Pull the band taut before fastening it to avoid slack, which can reduce launching power.
Double-check both ends to ensure they’re equally tight and symmetrical, preventing uneven launches. Finally, test the tension by stretching the band gently; it should resist without overstretching.
Properly securing the band ensures your paper plane launcher performs reliably every time.
Create a Trigger Mechanism
Although building the launcher frame is essential, you won’t get your paper plane flying far without a reliable trigger mechanism. Start by attaching a simple hook or peg to the front of your frame to hold the rubber band in a stretched position.
Then, create a lever or button that, when pressed or pulled, releases the band smoothly. You can use a clothespin, a small spring, or even a paper clip bent into shape for this.
Make sure the trigger holds the rubber band firmly but lets go instantly when activated. Test your trigger several times to guarantee it releases the band without hesitation or sticking.
A clean, quick release is key to launching your paper plane effectively and achieving maximum distance. So, take your time getting this part just right!
Secure All Parts Together
To secure all parts together, you’ll need to choose the right adhesive for a strong hold. Make certain each component is perfectly aligned before the glue sets.
This careful setup ensures your launcher stays stable and works smoothly. Take your time—getting this right makes all the difference.
Choosing the Right Adhesive
How do you guarantee your paper plane launcher stays sturdy during use? Choosing the right adhesive is key. You want a glue that bonds quickly and holds firmly without warping your materials.
Hot glue works great for wood or cardboard parts because it sets fast and creates a strong hold. If you’re using lighter paper or thin plastic, double-sided tape or craft glue offers enough stickiness without soaking through.
Avoid watery glues that can weaken paper or cause parts to slip. Apply adhesive sparingly to prevent mess and allow drying time before testing.
Aligning Components Precisely
When you align the components precisely, your paper plane launcher will function smoothly and efficiently. Take your time to position each part carefully before securing them.
Misalignment can cause the launcher to jam or misfire, ruining your plane’s trajectory. So, it’s worth being patient here.
Use these tips to guarantee perfect alignment:
- Lay out all parts on a flat surface to check fit.
- Use a ruler or straight edge to keep components in line.
You can also temporarily clamp or tape parts to maintain position while adhesive dries. And don’t forget to double-check alignment from multiple angles before finalizing.
Ensuring Structural Stability
Once you’ve aligned all the parts properly, securing them firmly will keep your paper plane launcher reliable and safe to use. Start by using strong adhesive tape or glue at every joint to prevent any movement during launch.
If you’re using rubber bands or elastic bands, wrap them tightly around connection points to add extra stability. Check that all parts fit snugly without gaps or looseness.
Don’t overlook reinforcing critical stress points, like where the launching arm meets the base. Use clamps or clips temporarily as the glue dries to maintain pressure.
Finally, test the launcher gently before full use; if any part wobbles, reinforce it immediately. Taking these steps ensures your paper plane launcher stays sturdy and performs consistently every time.
Test the Tension and Adjust
Although you’ve assembled the paper plane launcher, you’ll need to test the tension to make certain it propels your plane effectively. Start by pulling back the rubber band or elastic component and observe how much resistance you feel.
After assembling your paper plane launcher, test the tension by pulling back the elastic to ensure effective propulsion.
The tension should be firm but not so tight that it risks breaking or bending your launcher frame. If the tension feels off, adjust by tightening or loosening the rubber band, or repositioning the attachment points. Keep testing until you find the sweet spot.
Remember to avoid overstretching the elastic to prevent damage. Also, ensure consistent tension for reliable launches.
Check that the launcher returns smoothly without sticking. Adjust incrementally for fine-tuning performance.
This ensures your launcher will send paper planes flying just right every time.
Fold the Perfect Paper Plane
How do you fold a paper plane that soars smoothly and far every time? Start with a crisp, standard letter-sized sheet. Fold it in half lengthwise, then unfold to create a center crease.
Next, fold the top corners inward to meet the crease, forming sharp points. Then, fold those edges again toward the center, making sure your folds are clean and tight.
Flip the paper over and fold it in half along the original crease. Now, create the wings by folding down each side, aligning the wing edges parallel to the bottom of the plane.
Make sure all folds are sharp by pressing firmly along the creases. Precise, symmetrical folds minimize drag and keep your plane balanced, helping it glide steadily through the air.
Try to avoid wrinkles or uneven edges because they can mess with your plane’s flight. Keep everything neat, and you’ll have a plane that flies true every time!
Launch and Fine-Tune Your Plane
Before you launch your paper plane, make sure you have a clear area free of obstacles to maximize its flight path.
Hold the launcher firmly, position your paper plane in the holder, and aim slightly upward. Release the launcher smoothly to propel your plane forward. Watch how it flies, then adjust for better performance.
To fine-tune your plane, focus on these key aspects:
- Adjust wing angles to improve stability and lift.
- Experiment with the launch angle for ideal distance.
- Modify the plane’s weight distribution by adding small folds or paper clips.
- Check for any creases or imperfections that might affect flight.
Keep launching and tweaking it until your plane soars smoothly and far. You’ll get the hang of it in no time!
Conclusion
Now that you’ve built your paper plane launcher, you’re ready to soar! Did you know the world record for the longest paper plane flight is over 226 feet? With your new launcher, you could get closer to that mark!
Keep adjusting your tension and plane folds to improve flight distance. Remember, practice makes perfect, and every launch teaches you something new.
Get out there, have fun, and watch your paper planes fly farther than ever before! Making a paper plane launcher is not just about building; it’s about enjoying every flight and improving your skills. So keep experimenting, and soon you’ll be launching paper planes like a pro!