How to Use Stencil Paper in 10 Easy Steps
To use stencil paper in 10 easy steps, start by picking the right stencil paper for your project and designing your pattern carefully. Setting up a clean and well-lit workspace is key to working efficiently.
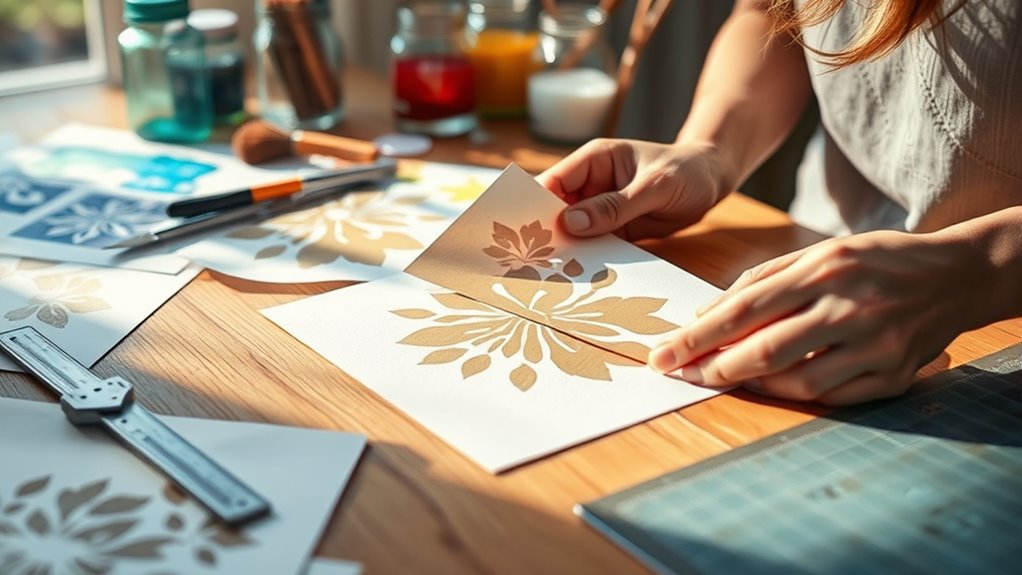
Next, transfer your design onto the stencil paper using tape to hold it steady and a pencil to trace the lines accurately.
Cutting out the stencil precisely with a sharp knife ensures clean edges.
Prepare your surface by cleaning it thoroughly, then select the right paint that works well with your stencil paper and surface type.
Apply the paint lightly to avoid bleeding under the stencil.
Once painted, peel the stencil off gently to reveal your design.
Finally, clean your stencil to remove any paint residue and store it properly for future use.
Following these simple yet effective steps will help you create sharp, professional-looking designs every time. Plus, these tips go beyond the basics to give your projects that extra polish!
Choose the Right Stencil Paper for Your Project
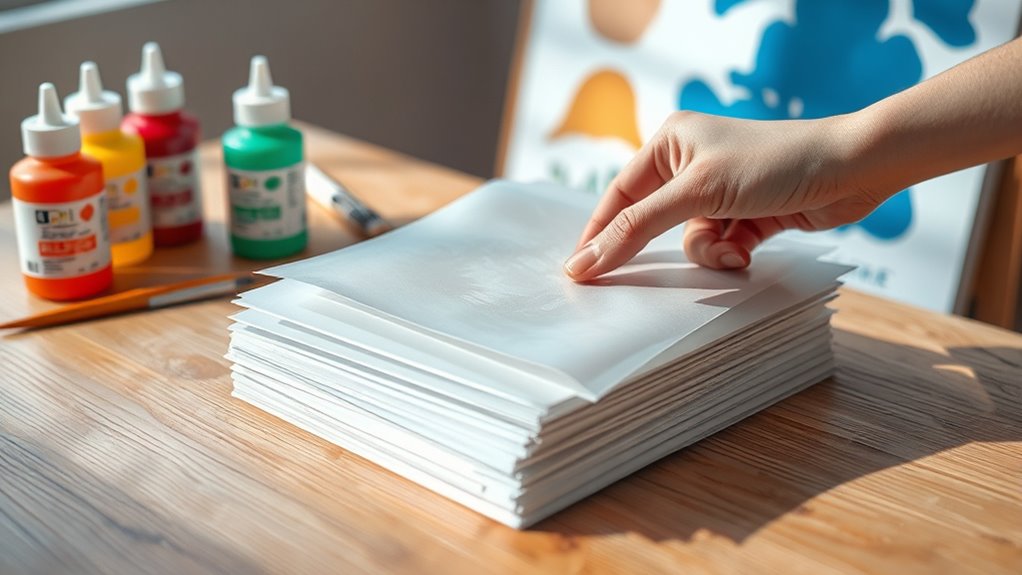
Before you begin your stencil project, you need to pick the right stencil paper that matches your design and surface.
If you’re working on a smooth surface like glass or metal, choose a vinyl stencil paper because it sticks well and resists paint bleed.
For porous surfaces such as wood or fabric, opt for stencil cardstock or adhesive-backed paper that can handle paint absorption without tearing.
Consider the complexity of your design too—thin, flexible papers work best for intricate patterns, while thicker papers suit bold, simple shapes.
Also, decide if you want a reusable stencil; in that case, durable materials like mylar are ideal.
Taking time to select the proper stencil paper guarantees clean lines and a professional finish every time you stencil.
Design or Select Your Stencil Pattern
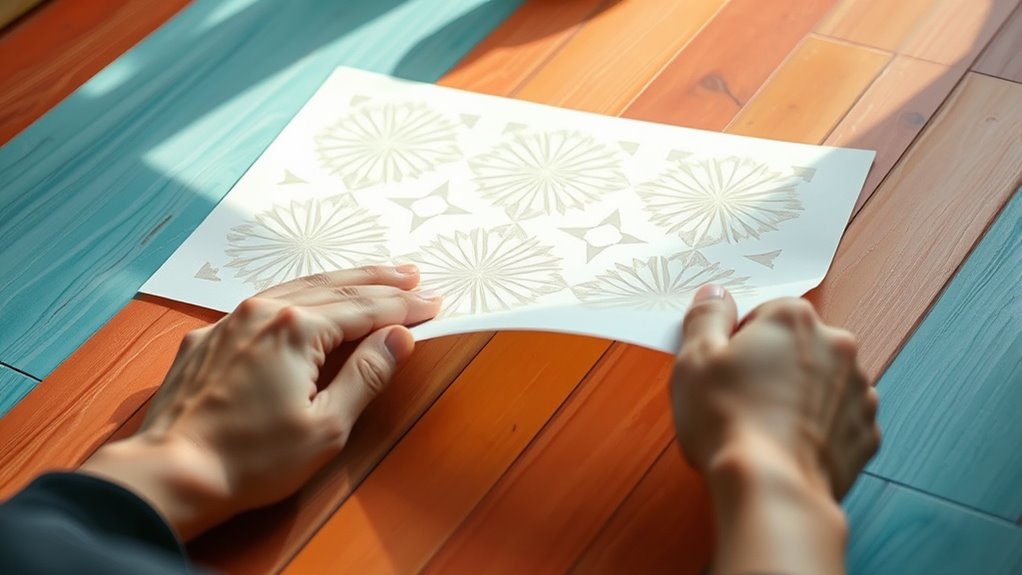
You can find stencil pattern ideas from magazines, online galleries, or your own sketches. Decide how simple or detailed you want your design to be, based on your skill level and project needs.
Feel free to customize your pattern to make it truly unique before transferring it onto your stencil paper. This way, your project will have a personal touch that stands out.
Finding Inspiration Sources
Although finding the perfect stencil pattern can feel overwhelming, tapping into various inspiration sources makes the process easier and more enjoyable. Start by exploring nature—leaves, flowers, and animal shapes offer endless ideas.
Art books and magazines also provide creative visuals that can spark your imagination. Don’t forget online platforms like Pinterest or Instagram, where you can find diverse stencil designs from artists worldwide.
You can even look around your home for everyday objects with interesting shapes to use as patterns. Sketching your ideas or combining elements from different sources helps create a unique design.
Choosing Pattern Complexity
Finding the right stencil pattern is just the start; deciding how complex your design should be shapes the entire project. If you’re new to stenciling, choose simpler patterns with bold shapes and fewer details to avoid frustration.
Complex designs with intricate lines and tiny elements look stunning but require more precision and patience. Consider your skill level and the tools you have—fine blades and steady hands work best for detailed patterns.
Also, think about the surface you’re working on; rough textures can obscure delicate details. Remember, a simpler pattern often makes a stronger visual impact and is easier to replicate cleanly.
Start with manageable complexity, then challenge yourself as you gain confidence in your stencil skills. You’ll be surprised how quickly you improve!
Customizing Your Design
Several options exist when it comes to customizing your stencil design, whether you decide to create one from scratch or select a ready-made pattern. If you’re designing your own, start by sketching your idea on paper or using design software.
Focus on clean lines and simple shapes to guarantee easy cutting and clear results. When choosing a ready-made pattern, pick one that fits your project’s theme and complexity level. You can always modify existing designs by combining elements or adjusting sizes to suit your needs.
Prepare Your Workspace and Materials
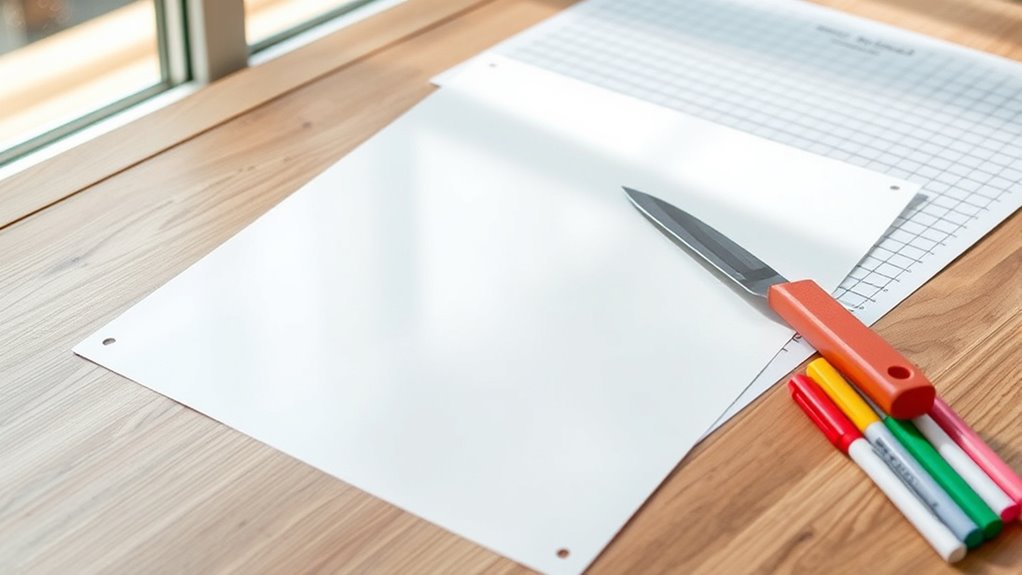
Where should you start when working with stencil paper? Begin by setting up a clean, flat workspace with good lighting to see details clearly. Gather all necessary materials—stencil paper, a sharp craft knife or stencil cutter, cutting mat, painter’s tape, and your design printout or drawing.
Having everything within reach prevents interruptions and keeps your workflow smooth. Make sure your cutting mat is sturdy to protect your surface and provide a stable base for precise cuts.
If you’re using paints or sprays later, cover your workspace with newspaper or plastic to avoid mess. Organizing your tools and materials before you start saves time and frustration. That way, you can focus on creating crisp, accurate stencils without distractions.
Transfer the Design Onto the Stencil Paper
How exactly do you transfer your design onto stencil paper for the best results? First, secure your design on a flat surface. Place the stencil paper over it, making sure it’s aligned properly.
Use tape to hold both layers steady to prevent any shifting. Next, trace the design using a fine-tip pencil or a ballpoint pen, applying consistent pressure to ensure the lines transfer clearly. If your stencil paper is thick, you might need to press a bit harder.
For complex designs, break it into sections and transfer piece by piece to maintain accuracy. Once you finish tracing, double-check that all details are visible on the stencil paper before removing it from the original design.
This careful process helps guarantee a clean, precise stencil outline. It’s worth taking your time here to get the best results!
Cut Out the Stencil Carefully
Once your design is fully traced and all details are clear, you’re ready to cut out the stencil. Use a sharp craft knife or precision scissors to follow the lines carefully.
Take your time, especially around intricate parts, to avoid tearing the paper. Keep your cutting surface stable, and always cut away from your body for safety.
Here’s a quick checklist to guide your cutting process:
| Task | Tips |
|---|---|
| Prepare workspace | Use a clean, flat surface |
| Choose tools | Sharp knife or fine scissors |
| Follow traced lines | Cut slowly and precisely |
| Handle curves | Make small, controlled cuts |
| Safety precautions | Cut away from your body |
Secure the Stencil to Your Surface
Before you start, make sure your surface is clean to help the stencil stick better.
Choose the right adhesive method, like painter’s tape or spray adhesive, to keep the stencil in place. Position the stencil carefully to avoid any shifting while you work.
This way, your design will come out just right without any smudges or slips. It’s all about taking these little steps to make your project easier and cleaner!
Choose Adhesive Methods
Typically, you’ll want to pick an adhesive method that keeps your stencil firmly in place without damaging your surface. Painter’s tape is a popular choice since it holds the stencil securely and peels off cleanly.
For delicate surfaces, consider using low-tack adhesive spray. It provides even coverage and easy removal without leaving any residue.
If you’re working on fabric or textured surfaces, adhesive sheets or repositionable glue sticks can offer extra grip. Just avoid strong glues or tapes that might leave marks or tear your stencil paper.
Whatever method you choose, make sure it’s compatible with your surface type and allows you to lift the stencil smoothly after painting. It’s a good idea to test your adhesive on a small area first — that way, you can avoid any unwanted damage or frustration later on.
Position Stencil Carefully
Although it might seem simple, positioning your stencil carefully is essential for a clean, professional-looking result. Begin by aligning the stencil exactly where you want your design to appear. Use a ruler or measuring tape if precision is important, especially for symmetrical or repeated patterns.
Once positioned, secure the stencil firmly to prevent any movement during painting or tracing. You can use painter’s tape or the adhesive method you selected earlier to hold the stencil in place.
Press down along all edges to ensure it lies flat against the surface, avoiding gaps where paint could bleed. Double-check the placement before proceeding, because shifting the stencil after applying paint can ruin your work.
Taking these steps guarantees crisp lines and a flawless finish every time. So, a little extra care here really pays off!
Ensure Surface Cleanliness
After you’ve positioned your stencil carefully, make sure the surface is clean and free of dust or oils that could affect adhesion. Wipe the area with a damp cloth or use rubbing alcohol to remove any grease or residue.
Let it dry completely before securing the stencil. A clean surface guarantees the stencil sticks properly and prevents paint from bleeding underneath.
Next, use painter’s tape or stencil adhesive spray to hold the stencil firmly in place. Press down along the edges to avoid lifting during painting.
Taking these steps helps you achieve sharp, clean lines and a professional finish. Don’t rush this process—surface cleanliness and proper securing make all the difference in your stencil project’s success.
Select the Appropriate Paint or Medium
When choosing paint or medium for your stencil project, consider the surface you’ll be working on and the effect you want to achieve. For porous surfaces like wood or fabric, acrylic paints work best because they adhere well and dry quickly.
If you’re stenciling on glass or metal, opt for enamel or spray paints to ensure durability and a smooth finish. Water-based paints are ideal for easy cleanup and less odor, making them great for indoor projects.
Avoid using thick paints that can cause bleeding under the stencil; instead, select medium-bodied paints for better control. You can also use inks or markers for detailed designs on paper or smaller projects.
Picking the right medium really sets the foundation for crisp, clean stencil results. So, take your time choosing—it makes all the difference!
Apply Paint Using the Correct Technique
You’ll want to pick the right brush to get clean, sharp edges on your stencil. Using a brush with stiff bristles helps you control the paint better and prevents bleeding.
Make sure to apply paint in light, even layers to keep your design crisp and smooth. This way, you avoid any messy spots and your stencil looks great!
Choosing the Right Brush
Although selecting the right brush might seem simple, it considerably impacts how your paint adheres to the stencil paper. Using the proper brush ensures clean lines and prevents paint from bleeding under the stencil edges.
When choosing, focus on the following:
- Brush type: Opt for a flat or round brush with stiff bristles to control paint application.
- Brush size: Match the brush size to your stencil details; smaller brushes work well for intricate designs.
- Bristle material: Synthetic bristles are ideal for acrylic paints, offering durability and smooth coverage.
- Brush condition: Use a brush in good shape without splayed bristles to maintain precision.
Applying Even Paint Layers
To achieve crisp, clean designs on stencil paper, apply paint in thin, even layers using a controlled dabbing or swirling motion. This prevents paint from bleeding under the stencil edges and keeps your design sharp.
Use a stencil brush or sponge for better control. Avoid overloading your brush; instead, build color gradually by applying multiple light layers.
| Step | Tip |
|---|---|
| Dab paint lightly | Use minimal paint on brush |
| Move in circles | Apply paint evenly |
| Let layers dry | Prevent smudging |
| Repeat if needed | Build opacity gradually |
Remove the Stencil Without Smudging
When you finish applying the paint, lift the stencil carefully to prevent smudging. Start by gently peeling the stencil from one corner, pulling it back slowly at a 45-degree angle.
Don’t rush this part—taking it slow helps keep your design crisp and clean. If the paint feels tacky, just give it a moment to dry before removing the stencil.
To remove the stencil without smudging:
- Use a light touch to avoid shifting the stencil.
- Peel the stencil away in a steady, slow motion.
Try not to touch the freshly painted area. If any paint bleeds, wait until the stencil is fully removed before fixing it.
Following these steps will keep your project looking sharp and professional. You’ll be proud of how clean it turns out!
Clean and Store Your Stencil for Future Use
After carefully removing your stencil, the next step is to clean it properly to keep it in good shape. Use a soft cloth or sponge with warm, soapy water to gently wipe away any paint or residue. Avoid harsh scrubbing, which can damage the stencil’s edges.
If paint has dried, soak the stencil briefly before cleaning. Once clean, pat it dry with a lint-free towel or let it air dry completely to prevent warping.
To store, place your stencil flat between sheets of wax paper or inside a plastic sleeve. Keep it in a cool, dry place away from direct sunlight to avoid fading or bending.
Following these steps ensures your stencil stays ready for your next project, extending its lifespan and maintaining crisp designs. Easy, right? Just a little care goes a long way!
Conclusion
Now that you’ve mastered each step, imagine your stencil paper as a blank canvas turning into vibrant art beneath your hands. With careful cuts and gentle strokes, you bring your design to life, leaving crisp, clean edges like a fresh breeze on a sunny day.
Keep your stencil safe and ready, so every project feels like a new adventure. You’ve got the skills—now watch your creativity soar with every use! Using stencil paper effectively opens up endless possibilities for your DIY projects, crafts, and home decor.
So, embrace the versatility of stencil paper and transform your ideas into beautiful, precise artwork. With these easy steps, you’re all set to create stunning designs that stand out every time. Happy stenciling!