How to Make Fish in Paper in 10 Simple Steps
To make a paper fish in 10 simple steps, start by choosing sturdy, colorful paper that folds well. This is key because the right paper makes folding easier and your fish will look vibrant and fun. Gather scissors, glue, and markers for cutting, shaping, and decorating.
Cut your paper into a basic fish outline.
Then fold it to form the body, tail, and fins with sharp creases. These folds give your fish its shape and character.
Add details like eyes and scale patterns using colors.
Secure all parts firmly so they hold their shape. Don’t rush this part—making sure everything sticks well helps your fish last longer.
Keep going to discover how to add lifelike fins and vibrant decorations that really bring your fish to life!
Choose the Right Paper for Your Fish
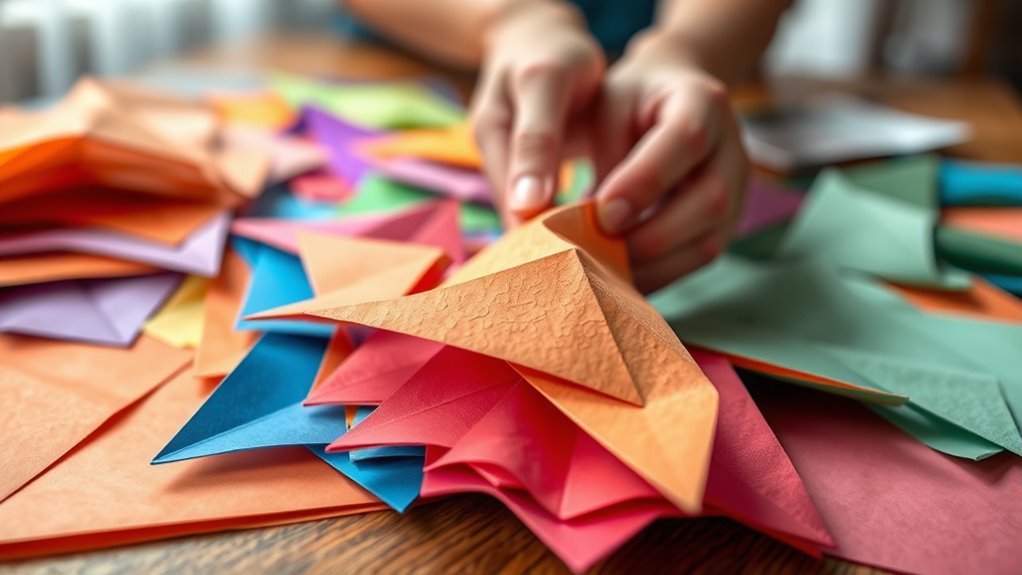
How do you pick the perfect paper for your fish project? Start by choosing paper that’s sturdy enough to hold folds but flexible enough to shape easily.
Origami paper is a great choice because it’s thin yet durable, and often comes in vibrant colors and patterns that can mimic real fish scales. If you don’t have origami paper, lightweight cardstock or construction paper works well too.
Avoid thick or rough paper since it’s harder to fold neatly and may tear. Also, pick a size that fits your design; typically, square sheets between 6 to 8 inches are ideal for most fish models.
Gather Necessary Tools and Materials
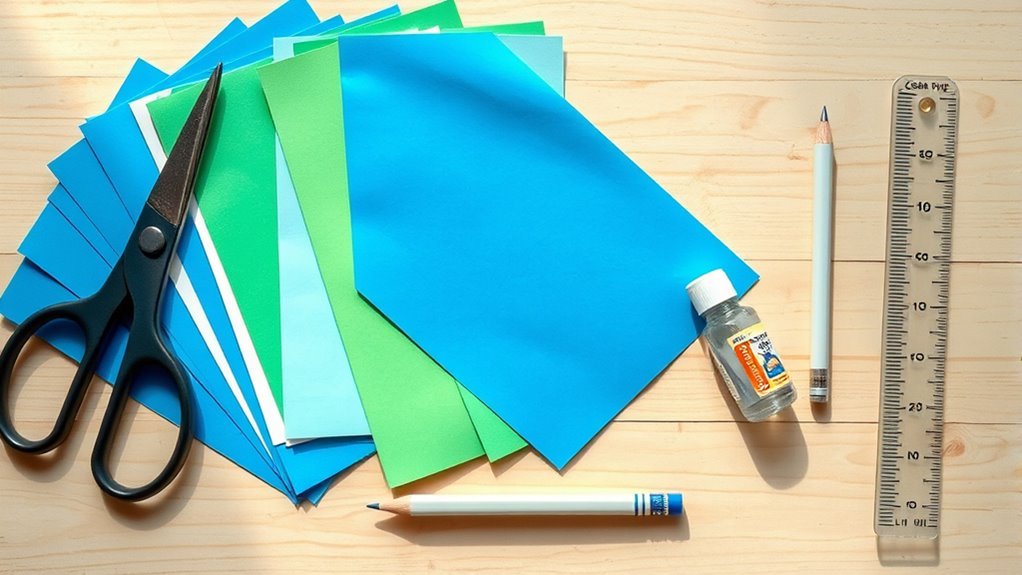
Before you start folding, make sure you have all the essential crafting supplies on hand, like scissors, glue, and a pencil. Picking the right paper is just as important as having the right tools—it affects how your fish will look and hold together.
With everything ready, you’ll be set to create your paper fish smoothly. It’s always better to be prepared so the whole process goes without a hitch.
Essential Crafting Supplies
To create a fish out of paper, you’ll need a few essential supplies that make the process smooth and enjoyable. Start with a pair of sharp scissors to cut clean edges and precise shapes. Grab a pencil for marking folds and drawing details.
You’ll also want a ruler to measure and create straight lines, ensuring your fish looks balanced. A glue stick or double-sided tape will help you secure parts without mess.
If you want to add color or texture, have some markers, colored pencils, or crayons handy. Finally, keep a clean workspace with scrap paper nearby for practice folds or testing cuts.
With these supplies ready, you’ll be set to craft your paper fish efficiently and with confidence. It’s really fun once you get going!
Choosing the Right Paper
What paper should you pick to bring your fish to life? Start with lightweight but sturdy paper like origami or craft paper. These types hold folds well without tearing and are easy to manipulate.
Avoid thick cardstock, as it’s tough to crease properly, and flimsy tissue paper, which can rip easily. Consider color and texture too—bright, vibrant hues or metallic finishes add visual interest and mimic real fish scales.
If you want patterned paper, choose subtle designs that won’t overwhelm your fish’s shape. Ultimately, pick paper that balances flexibility and durability, matching your project’s complexity.
Testing a small piece before starting helps ensure it folds cleanly and achieves the look you want. With the right paper, your paper fish will truly swim off the page.
Cut the Paper Into a Fish Shape
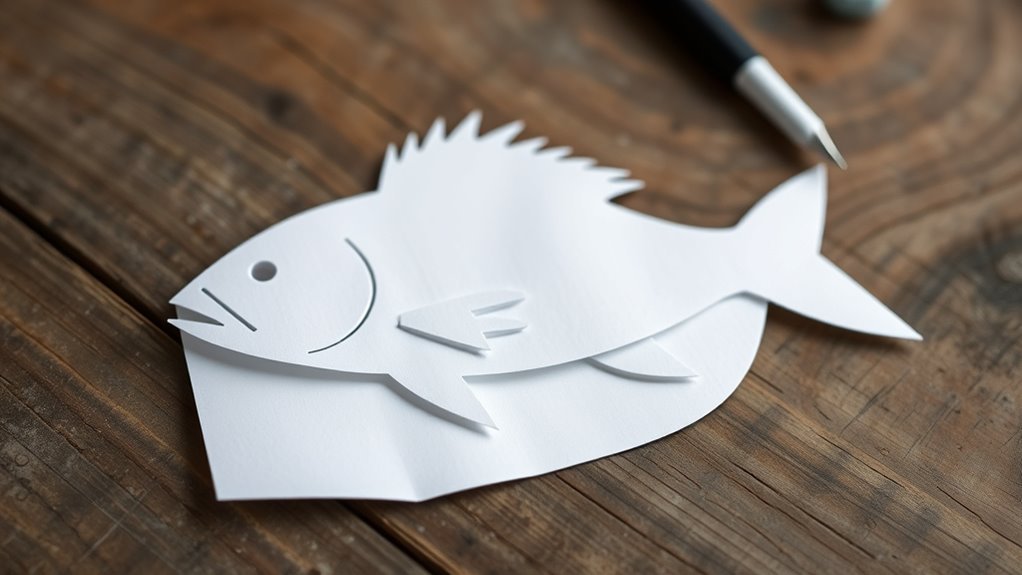
Once you’ve gathered your paper and tools, you’ll want to outline the fish shape carefully. Start by sketching a simple body with a rounded head and tapering tail.
Include fins that are easy to cut and add character to your fish. Remember, the outline doesn’t have to be perfect—just clear enough to guide your scissors.
To help you visualize, focus on these key parts:
- Oval or teardrop-shaped body
- Triangular tail fin at the back
- Curved dorsal fin on top
- Small pectoral fins on the sides
Use a pencil to draw lightly so you can erase any mistakes. Once your outline looks good, grab your scissors and prepare to cut along the lines for a clean fish shape.
Fold the Paper to Create the Fish Body
Choose a paper type that’s easy to fold but sturdy enough to hold the shape. Use basic folding techniques to start shaping the fish body, like creases and bends that add dimension.
Focus on creating smooth curves and angles to give your fish a realistic, three-dimensional look. It really helps bring your paper fish to life!
Choosing Paper Type
How do you pick the perfect paper to fold your fish body? Choosing the right paper makes folding easier and your fish look better. You want paper that’s flexible but holds creases well.
Avoid paper that’s too thick or stiff since it won’t fold neatly.
Consider these factors when selecting paper:
- Weight: Lightweight papers around 70-90 gsm are ideal for crisp folds.
- Texture: Smooth paper helps folds glide cleanly without tearing.
- Color: Pick vibrant or patterned sheets to give your fish character.
- Size: Square sheets work best; a 6×6 inch size is easy to handle.
Basic Folding Techniques
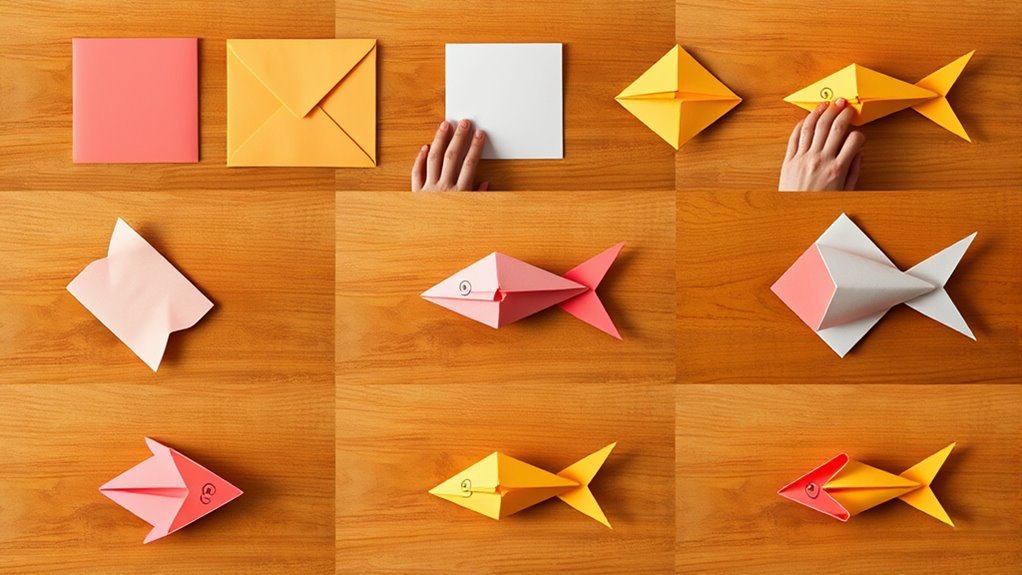
With your ideal paper ready, you can start folding the fish body by mastering a few basic techniques. Begin with a crisp diagonal fold to create a triangle, which forms the foundation. Then, fold the triangle in half to sharpen the edges and establish symmetry.
Next, unfold partially and fold the corners inward to meet at the center crease, shaping a kite-like form. Remember to press down firmly on each fold to keep the creases clean and precise. These simple folds help define the fish’s core structure.
Avoid rushing; neatness here guarantees your fish looks sharp later. Once these basic folds are done, you’ll have a solid base to move on to more detailed shaping. Keep your hands steady and your creases sharp to get the best results.
Shaping the Fish Body
Once you’ve established the basic folds, start shaping the fish body by folding the paper inward along the existing creases to form a sleek, streamlined silhouette. Focus on making sharp, precise folds to give your fish a defined shape.
Pinch the edges gently to taper the tail and create a natural curve for the body. As you fold, keep the paper firm but flexible to avoid tearing.
Remember to:
- Fold the sides evenly for symmetry.
- Narrow the tail end by folding in small increments.
- Curve the body slightly for a dynamic look.
- Keep creases sharp to hold the shape well.
These steps will give your paper fish a realistic, elegant form ready for final details. Just take your time, and you’ll see it come together beautifully!
Add Fins With Precise Folding Techniques
Although adding fins might seem challenging at first, you’ll find that precise folding techniques can create sharp, defined shapes that bring your paper fish to life. Start by folding small triangles on each side of the fish’s body to form the pectoral fins.
Make crisp creases to ensure the fins stay in place. Use a mountain fold for the dorsal fin on top, aligning edges carefully. Remember, symmetry improves the fish’s appearance.
| Step | Action |
|---|---|
| 1. Locate fin spots | Identify where fins attach |
| 2. Fold triangles | Create pectoral fins |
| 3. Make creases | Press folds sharply |
| 4. Dorsal fin fold | Use mountain fold on top |
| 5. Adjust symmetry | Align folds evenly |
With practice, your fins will look crisp and natural. Just keep at it, and you’ll see your paper fish really come to life!
Shape the Tail for a Realistic Look
You’ll want to focus on shaping the tail with careful folds to mimic a real fish’s movement. Use crisp, angled creases to add dimension and enhance the tail’s details.
These simple paper folding tips will bring your fish to life with a more realistic look. It’s all about those little touches that make a big difference!
Tail Shape Techniques
When shaping the tail, focus on creating smooth, flowing lines that mimic the natural curves found in real fish. This will make your paper fish look more lifelike and dynamic.
Start by gently curving the edges to form a subtle V-shape, which is common in many fish species. Then, use precise creases to add definition without making the tail stiff.
Try these techniques for a realistic tail:
- Slightly flare the tips outward for a natural spread.
- Add small, symmetrical folds to suggest fin rays.
- Taper the tail gradually from the body for smooth progression.
- Use soft bends instead of sharp angles to keep fluidity.
With these tips, your paper fish tail will have that authentic, graceful movement. Give it a try and see how much more alive your fish looks!
Paper Folding Tips
Since the tail sets the tone for your paper fish’s movement, focus on folding techniques that enhance its natural flow and texture.
Use gentle creases to mimic fin flexibility and avoid sharp folds that stiffen the tail. Experiment with small, precise folds to create subtle curves that suggest motion.
Here’s a quick guide to help you shape the tail effectively:
| Tip | Purpose | Result |
|---|---|---|
| Use soft folds | Maintain flexibility | Realistic, flowing tail |
| Fold edges inward | Add thickness | Sturdy tail structure |
| Slightly curve tips | Simulate natural fin tips | More dynamic appearance |
Following these tips will give your paper fish a lifelike tail that enhances its overall look. Give it a try—you’ll see the difference it makes!
Enhancing Tail Details
Although shaping the tail can be challenging, focusing on small details will bring your paper fish to life. You’ll want to create a tail that looks dynamic and natural, enhancing the overall appeal of your craft.
Start by gently curling the edges to mimic the fluid motion of a real fish tail. Next, add small folds or creases to suggest fin rays and texture.
Don’t forget to thin out the tail’s tip slightly to avoid a blocky appearance. Finally, adjust the angle of the tail to give your fish a sense of movement.
- Curl tail edges softly for natural flow
- Add fine creases to represent fin rays
- Taper the tail tip for elegance
- Position the tail at a slight angle for realism
These steps make your paper fish truly stand out.
Decorate the Fish With Color and Patterns
How can you bring your paper fish to life with vibrant colors and patterns? Start by choosing bright markers, colored pencils, or watercolors to add personality to your fish. Use bold stripes, spots, or scales to mimic real fish patterns or create your own unique design.
Don’t hesitate to mix colors for a gradient effect or to highlight specific areas like fins and tails. You can also use stencils or stamps for consistent shapes and textures. Remember to let each layer dry if you’re using paint to avoid smudging.
Adding intricate details like waves or bubbles around the fish can enhance the overall look. These decorations make your paper fish visually striking and ready to impress. Give it a try and watch your fish really pop!
Attach Eyes and Other Small Details
Where should you place the eyes and other small details to bring your paper fish to life? Start by positioning the eyes near the front of the fish’s head, just above the mouth area. This placement gives your fish a natural gaze and personality.
Next, add small details like scales, fins, and gills to enhance realism and texture. Think about where these elements naturally appear on a fish’s body and replicate that.
- Position eyes symmetrically on each side of the head
- Add tiny scale patterns along the sides for texture
- Attach small fin shapes near the top and bottom edges
- Draw or cut gill slits just behind the eyes
These details make your paper fish visually engaging and more lifelike. They really bring your creation to the next level!
Use Glue or Tape to Secure the Parts
Once you’ve placed the eyes and other details, it’s important to secure everything firmly in place. Grab a small amount of glue or a piece of double-sided tape to attach each part.
If you’re using glue, apply it sparingly to avoid wrinkling the paper. Press each piece gently but firmly, holding it for a few seconds until it sticks. For tape, cut small strips and place them on the back of the details to keep them hidden.
Make sure all edges are sealed to prevent parts from peeling off later. Take your time during this step; securing the parts properly guarantees your paper fish stays intact and looks polished.
This careful finishing touch really brings your creation together. Just a little patience here goes a long way!
Display Your Finished Paper Fish Art
After you’ve secured all the parts, you’ll want to showcase your paper fish in a way that highlights its details and craftsmanship. Start by choosing a well-lit spot where natural or soft lighting can bring out the colors and textures.
Consider placing your fish against a simple background to avoid distractions. You can mount it on a small stand or hang it with a clear string to create a floating effect.
If you want to preserve it longer, frame it under glass or in a shadow box. Here are some display ideas to inspire you:
- Use a wooden or acrylic stand to hold your fish upright.
- Hang your fish near a window for natural light.
- Place it on a shelf with other paper art pieces.
- Frame it to protect from dust and damage.
These tips will make your creation truly stand out. Give them a try and enjoy showing off your paper fish!
Conclusion
Now that you’ve crafted your paper fish, you’re ready to wow everyone—no need for a telegram to share your masterpiece! With just a bit of folding, decorating, and securing, you’ve turned simple paper into a charming underwater creation.
Keep experimenting with colors and shapes to make your fish truly one-of-a-kind. So, dive back into your supplies anytime and keep bringing these delightful paper creatures to life.
You’re officially an origami captain of the craft seas! Making fish in paper is a fun and creative way to explore origami, and with these simple steps, anyone can create beautiful paper fish. Keep folding, crafting, and enjoying your handmade underwater friends!