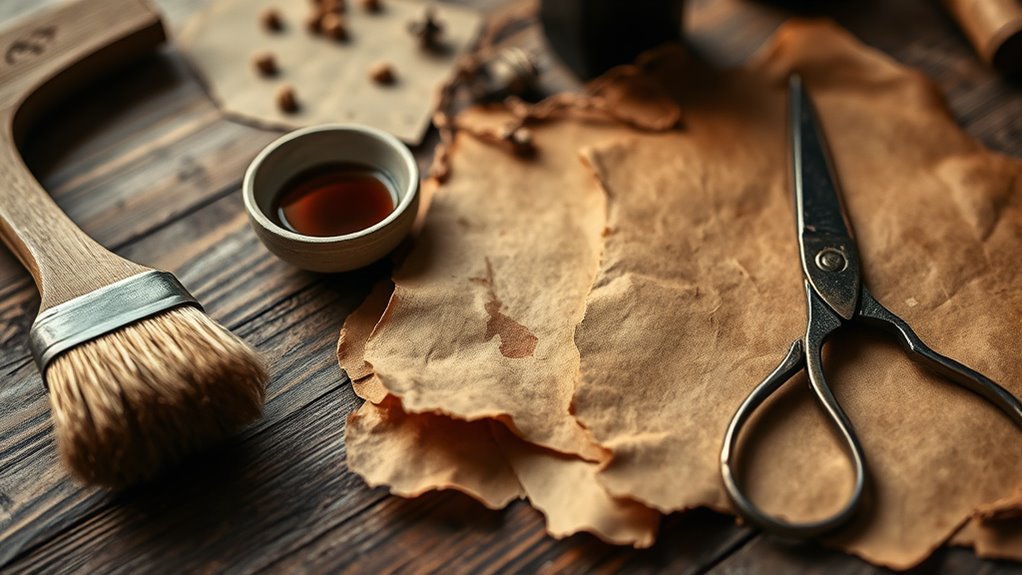
How to Make Paper Look Old in 10 Easy Steps
To make paper look old, start by choosing textured, cream-colored paper. Gently crumple it to create natural creases, giving it that authentic worn look.
Next, brew strong tea or coffee and let it cool. Soak the paper for a few minutes to add a nice, vintage color. After drying the paper flat, roughen the edges with sandpaper to enhance the aged effect.
You can also add faint ink or pencil smudges for extra character. If you’re feeling adventurous, carefully burn the edges to give it that classic vintage feel.
Finally, seal the paper to preserve your work. Keep going to discover more tips for adding authentic aged details and finishing touches!
Gather Your Materials
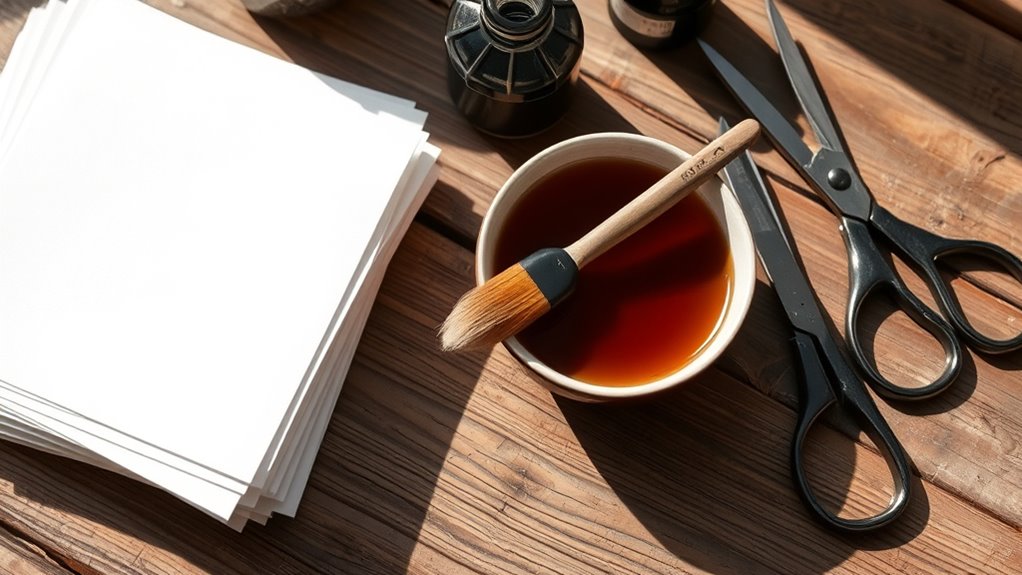
Before you begin, gather all the materials you’ll need to make your paper look old. You’ll want plain white or off-white paper as your base.
Next, get some tea bags or instant coffee to create that aged, stained effect. Have a shallow dish or tray ready for soaking the paper.
You’ll also need a sponge or brush for applying the staining solution evenly. To add texture and wrinkles, a crumpling method works best—so keep your hands ready or use a rolling pin.
For added authenticity, a lighter or candle can gently singe the edges, but be careful. Finally, have a flat drying surface like a baking sheet or parchment paper to lay your paper out after staining.
With these materials gathered, you’re set for the next steps.
Choose the Right Paper
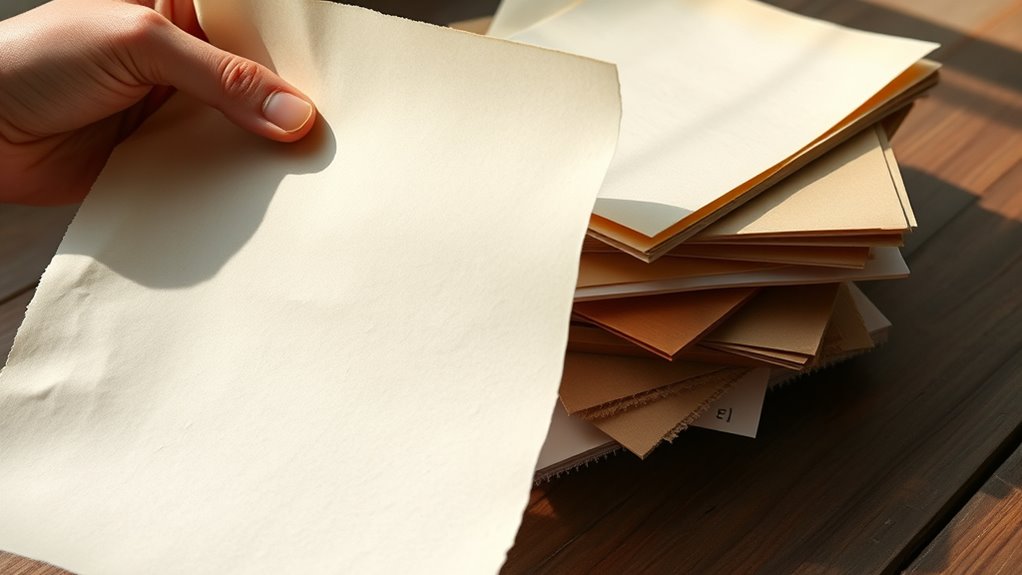
You’ll want to pick paper with the right texture to mimic old documents, like rough or fibrous types. Consider the color too—off-white, cream, or light brown shades work best.
Also, choose a weight that feels substantial, so your aged paper has a realistic thickness. That way, it won’t feel flimsy or fake.
Paper Texture Options
Although any paper can undergo aging techniques, choosing the right texture will make your project look more authentic. You want to pick paper with a natural feel—something slightly rough or fibrous works best.
Textured papers like watercolor or handmade sheets absorb stains and tea or coffee better, creating uneven spots that mimic genuine aging. Avoid super smooth or glossy papers; they tend to resist discoloration and look artificial after treatment.
Thicker textured papers also hold up well to crumpling and distressing without tearing easily. When you select your paper, run your fingers over it to get a sense of its texture.
This tactile check helps ensure your final result has that convincing old-world charm you’re aiming for.
Color and Weight Choices
When choosing paper for an aged look, consider both color and weight carefully to achieve the most authentic effect. Opt for off-white, cream, or light brown shades instead of bright white; these colors mimic the natural discoloration of old paper.
You can also experiment with slightly yellowed or sepia tones for added depth. As for weight, select paper that feels substantial but not too thick—around 80-100 gsm works well to replicate vintage documents without being flimsy.
Heavier paper often takes stains and aging techniques better, giving you more control over the final appearance. Avoid glossy or coated papers since they resist staining and aging effects.
Crumple and Flatten the Paper
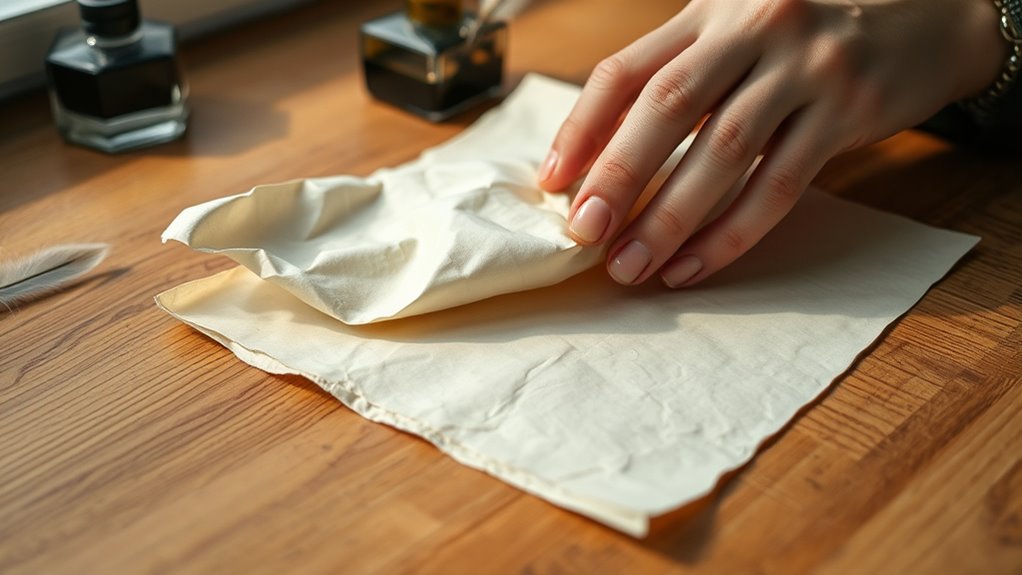
A simple way to give your paper an aged appearance is to crumple and then flatten it. This process creates natural creases and texture, mimicking wear from handling over time.
Start by gently scrunching the paper into a loose ball—don’t crush it too tightly or it might tear. Then, carefully unfold and smooth it out with your hands or a flat surface.
Here’s how crumpling affects different paper types:
| Paper Type | Effect of Crumpling | Best Use Cases |
|---|---|---|
| Thin Paper | Delicate wrinkles | Letters, notes |
| Thick Paper | Prominent creases | Posters, maps |
| Textured Paper | Enhanced texture | Art projects |
Try this step before staining to get a realistic aged look.
Brew Tea or Coffee for Staining
Since you want your paper to look authentically aged, brewing tea or coffee offers a natural way to add warm, vintage tones. Start by boiling water and steeping several tea bags or a few tablespoons of ground coffee.
The longer you brew, the stronger and darker the stain will be. For a subtle tint, brew for about 5 minutes; for richer color, let it steep up to 15 minutes.
Use black tea or strong coffee for the best results, as they both produce deep, earthy hues that mimic age. Once brewed, let the liquid cool to room temperature before using it.
This step guarantees you don’t damage your paper during staining and helps you achieve a more even, natural-looking finish.
Soak the Paper in the Tea or Coffee
You’ll want to decide between tea or coffee, as each gives a different shade to your paper.
Next, soak the paper just long enough to absorb the color without becoming too fragile—usually a few minutes works well.
Finally, let it dry flat or hang it up, depending on the texture you’re aiming for.
Choosing Tea or Coffee
When deciding between tea and coffee to age your paper, think about the color and scent each one will give.
Tea usually gives a lighter, warm brown tone and a subtle, earthy smell. Coffee, on the other hand, offers a richer, darker stain with a stronger aroma.
Your choice really depends on the look and scent you want for your project.
| Tea | Coffee |
|---|---|
| Light brown color | Dark brown color |
| Mild, earthy scent | Strong, robust aroma |
| Subtle staining effect | Bold staining effect |
| Often easier to control | Can create uneven spots |
Pick the one that best fits the vintage style you’re going for before soaking your paper.
Optimal Soaking Time
Although soaking time varies depending on the look you want, aiming for 3 to 5 minutes usually gives a nice, even stain without weakening the paper. If you soak it for less than 3 minutes, the color might be too light and uneven.
On the other hand, soaking longer than 5 minutes can cause the paper to become fragile or overly dark. Keep an eye on the paper as it soaks, gently moving it around to ensure all areas absorb the tea or coffee evenly.
If you want a more intense aged effect, you can extend the soaking time gradually, but be cautious not to overdo it. Remember, the goal is to achieve that perfect vintage tone without compromising the paper’s integrity.
Drying Techniques After Soaking
After soaking your paper in tea or coffee, drying it properly is essential to lock in that aged look without causing wrinkles or damage. Start by gently lifting the paper and letting excess liquid drip off. Lay it flat on a clean towel or absorbent surface to prevent creases.
Avoid wringing or folding, as this can cause unwanted lines. If you want a more textured effect, try crumpling the paper lightly before drying. It adds a nice touch!
For faster drying, use a hairdryer on a low, cool setting. Keep it moving to avoid scorching. Alternatively, you can hang the paper with clips, allowing air to circulate evenly.
Whichever method you choose, make sure the paper dries completely. This helps preserve that vintage appearance and prevents mold or warping. Easy, right?
Dry the Paper Naturally or With Heat
Since the paper is now soaked with your aging solution, you need to dry it carefully to preserve the vintage effect. You can let it air dry naturally by laying it flat on a clean surface or hanging it up.
Natural drying helps avoid wrinkles and keeps the color even, but it takes a bit longer. If you’re short on time, use a hairdryer on a low heat setting, keeping it at least a few inches away to prevent burning or warping.
Move the dryer steadily over the paper to dry it evenly. Avoid high heat or leaving the paper in direct sunlight, as this can cause unwanted fading or brittleness.
Whichever method you choose, make sure the paper is completely dry before handling it further.
Add Texture With Sandpaper or Scratches
Once your paper is completely dry, you can enhance its aged appearance by adding texture. Using sandpaper or creating gentle scratches gives your paper a worn, authentic feel.
Lightly rub fine-grit sandpaper over the surface, focusing on corners and edges where natural wear would occur. Or, you can use a blunt knife or needle to add subtle scratches. Just be careful not to tear the paper—the goal is to mimic years of use.
Imagine these textures: soft, uneven rough patches, slightly frayed edges, and tiny, shallow scratches scattered across the surface. You might also picture areas where ink looks slightly faded or worn.
Don’t forget about slight creases and dents that catch the light differently. These little details really bring your paper to life with a convincing vintage look.
Burn the Edges Carefully
Although burning the edges requires caution, it adds an authentic, aged touch that’s hard to replicate any other way. To start, work in a well-ventilated area and keep a bowl of water nearby for safety.
Burning edges carefully creates a genuine aged look—always work safely with ventilation and water nearby.
Hold your paper with tweezers or tongs to avoid burns. Light a candle or use a lighter, then carefully bring the flame close to the edge of the paper.
The paper will catch fire quickly, so gently wave it away to control the burn. Focus on small sections, letting the edges char and curl slightly.
Don’t burn too much; less is more for realism. Once you’re satisfied, extinguish any remaining flames immediately by pressing the paper against the water or a non-flammable surface.
This method gives your paper that perfect vintage feel. Just take it slow and be safe!
Use Ink or Pencil for Aging Details
When you want to add subtle aging details, using ink or pencil lets you create fine lines and smudges that mimic wear and tear. Grab a soft pencil or sepia-toned ink to gently sketch cracks, stains, or faded writing.
Lightly smudge edges or corners to suggest handling over time. You can also draw faint watermarks or antique doodles for character. Keep your strokes irregular to avoid a perfect, new look.
Try these ideas:
- Delicate cracks running parallel to the paper grain
- Random ink blots or faded script marks
- Soft pencil smudges along margins
- Tiny ink spots resembling old ink splatters
- Faint, hand-drawn symbols or flourishes
These details add authenticity and a weathered charm to your aged paper. Give it a go and watch your paper come to life!
Seal the Paper for Preservation
To keep your aged paper looking authentic and prevent further wear, you should seal it properly. Start by choosing a clear, acid-free sealant like a spray fixative or a thin layer of diluted PVA glue.
Test your sealant on a scrap piece first to make sure it doesn’t change the paper’s color or texture. When you’re ready, apply the sealant evenly—hold the spray about 12 inches away or brush on the glue gently.
Let it dry completely in a flat, dust-free area. Sealing not only protects your work from moisture and dirt but also helps preserve that aged look you’ve worked hard to create.
Just be careful not to over-saturate the paper, since that can cause wrinkles or warping. With proper sealing, your vintage-style paper will stay beautiful for years to come.
Conclusion
Now that you’ve mastered these simple steps, your paper will carry the charm of a forgotten treasure chest. With a little patience and creativity, you can transform plain sheets into vintage-looking masterpieces that tell their own story.
Remember, aging paper is like painting with time—you’re adding character and history with every fold, stain, and burn. So go ahead, bring your projects to life and watch your old paper illusion unfold beautifully!
By following these easy techniques to make paper look old, you not only create unique art but also add a nostalgic vibe to your crafts. Whether it’s for scrapbooking, invitations, or decorative purposes, aged paper gives your work an authentic vintage feel.
So keep experimenting with staining and distressing, and enjoy the process of turning ordinary paper into something that looks genuinely antique and captivating.