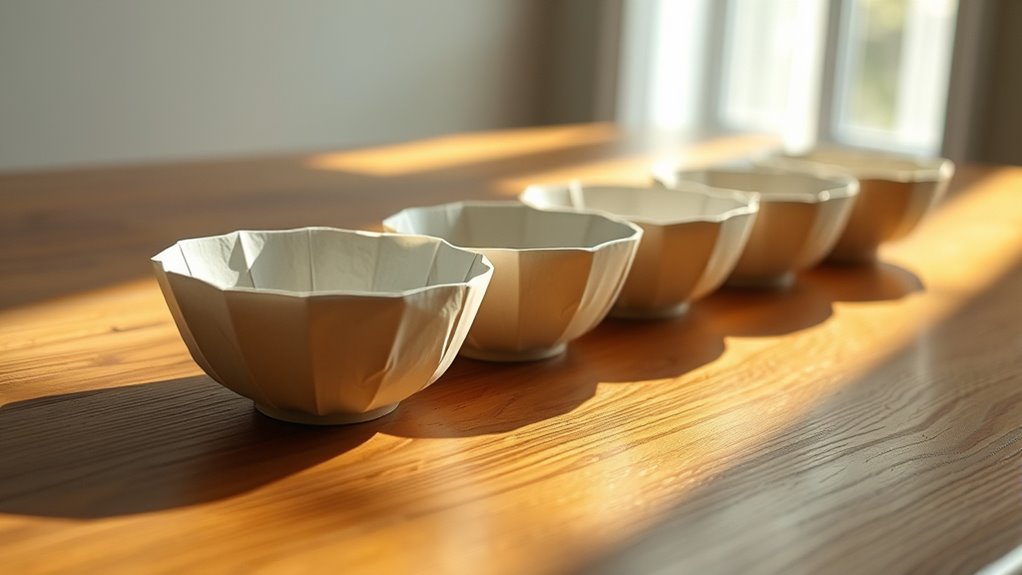
How Long Does Paper Mache Take to Dry Step by Step
You’ll usually need about 12 to 24 hours for your paper mache to dry fully, but how long it takes can really depend on a few things.
Factors like the type of glue you use, how thick your layers are, and the conditions in your room all play a role.
Thinner layers tend to dry faster, especially if you’re working in a warm, dry, and well-ventilated space.
On the other hand, if your layers are thick or the environment is humid, it’s going to take longer.
Want to speed things up? Using fans or placing your project near a heat source can help a lot.
Just remember, your paper mache is ready to move on to the next step once it feels dry and sturdy.
Stick with these tips, and you’ll be optimizing your drying process in no time!
Factors Influencing Paper Mache Drying Time
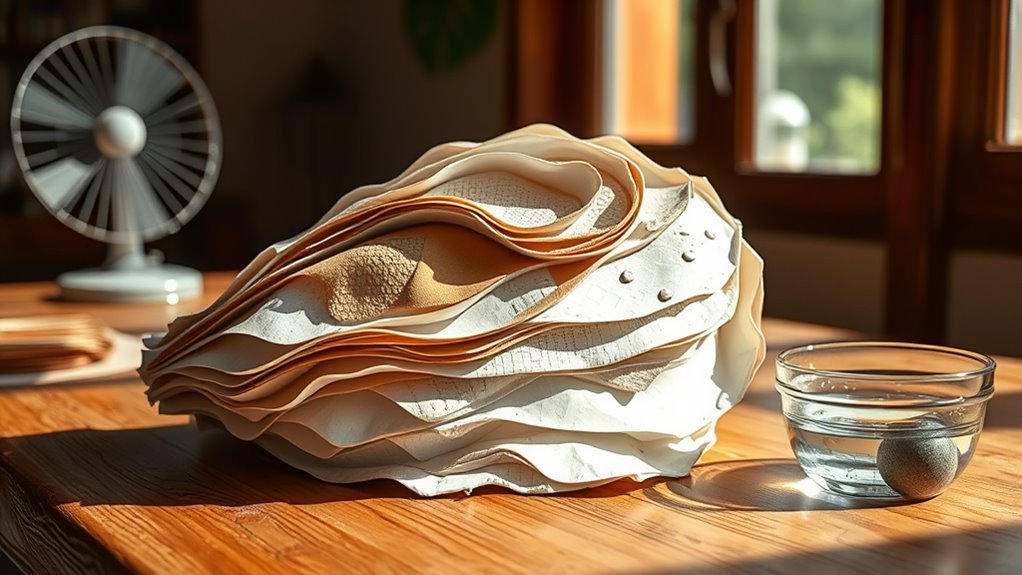
Although drying time can vary, several key factors influence how long your paper mache will take to dry. First, the thickness of the layers matters—thicker layers hold more moisture and need more time to dry completely.
Drying time varies; thicker paper mache layers retain moisture and require longer to dry fully.
You’ll also find that the type of paper you use plays a role; thinner papers like tissue dry faster than heavy cardstock. Environmental conditions profoundly impact drying speed, too.
If you’re working in a warm, dry room with good ventilation, your project will dry much quicker compared to a cold or humid space. Finally, the size and shape of your project influence drying time; larger or more complex forms trap moisture longer.
Keep these factors in mind to better estimate how long your paper mache will take to dry fully.
Drying Time for Different Types of Glue
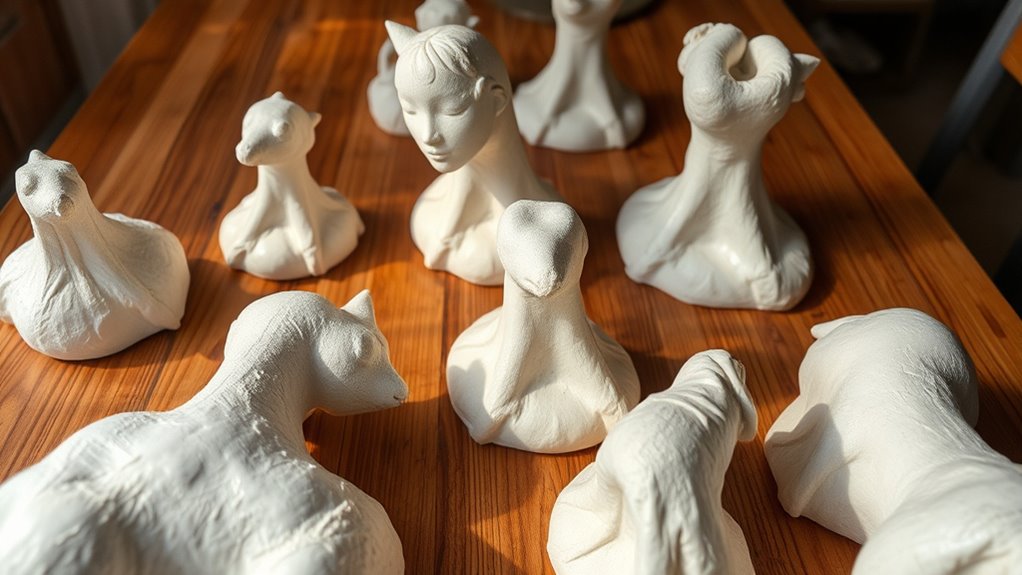
When you choose a glue for your paper mache project, its drying time can considerably affect how quickly you finish. Different glues dry at different speeds, so understanding their characteristics helps you plan better.
- White glue (PVA): Dries in about 24 hours, offering a strong bond and smooth finish. It’s popular for most paper mache projects.
- Flour paste: Typically takes 12-24 hours to dry, depending on thickness and humidity. It’s eco-friendly but less durable.
- Mod Podge: Dries faster, often within 15-30 minutes per layer, but might require multiple coats for strength.
Choose your glue based on how fast you want to work and the durability you need. This way, you avoid waiting unnecessarily and get your project done efficiently.
Impact of Layer Thickness on Drying Duration
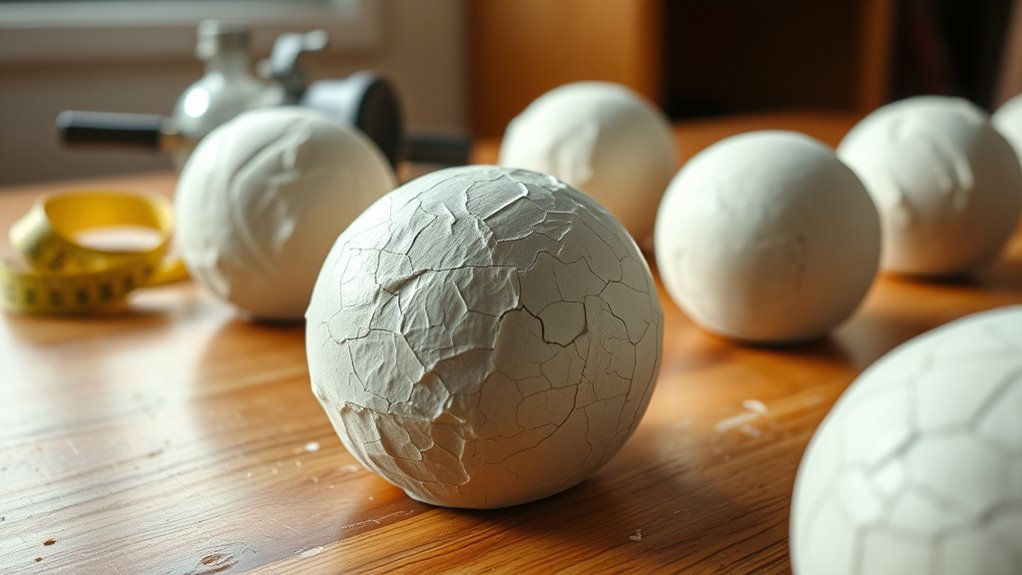
Since thicker layers hold more moisture, they take longer to dry than thin ones. When you apply multiple thick layers of paper mache, the water trapped inside needs more time to evaporate fully.
This means you should avoid piling on too much paste and paper at once. Instead, work in thinner layers and let each one dry completely before adding the next.
This approach not only speeds up drying but also reduces the risk of mold and warping. Remember, a thick layer might feel sturdy, but patience is key.
If you rush, the inner layers remain damp, compromising your project’s durability. So, controlling layer thickness is essential to ensure your paper mache dries efficiently and holds up well over time.
Environmental Conditions That Affect Drying
You’ll notice that temperature, humidity, and airflow all play a big role in how quickly your paper mache dries. Warmer temperatures and good airflow speed up the process, while high humidity slows it down.
Understanding these factors helps you create the ideal drying environment for your project. So, keeping things warm and breezy is definitely the way to go!
Temperature Effects
Although many factors influence how quickly paper mache dries, temperature plays one of the most significant roles. Warmer temperatures speed up the evaporation of water, helping your project dry faster.
On the flip side, cooler temperatures slow the process, making you wait longer. To optimize drying, consider these tips:
- Place your paper mache in a warm room, ideally between 70-80°F (21-27°C).
- Avoid direct heat sources like radiators, which can cause uneven drying or cracking.
- Use a fan to circulate air, but keep it at a moderate speed to prevent disturbing your work.
Humidity Impact
When humidity levels rise, your paper mache project takes longer to dry because moisture lingers in the air and slows evaporation. High humidity means the water in your paste and paper can’t escape as quickly, leaving your project damp for hours or even days longer than usual.
On humid days, you’ll notice the surface stays tacky, and the drying process feels sluggish. To avoid frustration, try working during times when humidity is lower—like midday on a dry day.
If you’re stuck indoors, consider using a dehumidifier to reduce moisture in the air. Keep in mind, excess humidity can also weaken your finished piece, making it more prone to warping or mold.
Monitoring humidity will help you predict drying times better and plan your crafting sessions effectively. It’s really all about keeping an eye on the moisture around you!
Airflow Importance
Since air circulation speeds up moisture evaporation, good airflow is essential for drying your paper mache project efficiently. Without it, moisture lingers, prolonging drying times and risking mold growth.
You can improve airflow by placing your project near an open window or door to allow fresh air to circulate. Using a fan to gently move air around the project also helps moisture escape.
Avoid enclosed or cramped spaces where stagnant air slows drying. Just make sure the airflow isn’t too strong, or it might cause your paper mache to crack or warp.
Techniques to Speed Up Paper Mache Drying
To speed up paper mache drying, you’ll want to control the environment and use specific methods that encourage faster evaporation. First, place your project in a warm, dry room with good ventilation.
Use a fan to increase airflow but avoid direct blasts that could damage the paper layers. You can also position your paper mache near a heat source like a radiator or use a hairdryer on a low setting, moving it constantly to prevent warping.
Another trick is to apply thinner layers; they dry much faster than thick ones. Finally, consider adding a small amount of salt to your paste mixture—it helps absorb moisture and speeds drying.
These techniques help reduce drying time effectively without compromising your project’s integrity. Give them a try, and you’ll see your paper mache dry faster than usual!
Signs Your Paper Mache Is Fully Dry and Ready
Although drying times vary, you can tell your paper mache is fully dry when it feels firm and lightweight to the touch.
It’s important to check carefully because any remaining moisture can cause mold or weaken your project. Look for these clear signs your paper mache is ready:
- No damp spots: Press gently; if it feels dry all over, you’re good to go.
- Consistent color: The paper mache loses its wet, darkened shade and appears even throughout.
- Sound test: Tap the surface lightly—if it sounds hollow or crisp, it’s dry inside.
Conclusion
Understanding how long paper mache takes to dry helps you plan your project better. For example, if you’re using thick layers with white glue in a humid room, expect it to take much longer.
By adjusting glue type, layer thickness, and drying conditions—like using a fan—you can speed things up. Keep an eye out for a firm, no-longer-cold surface to know it’s fully dry and ready for the next step.
Knowing these drying times is key to mastering your paper mache craft. Whether you’re making a mask or a sculpture, drying time affects your project’s success. So, take your time and check the dryness carefully to get the best results with your paper mache.