How to Build Paper Mache in 10 Easy Steps
To build paper mache in 10 easy steps, start by gathering your materials like paper, glue, and a base such as a balloon or cardboard. This classic craft technique is perfect for creating fun, decorative projects at home or school.
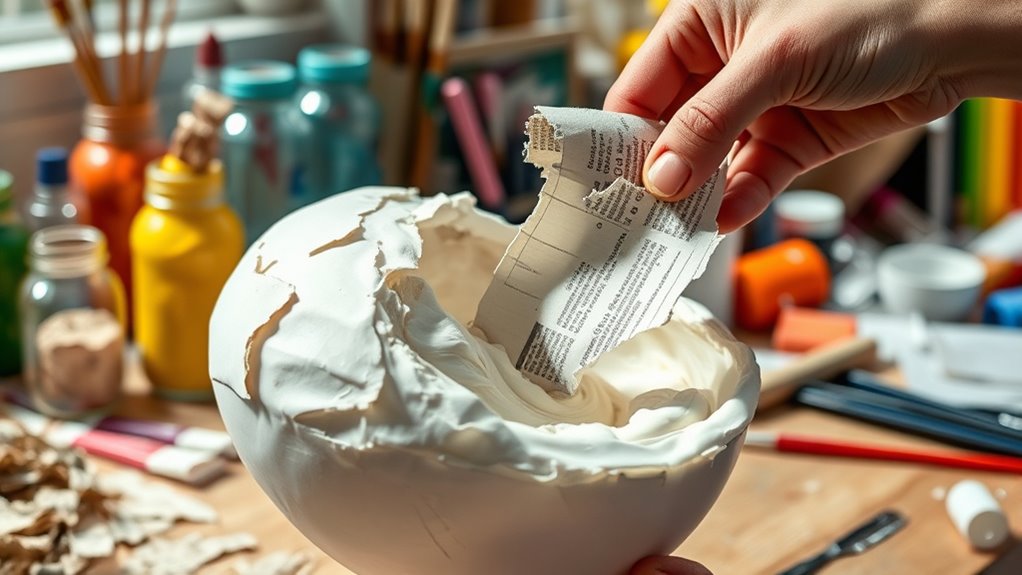
Tear your paper into strips and make a simple paste using flour and water. Dip each strip into the paste and carefully layer them onto your chosen base, smoothing out any wrinkles as you go.
Let each layer dry fully before adding the next one. This helps your paper mache become strong and sturdy.
Once your creation feels solid, sand and smooth the surface gently.
Then, paint and decorate it however you like to bring your project to life.
Finally, finish with a sealant to protect your work and make it last longer.
Keep practicing these steps, and soon you’ll be making impressive paper mache masterpieces!
Gather Your Materials
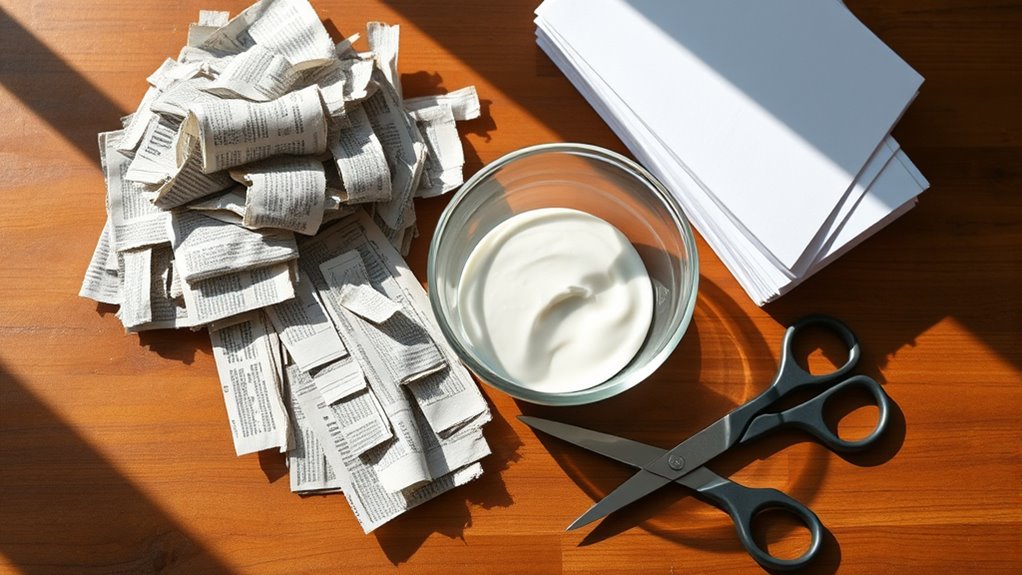
Where do you begin when making paper mache? Start by gathering the essential materials. You’ll need some kind of paper—newspaper works best, but you can also use tissue paper or paper towels.
Grab a large bowl for mixing your adhesive. Common adhesives include white glue diluted with water or a simple flour-and-water paste. Have a stirring stick or spoon ready to mix your paste until it’s smooth.
Don’t forget a surface to work on, like a plastic sheet or old newspapers, to keep your area clean. Depending on your project, you might also want balloons, wireframes, or cardboard as a base structure.
Gathering these materials before starting guarantees a smooth, enjoyable paper mache experience from start to finish. It really helps keep things organized and fun!
Prepare the Paper Strips
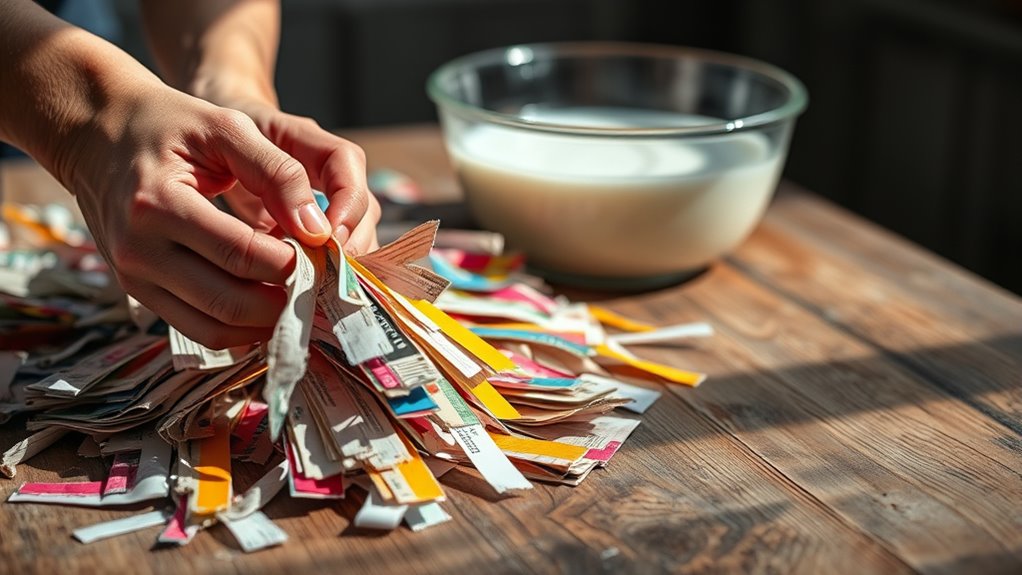
Once you have all your materials ready, the next step is to prepare the paper strips. These strips will form the base of your paper mache project, so cutting them properly is key.
Follow these steps to get started:
- Choose your paper: Newspaper works best, but you can also use tissue paper or printer paper.
- Tear or cut the paper into strips about 1 to 2 inches wide. Tearing creates softer edges that blend better.
- Make sure the strips are long enough to wrap around your mold or structure, but not so long that they become difficult to manage.
Having uniform strips will help the paper mache layers adhere smoothly and give your project a neat finish.
Now you’re ready to move on to the next step!
Make the Paper Mache Paste
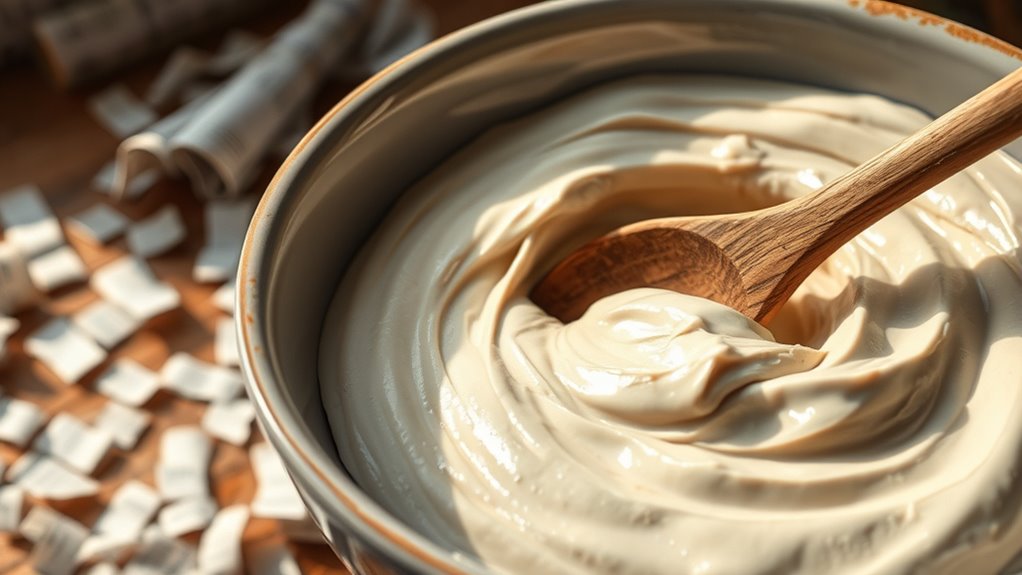
Although preparing the paper strips is important, you need a good paste to bind them effectively. The paste acts like glue, holding layers together as they dry.
You can make a simple, reliable paste using just flour and water. Here’s a quick recipe to get you started:
| Ingredient | Amount |
|---|---|
| All-purpose flour | 1 cup |
| Water | 2 cups |
| Salt (optional) | 1 tbsp (to prevent mold) |
| Heat | Medium (for cooking) |
Mix the flour and water until smooth, then heat gently while stirring until it thickens. Let it cool before using.
This paste is sticky, natural, and dries clear, making your paper mache sturdy and neat. Easy, right?
Choose a Base or Armature
Before you start layering your paper mache, pick a sturdy base or armature to shape your project around. This foundation gives your creation structure and helps maintain its form as it dries.
You can use:
- Balloon – Great for round shapes and easy to pop once dry.
- Wireframe – Perfect for custom shapes and lightweight projects.
- Cardboard – Ideal for flat or geometric designs and readily available.
Choose the material based on your project’s size and complexity. Keep in mind that the armature should be strong enough to hold the paper mache paste but light enough to manage.
Also, avoid materials that will degrade or warp when wet. Once you have your base, you’re ready to start applying the first layer of paper mache.
Apply the First Layer of Paper Mache
Start by selecting thin, flexible paper like newspaper or tissue for your first layer. Make certain to coat each piece evenly with glue to avoid lumps and guarantee a smooth finish.
Taking your time here sets a strong foundation for your paper mache project. It really helps your final piece look neat and hold together well.
Choosing the Right Paper
Why does choosing the right paper matter when applying the first layer of paper mache? The first layer sets the foundation for your entire project, so picking the right paper guarantees durability and smoothness.
You want a base that’s easy to mold and sticks well to the glue.
Here’s what to look for:
- Newspaper – Lightweight, flexible, and absorbs glue well, making it ideal for initial layers. Avoid colored ink areas to prevent bleeding.
- Tissue Paper – Thin and smooth, tissue paper creates a delicate finish but tears easily, so use it carefully.
- Paper Towels – Strong and absorbent, these work great for adding strength and texture.
Choosing the right paper helps you build a solid, smooth base that’ll make the next steps easier. It really makes a difference!
Applying Even Glue Coating
Once you’ve chosen the right paper, you’ll want to apply an even glue coating to guarantee each layer sticks properly and dries smoothly. Start by dipping a brush or your fingers into your glue mixture, then spread it evenly on the paper strips.
Avoid soaking the paper; too much glue will make it soggy and slow drying. Lay each strip carefully onto your form, smoothing out bubbles and wrinkles as you go.
Work in one direction, overlapping edges slightly for strength. Take your time to cover the entire surface evenly—this ensures a consistent finish and prevents weak spots.
After applying the first layer, let it dry completely before adding more layers. This method helps build a sturdy, smooth base for your paper mache project.
Build Up Additional Layers
As you apply each new layer of paper mache, make sure to smooth out any wrinkles or bubbles to maintain an even surface. Building up additional layers strengthens your project and helps shape the final form.
Here’s how to do it effectively:
- Overlap strips slightly to create a seamless surface and add durability.
- Apply at least 3-4 layers, depending on the size and purpose of your project, for ideal strength.
- Alternate paper grain direction with each layer to prevent warping and improve stability.
Take your time with each layer, ensuring it adheres well and lies flat. The more consistent you are with layering, the stronger and smoother your finished paper mache will be.
This careful buildup sets a solid foundation for the next steps in your project. So, don’t rush it—patience really pays off here!
Allow the Paper Mache to Dry Completely
You’ll need to let your paper mache dry completely before moving on to the next step. Drying time varies, but a warm, well-ventilated area accelerates the process.
Patience here ensures your project holds its shape and won’t warp or crack later. So, take your time and let it dry thoroughly!
Drying Time Importance
Although it might be tempting to rush the process, allowing your paper mache to dry completely is essential for a strong, durable result. If you move on too soon, your project may become weak, misshapen, or prone to cracking.
Here’s why you should prioritize drying time:
- Structural Integrity – Fully dried paper mache holds its shape and supports additional layers or paint without collapsing.
- Prevent Mold – Moisture trapped inside can lead to mold growth, damaging your work and creating an unpleasant smell.
- Smooth Finish – Proper drying guarantees that your surface is ready for sanding and painting, giving a polished look.
Ideal Drying Conditions
When you let your paper mache dry in the right environment, you guarantee it hardens evenly and remains free from damage. Choose a warm, well-ventilated space where air circulates freely, but avoid direct sunlight, which can cause cracking.
Maintain moderate humidity; too much moisture slows drying and invites mold, while too little can make the surface brittle. Place your project on a raised, breathable surface like a wire rack to allow air underneath.
Resist the urge to speed up drying with heat sources like hairdryers—they can warp or weaken your work. Be patient and check periodically to ensure it’s completely dry before handling or painting.
Following these conditions helps your paper mache achieve strong, lasting results every time. Just take your time, and you’ll be happy with how it turns out!
Smooth and Shape the Surface
How do you achieve a smooth, well-shaped surface on your paper mache project? Start by gently sanding the dried layers with fine-grit sandpaper to remove bumps and rough spots.
Then, apply a thin layer of paper mache paste or a lightweight spackle to fill in any cracks or imperfections. Finally, once this layer dries, sand it again for an even smoother finish.
Here’s a quick guide:
- Sand the dried paper mache lightly to smooth out uneven areas.
- Apply a thin coat of paste or spackle to fill gaps.
- Sand again after it dries to perfect the surface.
Taking these steps ensures your project is ready for painting and decorating with a flawless base. Easy, right? Just a little sanding and filling, and you’re good to go!
Paint and Decorate Your Creation
Once your paper mache surface is smooth and dry, you can bring your creation to life with paint and decorations. Start by choosing acrylic paints because they dry quickly and provide vibrant colors.
Use a brush or sponge to apply thin layers, allowing each coat to dry before adding another. This prevents cracking and guarantees even coverage. After painting, you can add details like patterns, designs, or highlights to enhance your piece.
Don’t hesitate to use markers, colored pencils, or even glitter for extra flair. Remember, less is often more—apply decorations thoughtfully to avoid overwhelming your creation.
Take your time, experiment with colors, and enjoy the process of turning your paper mache into a unique work of art. It’s all about having fun and making it your own!
Seal and Protect the Finished Project
Now that your paper mache is painted and dry, it’s time to seal and safeguard it. You’ll want to choose the right sealant to keep your creation safe from moisture and wear.
Applying a protective coating will ensure your project lasts longer and looks great. This step really makes a difference in preserving your hard work!
Choosing the Right Sealant
Although your paper mache creation looks fantastic, it won’t last long without the right sealant to protect it from moisture and damage. Choosing the right sealant guarantees durability and preserves your hard work.
Here’s what to take into account:
- Water-Based Polyurethane – Ideal for indoor projects, it dries clear and adds a smooth finish.
- Acrylic Sealer – Offers quick drying and flexibility, perfect if your project needs a lightweight coat.
- Spray Sealants – Provide even coverage and are easy to apply, great for detailed or textured surfaces.
Each option protects against moisture while enhancing the appearance. Just match your sealant choice with your project’s environment and desired finish to keep your paper mache looking great for years.
Applying Protective Coatings
Before you apply any protective coating, make sure your paper mache is completely dry and free of dust. This guarantees the sealant adheres properly and prevents bubbling or peeling.
Use a soft brush or sponge to apply an even layer of your chosen sealant, such as acrylic varnish or polyurethane. Work in thin coats, allowing each to dry fully before adding the next. This builds a strong, smooth protective barrier.
Focus on covering every surface, including edges and crevices, to shield your project from moisture, dirt, and damage. Avoid overloading the brush to prevent drips and uneven spots.
Once sealed, your paper mache will last longer and maintain its appearance. It’ll be ready for display or handling without worry.
Conclusion
Now that you’ve mastered these steps, your paper mache creation is ready to come alive. But don’t rush to show it off just yet—there’s a secret power in the drying, the sealing, the final touches that transform simple layers into something truly magical.
Keep going, trust the process, and soon you’ll reveal a masterpiece that surprises even you. Paper mache is all about patience and care, turning basic materials into art.
Are you ready to see what you’ve really made? With these easy steps, your paper mache project will not only hold its shape but also impress with durability and style. Embrace the journey and enjoy the creative process!