How You Can Put Lined Paper in Your Printer and Print
To print lined paper, first pick smooth, sturdy sheets that fit your printer size, like standard 8.5×11 inches. Choosing the right paper is key because it helps the ink stay sharp and the lines clear.
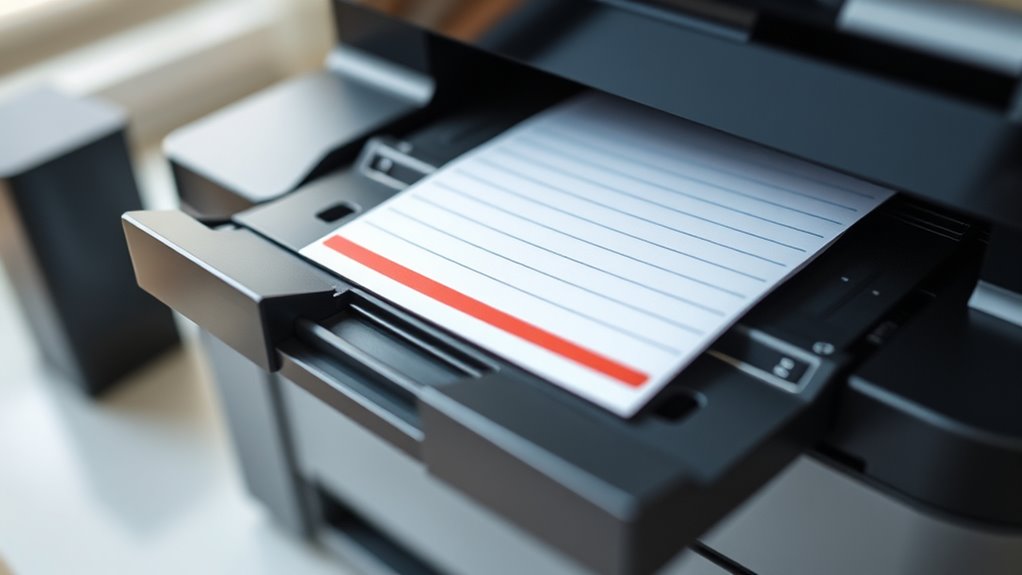
Design your lines with suitable spacing and margins, then set your printer to high quality. Make sure to load the paper correctly—face-up or face-down depending on your model.
Print a test page to check line clarity and alignment before doing the full run. This way, you can avoid wasting paper and ink.
If you want to master every step for perfect results, there’s more helpful info to explore. Printing your own lined paper at home is easier than you might think!
Choosing the Right Paper for Printing Lines
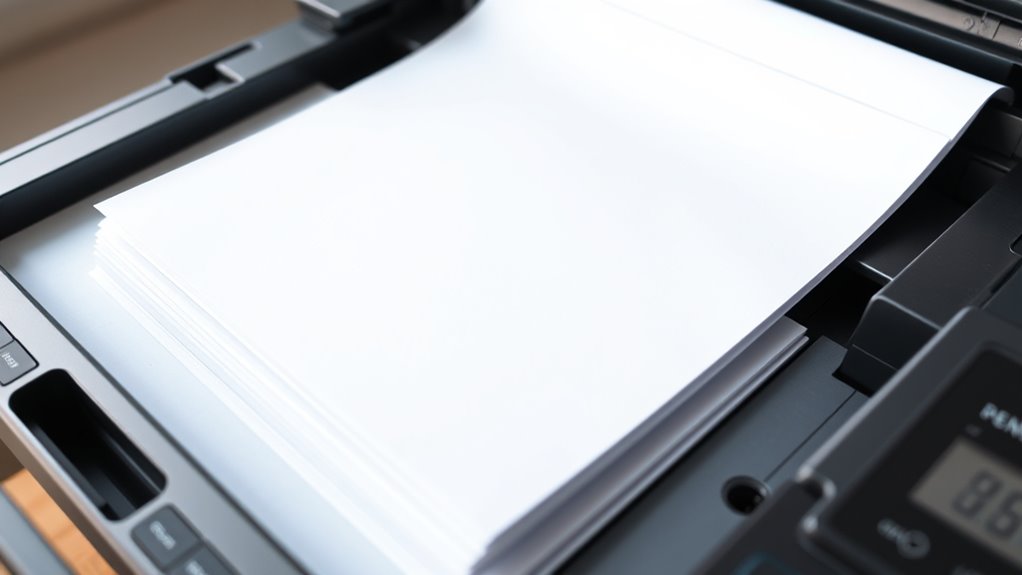
Where should you begin when choosing the right paper for printing lines? Start by considering the paper’s weight and finish. You’ll want a sturdy paper, typically between 24 to 32 lb, to prevent ink bleed and ensure durability.
Begin with paper weight and finish; choose sturdy 24-32 lb to prevent ink bleed and ensure durability.
Avoid very thin sheets that might tear or allow lines to show through. Next, think about the paper’s texture; a smooth finish helps your printer produce crisp, clear lines.
Matte paper usually works better than glossy, which can smudge easily. Also, check the paper size that fits your printer—standard letter size (8.5 x 11 inches) is common.
Finally, choose acid-free paper if you want your printed lined paper to last without yellowing over time. Picking the right paper sets a solid foundation for clear, professional results.
Designing Your Lined Paper Template
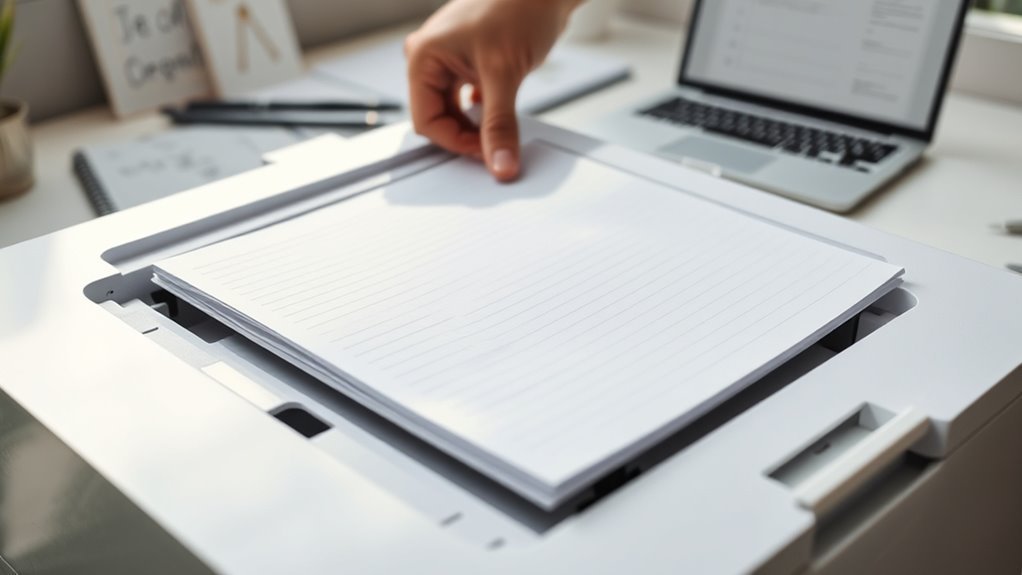
When designing your lined paper template, start by choosing the right line spacing to fit your writing style.
Next, select the paper size that matches your needs, whether it’s standard letter or something custom.
These decisions guarantee your printed lines look neat and serve their purpose well.
Choosing Line Spacing
Although selecting the right line spacing might seem simple, it plays an essential role in how your lined paper feels and functions. You want to think about who will use the paper and for what purpose.
For example, wider spacing suits younger kids still mastering handwriting, while narrow lines work better for adults taking detailed notes. Standard spacing usually ranges from 6mm to 8mm, but you can adjust it based on your needs.
Don’t forget to check how the lines look on your screen before printing—too close, and the paper feels cramped; too far apart, and you waste space. Experiment with a few test prints until you find the perfect balance that feels comfortable for writing and fits your style perfectly.
Selecting Paper Size
Since the paper size sets the foundation for your lined paper design, you’ll want to select one that fits your intended use perfectly. Picking the right size ensures your printed lines align well and your notes look neat.
Consider where and how you’ll use the paper before deciding.
Here are some popular paper sizes you might select:
- Letter (8.5″ x 11″): Standard for most printers and schoolwork.
- Legal (8.5″ x 14″): Great for longer notes or documents.
- A4 (210mm x 297mm): Common internationally, similar to letter size.
- Half Letter (5.5″ x 8.5″): Compact for journals or planners.
- Custom sizes: Perfect if you want something unique or specific.
Choose a size that matches your printer’s capabilities and your writing needs to get the best results.
Setting Up Your Printer for Lined Paper Printing
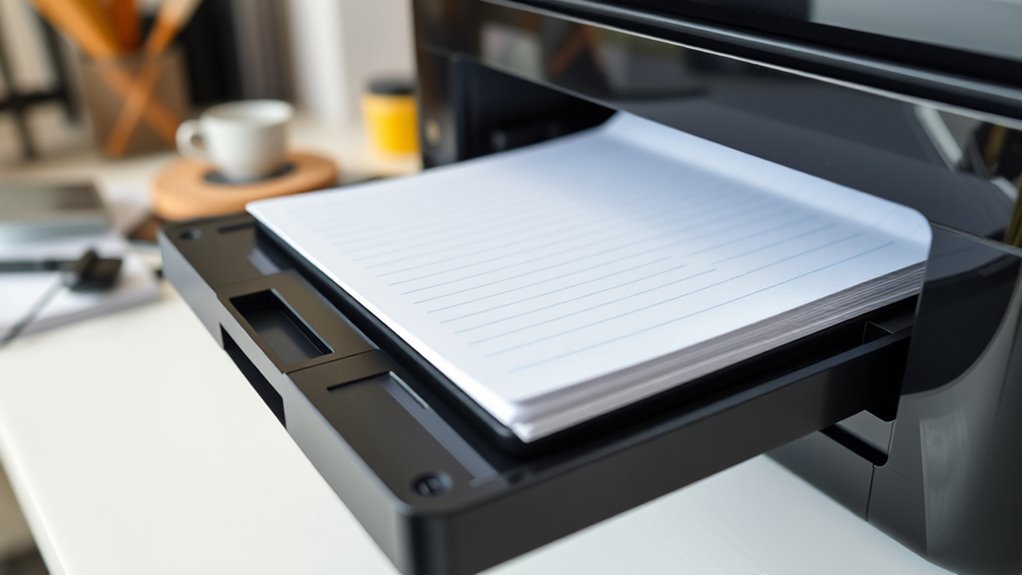
Before you start printing lined paper, you’ll need to configure your printer settings to guarantee the lines appear crisp and evenly spaced. Begin by choosing the correct paper type and quality to avoid smudges or fading.
Select a high resolution to ensure sharp lines. Additionally, set your printer to print in black and white or grayscale to keep the lines clear.
| Setting | Recommendation |
|---|---|
| Paper Type | Plain or Matte |
| Print Quality | High or Best |
| Color Mode | Black & White or Grayscale |
Once you’ve got everything set up, load your lined paper template file. Take a quick look at the preview to make sure it looks right.
Then, go ahead and print. Doing this properly helps you avoid wasting paper and ink.
Adjusting Line Spacing and Margins
When you adjust line spacing and margins, you control how your content fits on the page and how easy it is to write or read. Proper spacing guarantees your lines aren’t too cramped or too far apart, while margins keep your text neatly framed.
To get it right, tweak these settings in your word processor or design software before printing.
Here’s what to focus on:
- Set line spacing to match the spacing of your lined paper (e.g., single, 1.5, or double).
- Adjust top and bottom margins to align lines correctly on the page.
- Modify left and right margins to ensure ample writing space.
- Use a ruler or template to measure exact line distances.
- Preview your layout to avoid cutting off lines or crowding the page.
These steps help you print lined paper that’s perfectly suited for your needs.
Printing a Test Page to Ensure Accuracy
Although you’ve adjusted your line spacing and margins carefully, printing a test page helps confirm everything aligns perfectly on the paper. Before printing your final lined sheet, send one test page to your printer to check the placement of lines.
Hold the printed page against a blank sheet to ensure the lines match up exactly with the paper’s edges and pre-existing lines. If the lines appear off-center or too close to the edge, you can tweak your settings accordingly.
This step prevents wasted paper and ink by catching alignment issues early. Once you’re satisfied with the test print, proceed with printing your lined paper in bulk.
Taking a moment for this quality check guarantees your printed lines will be neat, consistent, and ready for use.
Tips for Using Printed Lined Paper Effectively
To get the best results, make sure you align the paper correctly before printing to avoid any misprints.
You’ll also want to pick a line style that suits your writing needs, whether it’s wide-ruled, college-ruled, or dotted.
These simple steps will help you use your printed lined paper more effectively.
Aligning Paper Correctly
How do you guarantee your writing stays neat and consistent on printed lined paper? It all starts with aligning your paper correctly in the printer tray.
If the paper is crooked or misaligned, your lines won’t print straight, making writing frustrating. Here’s how to get it right every time:
- Place the paper firmly against the tray’s edge or alignment guides. Make sure you’re loading the paper face up or face down as your printer requires.
- Adjust the paper guides snugly to hold the sheet without bending it. Avoid overfilling the tray, which can cause jams and misfeeds.
- Run a test page first to confirm perfect alignment before printing multiple sheets.
Taking these steps ensures your lined paper prints perfectly aligned, so your writing looks sharp and professional.
Choosing Line Style
Why does choosing the right line style matter when printing lined paper? The line style directly impacts readability and usability. You want lines that suit your writing purpose—whether it’s note-taking, journaling, or sketching.
Narrow lines work best if you have small handwriting, while wider lines give more space for larger writing or doodles. Consider line thickness too; thin lines are less distracting, letting your writing stand out, but thicker lines help guide those who need stronger visual cues.
You can also choose between solid, dashed, or dotted lines depending on your preference or task. Experiment with different styles to find what feels comfortable and enhances your writing experience.
Conclusion
Now that you’ve mastered putting lined paper in your printer and fine-tuning every detail, you’re all set to add a touch of order to your writing.
With just a little patience and these gentle adjustments, your notes will flow smoothly and look effortlessly polished. Remember, even the simplest lines can lead to beautifully organized thoughts—like giving your ideas a soft nudge in the right direction.
Keep experimenting, and watch your creativity take shape. Printing lined paper at home can really boost your productivity and help keep your notes neat. So, don’t hesitate to try different styles and settings on your printer to find what works best for you.
By learning how to put lined paper in your printer, you’re opening up new ways to personalize your writing experience and stay beautifully organized every time you print.