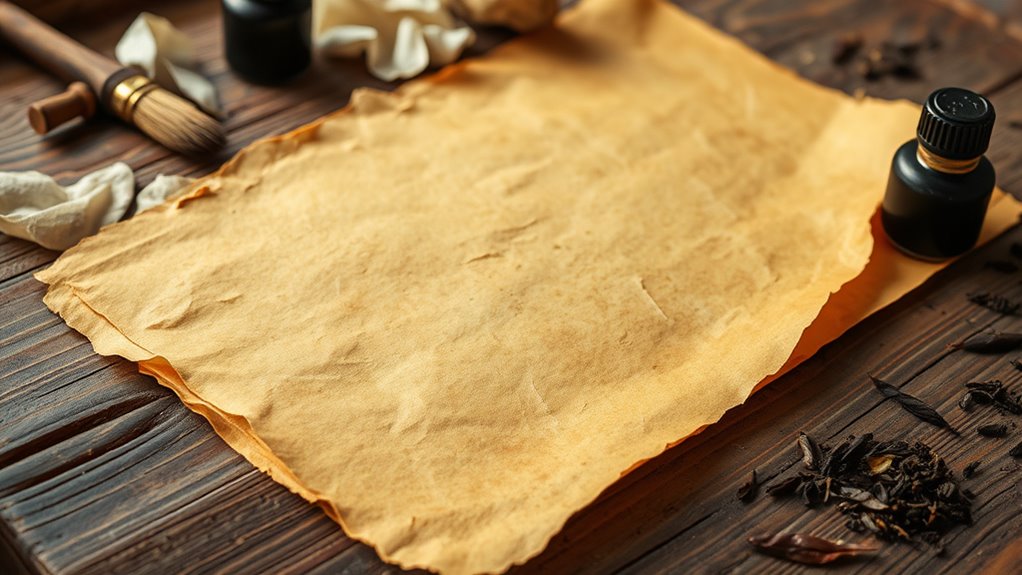
How to Do Make Paper Look Old in 5 Easy Steps
To make paper look old in five easy steps, start by gathering plain, thin white paper along with materials like tea, scissors, and a brush.
Using strong tea or coffee to stain the paper will give it that perfect aged color you’re aiming for. It’s a simple trick but makes a big difference in creating that vintage look.
Next, add wrinkles to your paper by crumpling and folding it. This adds texture and makes the paper feel worn and used.
Then, carefully burn the edges to achieve that classic worn effect. Just be cautious with the flames!
After burning, brush off any loose ash to keep the paper neat.
Finally, seal the paper to preserve its durability and prevent further damage. Keep going to discover even more tips for an authentic, old-paper look that will impress!
Gather Your Materials
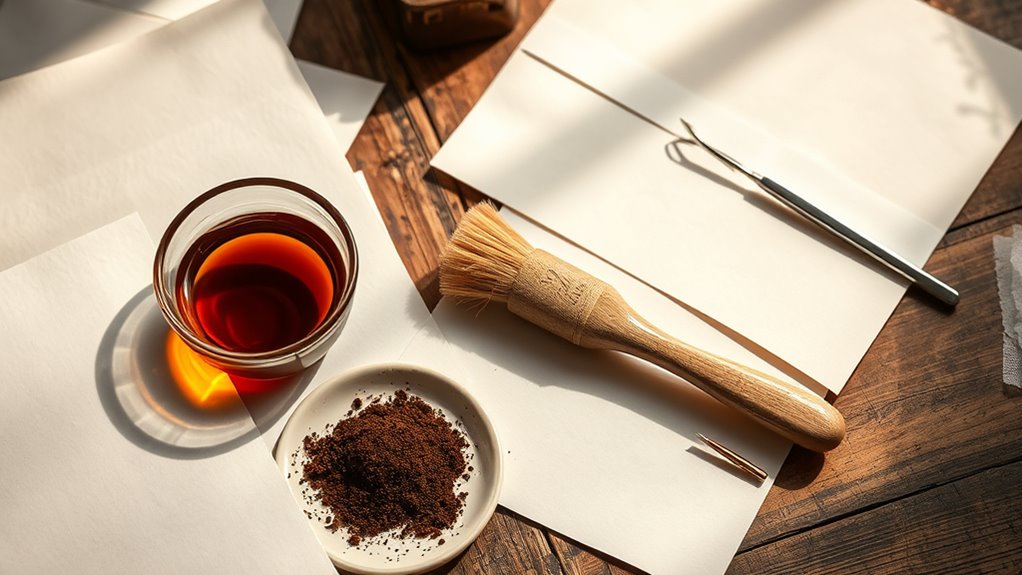
Before you begin aging paper, gather all the necessary materials to guarantee a smooth process. You’ll need plain white paper—thinner sheets work best for a realistic aged look.
Have a pair of scissors handy if you want to create torn edges. Collect a bowl of water for dampening the paper later, but don’t soak it yet.
Grab a sponge or paintbrush for applying solutions evenly. You’ll also want an oven or a hairdryer to speed up drying.
Keep some sandpaper nearby to roughen the surface, adding texture. Finally, prepare a workspace covered with newspaper or a plastic sheet to protect your area from spills or stains.
With these materials ready, you’re set for the next steps in transforming your paper’s appearance.
Stain the Paper With Tea or Coffee
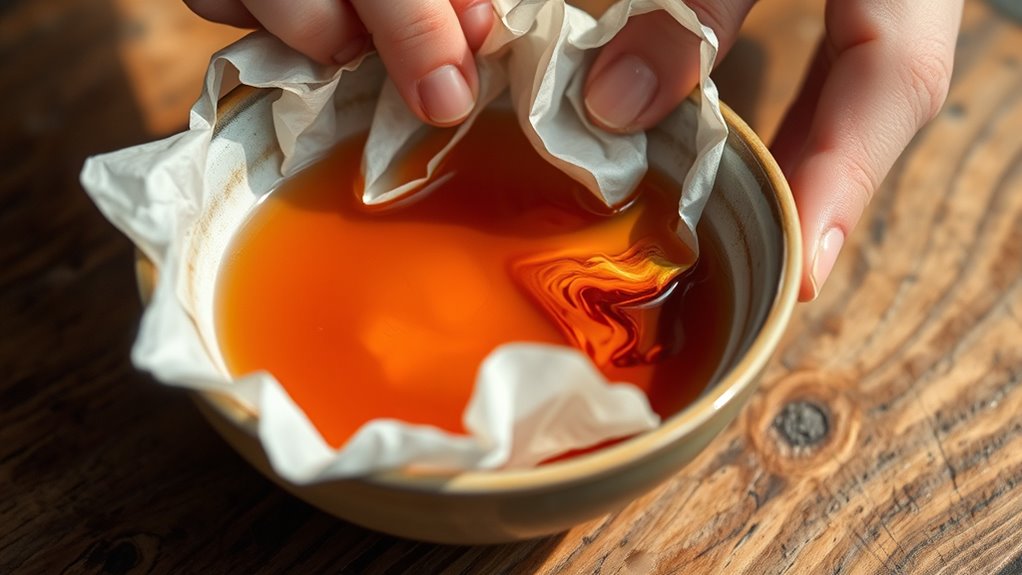
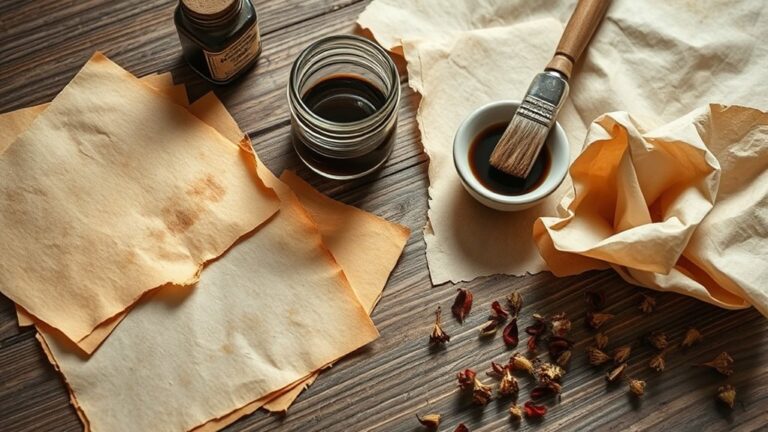
A simple way to give your paper an aged look is by staining it with tea or coffee. Start by brewing a strong cup of tea or coffee, then let it cool.
Place your paper on a flat surface and use a brush or sponge to apply the liquid evenly. For a darker, more textured effect, dip the edges or crumple the paper slightly before staining.
Let the paper soak for a few minutes, then carefully lift it to dry on a clean surface or hang it up. You can repeat the process to deepen the color.
Just be sure to handle the paper gently when it’s wet to avoid any tears. This natural staining method adds warmth and authenticity to your vintage-style paper.
Add Wrinkles and Creases
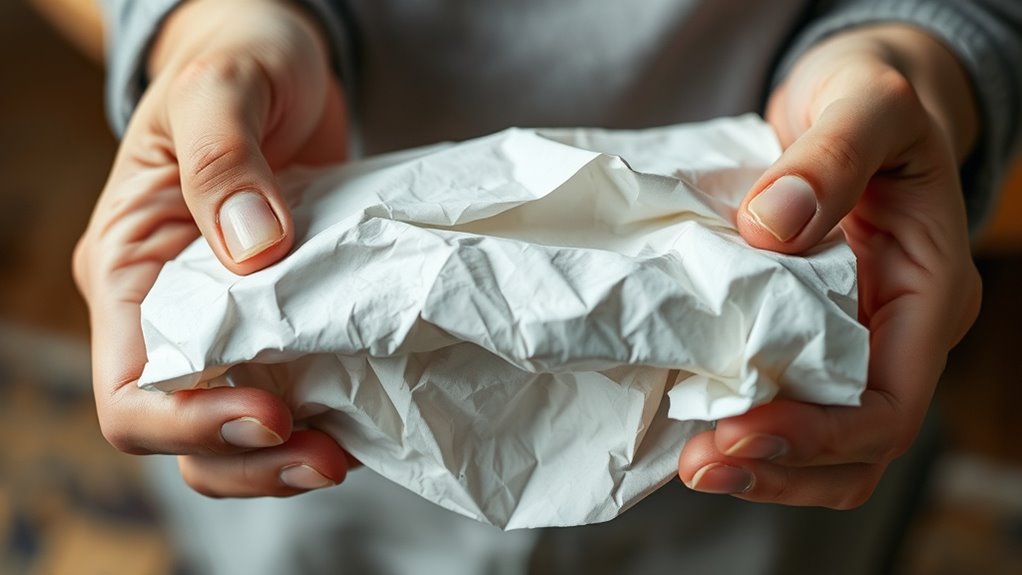
Once you’ve stained your paper, adding wrinkles and creases will enhance its aged appearance by mimicking natural wear and tear. You want the paper to look like it’s been handled over time, so don’t be afraid to get a little rough with it.
Adding wrinkles after staining your paper mimics natural wear, making it look authentically aged and well-handled.
Start by gently crumpling the paper into a loose ball, then carefully unfold it to reveal natural-looking creases. You can also fold the paper in half or thirds and press firmly along the edges to create sharp creases.
To add more texture:
- Scrunch parts of the paper multiple times for varied wrinkle depth
- Use your fingers to pinch and roll small sections
- Lightly rub the paper on a rough surface for subtle abrasion
- Flatten it out but keep the creases visible for authenticity
This step really brings your old-paper effect to life.
Burn the Edges Carefully
How do you give your paper that authentic, worn-out look? Burning the edges carefully is a classic technique that adds a realistic aged effect.
First, work in a safe area with a fireproof surface nearby. Light a candle or use a lighter, then gently pass the paper’s edges close to the flame without touching it directly.
The heat will singe the paper, creating natural-looking burnt marks. Move slowly to avoid burning too much or setting the paper on fire.
If you want more control, dampen the edges slightly before burning—they’ll catch fire slower, giving you more time.
Always keep a bowl of water nearby to extinguish any flames quickly. With practice, this method perfectly replicates the fragile, worn edges of old documents.
Apply Finishing Touches and Seal
After you’ve aged the paper to your liking, you’ll want to apply finishing touches that enhance its vintage appeal and protect your work. Start by gently brushing off any loose particles or ash from burned edges.
Then, consider lightly crumpling the paper again to add subtle texture. To protect and seal your aged paper, use a fixative spray or diluted clear glue, applying it evenly to avoid streaks.
Finally, let the paper dry completely in a flat position to prevent warping. Here’s a quick checklist for your finishing touches:
- Brush away debris delicately
- Add subtle creases for texture
- Seal with a fixative spray or diluted glue
- Dry flat to maintain shape
These steps will keep your paper looking authentically old and durable.
Conclusion
Now that you’ve transformed plain paper into a vintage treasure, remember—each wrinkle and stain tells a story only time can write. Don’t rush the process; let your creativity flow like the ink on this aged canvas.
By staining, creasing, burning, and sealing, you’ve given new life to something ordinary. These simple steps make your paper look old and full of character, perfect for crafts, letters, or decorations.
So, go ahead—bring history to your hands. Watch your paper whisper secrets from the past with every touch. Making paper look old is easy and rewarding when you follow these five easy steps. Enjoy the process and let your vintage creation shine!