How Do You Make a Paper Book Cover in 3 Easy Steps
To make a paper book cover in 3 easy steps, first gather your materials like a large sheet of paper, scissors, tape or glue, and a ruler. These simple supplies will help you create a protective and stylish cover for your book.
Next, measure your book’s height and width, add extra for folds, then cut the paper to size. Taking accurate measurements is key to ensuring the cover fits perfectly without being too tight or too loose.
Finally, fold the paper snugly over the book’s front, back, and spine, securing edges with tape or glue. This step seals the cover in place and gives your book a neat, finished look.
Keep going to discover tips for a perfect fit and neat finish. You’ll be surprised how easy it is to make your own paper book cover and give your books a fresh new look!
Gather Your Materials
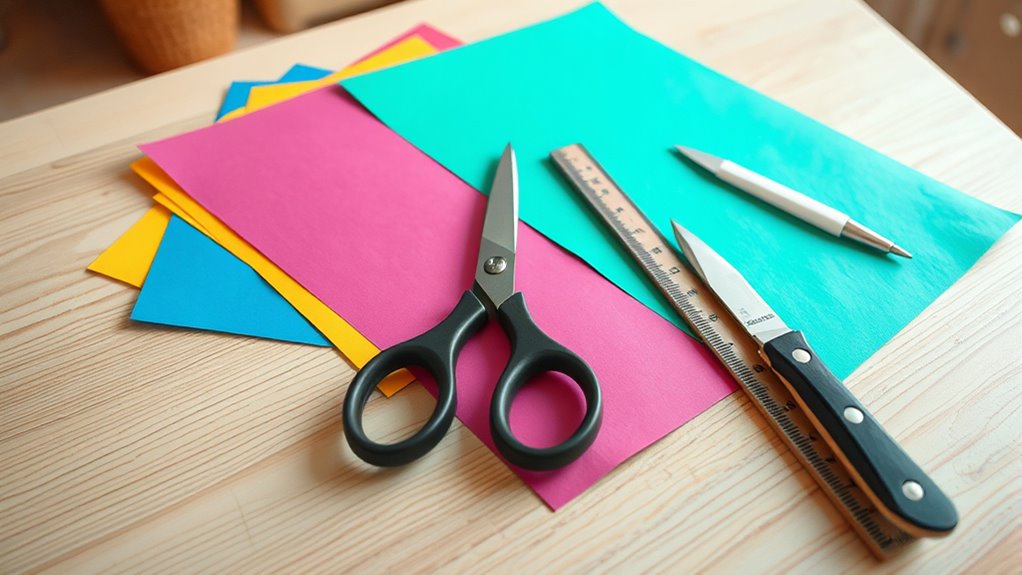
Before you begin crafting your paper book cover, gather all the materials you’ll need. Start with a large sheet of paper, such as butcher paper, decorative wrapping paper, or plain craft paper—choose one that suits your style and the book’s size.
Gather your favorite large paper and essential tools before crafting a perfect, personalized book cover.
Grab a ruler to ensure accurate measurements later and a pencil for marking. You’ll also want some scissors for cutting and clear tape or glue to secure the cover.
If you like, include optional items like markers, stickers, or stamps to personalize your design. Having everything at hand before you start *guarantees* time and frustration.
Once you’ve gathered these essentials, you’ll be ready to move on to measuring and cutting your paper perfectly, ensuring a neat, custom fit for your book.
Measure and Cut the Paper
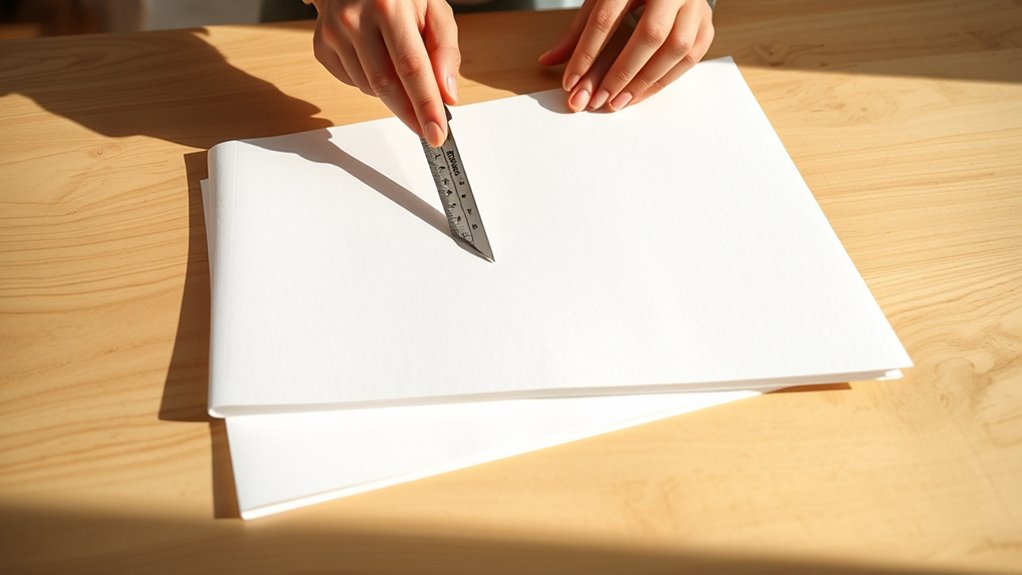
How exactly do you measure and cut the paper to fit your book perfectly? Start by laying your book flat on the paper. You want enough paper to cover the front, back, and spine with some extra for folding.
Follow these steps:
- Measure the book’s height and width, then add about 2 inches to the width to cover the spine and allow for folds.
- Mark these dimensions clearly on your paper using a ruler and pencil to ensure straight lines.
- Cut along the marked lines carefully with scissors or a craft knife to avoid jagged edges.
It’s pretty simple once you get the hang of it! Just take your time to make sure everything lines up nicely.
Assemble and Secure the Cover
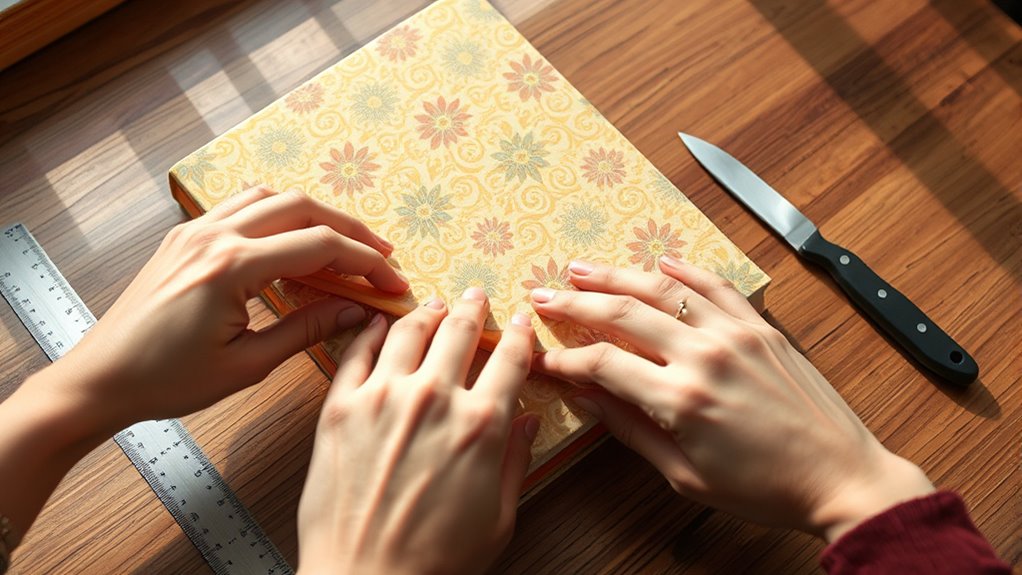
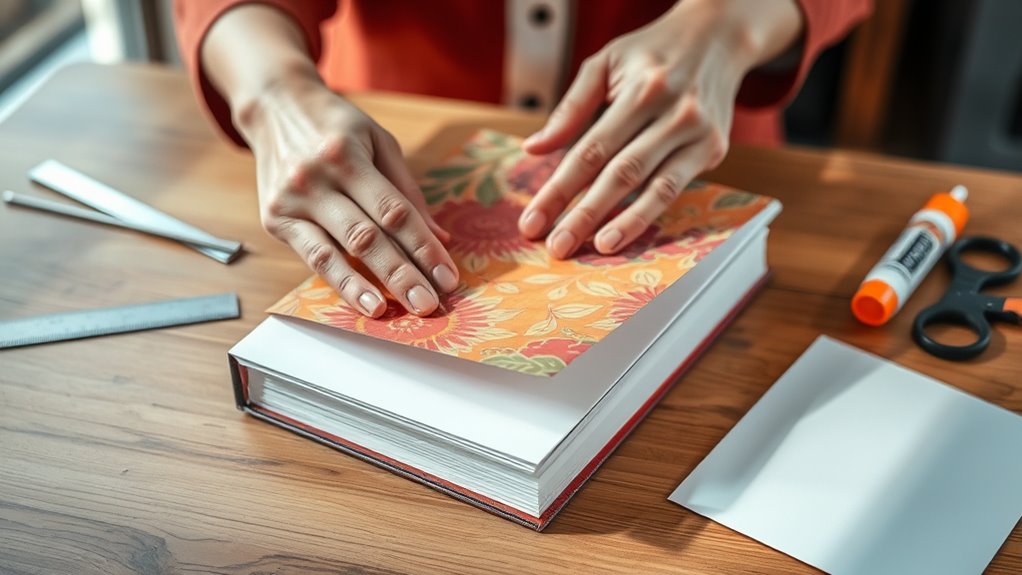
Where do you start when it’s time to assemble and secure your paper book cover? Begin by folding the edges of your cut paper neatly over the book’s front, back, and spine. Make sure the folds are crisp and tight to fit the book snugly.
Use double-sided tape or glue along the flaps to hold the paper in place—press firmly to ensure they stick well. If you’re using glue, allow it to dry completely before handling the book.
Check that the cover fits without slipping off or bunching up. Finally, smooth out any wrinkles or air bubbles by gently pressing the cover with your hands or a flat tool.
Your paper book cover is now assembled and secure, ready to protect your book beautifully.
Conclusion
Congratulations, book cover artist—you’ve just mastered the ancient, nearly mystical art of wrapping paper around a book. Who knew that with just a bit of measuring, cutting, and taping, you could transform your beloved tome into a chic, paper-clad masterpiece?
Forget fancy leather-bound editions; this DIY cover screams “I’m practical, creative, and slightly obsessed with masking tape.”
Now go forth and cover—because nothing says “bibliophile” like a homemade jacket that’s equal parts art and chaos! Making a paper book cover is not only fun but also practical. It protects your books from damage while giving them a unique, personalized look you won’t find in stores.
So grab your paper, scissors, and tape, and start crafting your own stylish book cover today!