How Do You Make a Paper Mache Volcano in 7 Easy Steps?
To make a paper mache volcano in 7 easy steps, start by gathering materials like newspaper, flour, water, and paints. These basic supplies are perfect for a fun and creative craft project. Building your own paper mache volcano is a fantastic way to learn about geology and science while having a blast.
Next, build your volcano base using a balloon or cardboard cone, which shapes the foundation.
Then, mix a smooth flour-and-water paste to act as your adhesive. This paste is easy to make and works great for holding the layers together.
Apply three or more papier-mâché layers, letting each dry thoroughly. Patience is key here because the layers need to be completely dry to hold their form.
Once your volcano is dry, paint it with earthy tones and bright lava colors to make it look realistic.
Finally, add details like trees or rocks and prepare for an exciting eruption. If you want to create the perfect volcano, keep following for more tips and tricks to make your project stand out.
Gather Your Materials
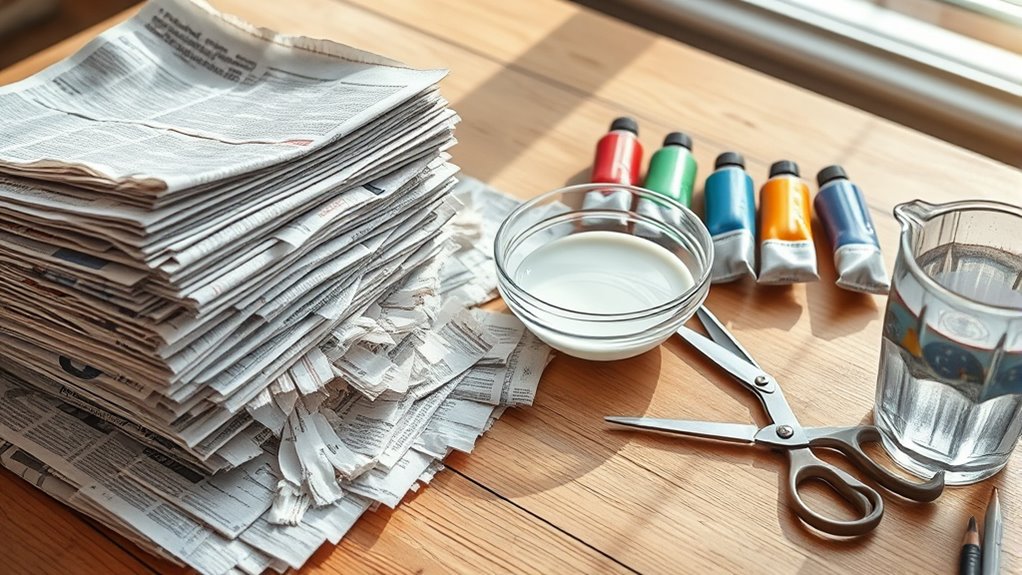
To create your paper mache volcano, you’ll need a few basic materials ready before you begin. First, grab some newspaper or scrap paper to tear into strips—these will form the volcano’s structure when soaked in the paste.
You’ll also need flour and water to make a simple, non-toxic glue. Don’t forget a bowl and spoon for mixing the paste.
To shape the volcano, have a balloon or a sturdy base like a cardboard cone on hand. You’ll want paint for decorating once it dries—red, orange, yellow, and brown work best.
Finally, keep some plastic wrap or a tray ready to protect your workspace. Gathering these supplies beforehand ensures a smooth, enjoyable crafting process without interruptions.
Build the Volcano Base
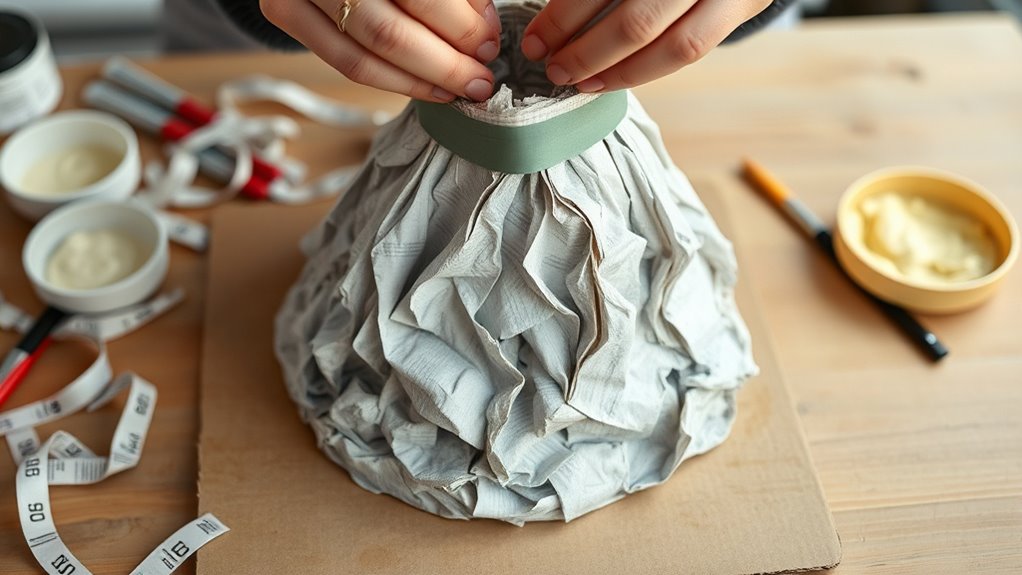
Once you have your materials ready, start by shaping the base of your volcano using the balloon or cardboard cone. If you’re using a balloon, inflate it to your desired size and secure it in place.
Begin by shaping your volcano’s base with a balloon or cardboard cone, securing it firmly in place.
For a cardboard cone, roll a sturdy piece of cardboard into a cone shape and tape it firmly. Next, attach the base to a flat surface like a cardboard sheet or tray to keep it stable.
Make sure the base is wide enough to support your volcano’s height. You can add extra cardboard strips around the base to strengthen it.
This structure will give your volcano shape and support once you add the paper mache layers. Take your time to get the shape just right before moving on to the next step.
Mix Your Paper Mache Paste
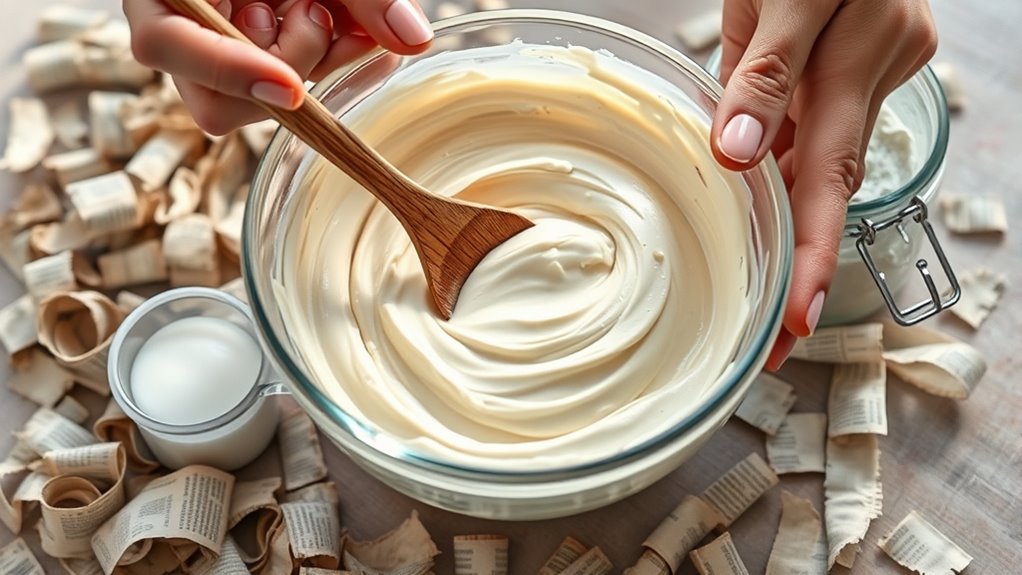
A simple paper mache paste can be made by mixing one part flour with two parts water until you get a smooth, thick consistency. Stir well to remove any lumps and guarantee the paste is easy to spread but not too runny.
You can adjust the thickness by adding a bit more flour or water, depending on your needs. Here’s a quick guide for your paste:
| Ingredient | Quantity | Purpose |
|---|---|---|
| Flour | 1 cup | Acts as the binder |
| Water | 2 cups | Creates paste |
| Salt (optional) | 1 tsp | Prevents mold |
Mix these ingredients thoroughly and your paste is ready for the next step!
Apply the Paper Mache Layers
You’ll want to choose the right type of paper—newspaper works great for the base, while tissue paper adds a smooth finish. Start by applying thin, even layers to build strength without making it too heavy.
Remember to overlap the pieces and let each layer dry before adding the next for the best results. This way, your paper mache will hold up nicely and look great!
Choosing Paper Types
How do you decide which paper works best for your paper mache volcano? Choosing the right paper impacts the volcano’s durability and texture.
Newspaper is a classic choice—it’s flexible and absorbs glue well, making layers stick firmly. Tissue paper adds color and a smoother finish but is fragile when wet.
Paper towels offer strength and texture but may be thick and slow to dry.
| Paper Type | Benefits |
|---|---|
| Newspaper | Flexible, good glue absorption |
| Tissue Paper | Adds color, smooth finish |
| Paper Towels | Strong, textured |
Pick your paper based on the look and strength you want. Mixing papers can balance durability and aesthetics, setting a solid base before shaping your volcano.
Layering Techniques
Although choosing the right paper is important, applying the layers correctly determines your volcano’s strength and shape. Start by dipping strips of paper into your paste, then smooth them over your base structure.
Overlap each strip slightly to avoid weak spots. Build up at least three layers, allowing each to dry completely before adding the next. This drying step prevents sagging and ensures sturdiness.
Focus on these key layering techniques:
- Apply even pressure to remove air bubbles and wrinkles
- Use smaller strips for curves and edges to maintain form
- Leave the top crater open for your eruption materials
Let the Volcano Dry Completely
You’ll want to place your volcano in a warm, dry spot with good airflow to speed up drying. Depending on the thickness of your layers, it could take anywhere from 24 to 48 hours to dry completely.
Be patient—rushing this step can cause your volcano to warp or collapse. Taking your time here really pays off!
Ideal Drying Environment
Since moisture can weaken your paper mache volcano, you’ll want to place it in a warm, well-ventilated area to dry completely. Find a spot where air circulates freely to help the layers dry evenly and prevent mold or warping.
Avoid damp basements or direct sunlight that could cause cracking.
Here’s what an ideal drying environment looks like:
- A sunny windowsill with indirect light to keep it warm without overheating
- A room with a fan gently circulating air without blowing dust onto your volcano
- A flat surface covered with wax paper to protect from moisture on the bottom
Estimated Drying Time
After setting up the ideal drying environment, the next step is understanding how long your paper mache volcano will take to dry completely. Drying time depends on factors like thickness, humidity, and temperature.
Thicker layers naturally take longer to dry. It’s essential you let it dry fully to prevent cracking or mold.
| Layer Thickness | Humidity Level | Estimated Drying Time |
|---|---|---|
| Thin (1-2 layers) | Low (30-40%) | 12-24 hours |
| Thin (1-2 layers) | High (60-70%) | 24-36 hours |
| Thick (3+ layers) | Low (30-40%) | 36-48 hours |
| Thick (3+ layers) | High (60-70%) | 48-72 hours |
Want to check if it’s dry? Just gently touch the surface. It should feel firm and not tacky before you move on.
Paint and Decorate Your Volcano
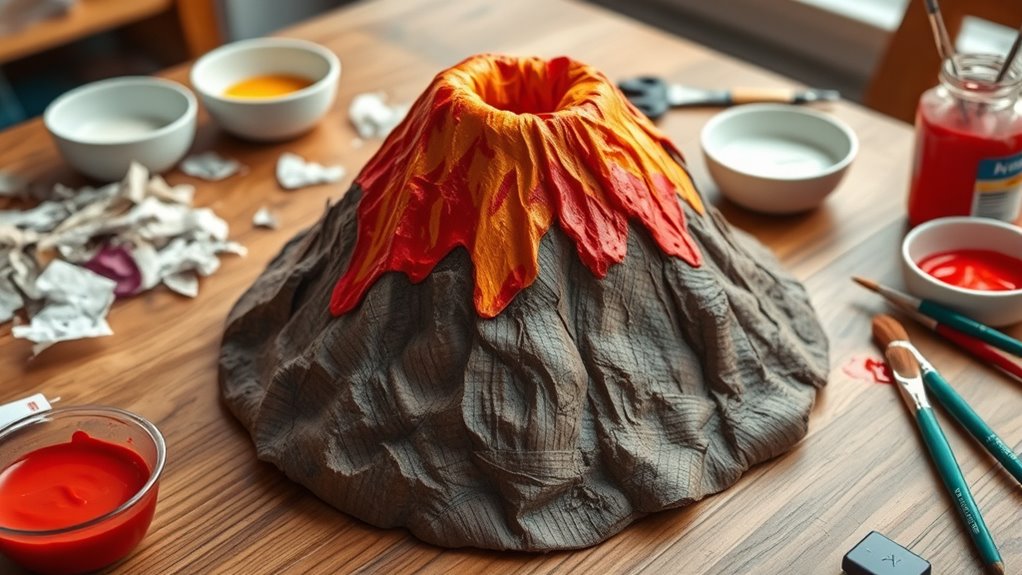
A fresh coat of paint brings your paper mache volcano to life and sets the stage for creative decoration. Start by painting the entire volcano with a base coat of earthy browns or grays to mimic real volcanic rock.
Once dry, add layers of color to highlight details and texture. This part is where your volcano starts to look really cool!
To make your volcano eye-catching, try these ideas: use red, orange, and yellow paints around the crater to simulate molten lava. It’ll make your volcano look like it’s really bubbling!
You can also add green or mossy tones at the base to suggest surrounding vegetation. And if you want to get fancy, sprinkle some glitter or use metallic paint for a shimmering lava effect.
Take your time with each layer, letting paint dry before adding more. This will give your volcano depth and a realistic, vibrant look that’s ready for the next steps. Just have fun with it!
Prepare and Trigger the Eruption
When you’re ready to bring your paper mache volcano to life, it’s time to prepare and trigger the eruption.
First, place your volcano on a tray or in a basin to catch any spills. Next, add a few tablespoons of baking soda into the volcano’s crater.
Start by setting your volcano on a tray, then add a few tablespoons of baking soda into its crater.
In a separate cup, mix about half a cup of vinegar with a few drops of red food coloring and a squirt of dish soap. This will create a more dramatic, foamy eruption.
Slowly pour the vinegar mixture into the crater over the baking soda. Step back quickly and watch as the chemical reaction causes the red foam to burst out, mimicking lava flowing down the volcano’s sides.
You can repeat this process to enjoy multiple eruptions. Easy and fun, right?
Conclusion
Now that you’ve built your paper mache volcano, let your creativity erupt like lava flowing down its sides. Watching your hard work come to life is as exciting as a real volcanic explosion.
Remember, patience during drying and decorating makes all the difference. Once you prepare and trigger the eruption, you’ll see your project transform into a thrilling science experiment.
Enjoy every step—you’ve just created something both fun and educational! Making a paper mache volcano is not only a great craft but also a fantastic way to learn about volcanic activity. So have fun with your paper mache volcano and watch your imagination and science skills grow together!