

How Do You Make Paper Chains in 7 Easy Steps
To make paper chains in 7 easy steps, start by gathering colorful paper, scissors, and glue or tape. These simple supplies are all you need to create a fun and festive decoration.
Paper chains are perfect for parties, holidays, or even just brightening up a room.
Cut strips about ½ to 1 inch wide and 6-8 inches long. Form the first loop by connecting and securing the ends of one strip.
Thread a new strip through the loop and secure its ends to link it.
Repeat linking strips until your chain reaches the desired length.
Secure the final loop and hang your chain for display.
Keep going to discover tips for perfect links and creative decorating ideas.
Gather Your Materials
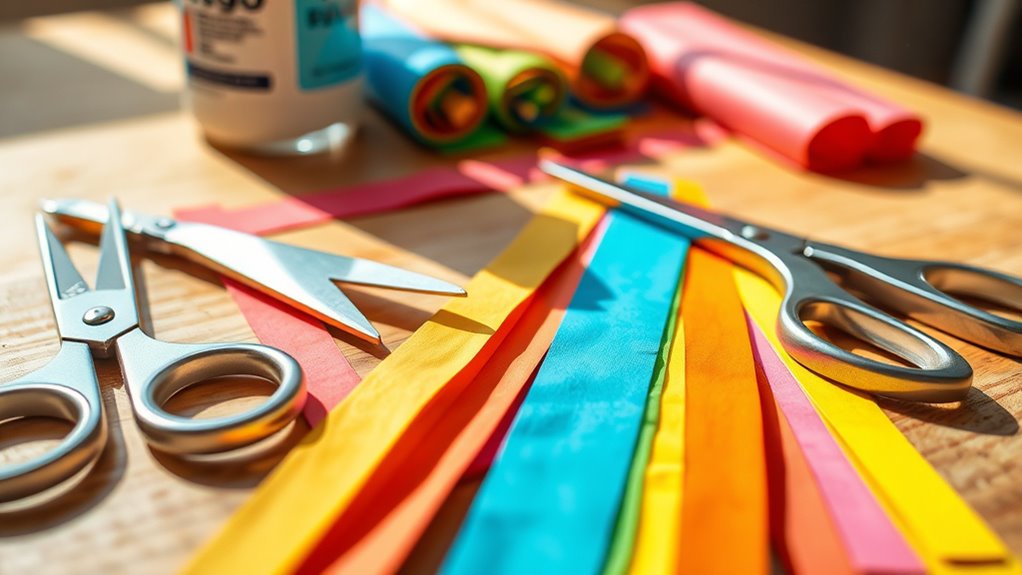
Before you begin making paper chains, gather all the materials you’ll need. You’ll require colorful sheets of paper—construction paper or scrapbooking paper work great.
Grab a pair of scissors to cut the strips precisely. Have a glue stick or tape ready for attaching the ends of each strip to form loops.
If you want extra flair, consider glitter, markers, or stickers for decoration. A ruler helps guarantee your paper strips are uniform in size, making your chain look neat.
Also, keep a flat workspace clear to keep everything organized and avoid losing small pieces. By assembling these materials upfront, you’ll save time and enjoy a smooth crafting experience from start to finish.
Cut Strips of Paper

You’ll want to start by choosing the right type of paper for your chain, whether it’s colorful construction paper or patterned scrapbook sheets. Next, decide how wide you want each strip to be, keeping in mind that consistent widths make your chain look neat.
Finally, cut strips of even length to make sure each link fits together smoothly. It’s all about making those pieces uniform so your chain holds up well and looks great!
Choose Paper Type
Selecting the right paper type is key when cutting strips for your paper chain. You want paper that’s sturdy enough to hold its shape but flexible enough to link easily.
Common choices include construction paper, cardstock, and colored printer paper. Each has its own feel and durability, so pick what fits your project best.
| Paper Type | Description |
|---|---|
| Construction | Thick, colorful, easy to cut |
| Cardstock | Heavyweight, durable, stiff |
| Printer Paper | Thin, smooth, easy to fold |
| Scrapbook Paper | Decorative, medium thickness |
| Wrapping Paper | Lightweight, glossy, delicate |
Choosing the right paper helps your chain last longer and look great. It really makes a difference in how your project turns out!
Determine Strip Width
How wide should your paper strips be for the perfect chain? Typically, strips between ½ inch and 1 inch wide work best. Narrower strips create delicate links, ideal for lightweight decorations.
Wider strips offer sturdier, more noticeable links but can feel bulky. Consider the look and strength you want. If you’re making a chain for kids to handle, go for wider strips for durability.
For subtle decor, thinner strips are great. Use a ruler or a paper trimmer to measure and mark your widths precisely before cutting. Consistent width guarantees your chain links fit well and maintain uniformity.
Avoid strips that are too narrow, as they might tear easily when linked. Choosing the right width sets the foundation for a strong and attractive paper chain.
Cut Even Lengths
After deciding on the perfect strip width, the next step is to cut your paper strips into even lengths. Use a ruler and pencil to mark consistent measurements along each strip.
Aim for lengths between 6 to 8 inches for easy linking and a balanced look. Lay your strips on a flat surface and line up your cuts carefully before slicing to maintain uniformity.
Use sharp scissors or a paper cutter to make clean, straight cuts. Consistent lengths ensure your paper chain links fit together smoothly and look neat.
Avoid jagged edges by cutting steadily. Taking the time to cut even strips now will save frustration when assembling your chain later and help your finished decoration look polished and professional.
Form the First Loop

Where do you begin when making your paper chain? Start by taking one strip of paper and gently bending it into a loop. Align the ends carefully so they meet evenly without overlapping too much.
Hold the ends together firmly with one hand. Grab a small piece of tape, a glue stick, or a dab of liquid glue with your other hand. Secure the ends by pressing the adhesive firmly, ensuring the loop holds its shape without gaps.
Let any glue dry if needed before moving on. This first loop forms the foundation of your chain, so take your time to make it neat and sturdy. Once it’s secure, your paper chain is ready for the next step—adding the second loop.
Connect the Second Loop
Once you have your first loop ready, take a second strip of paper and thread it through the first loop before forming it into a loop itself. Make sure the ends of this second strip overlap evenly, then secure them with glue, tape, or a staple.
This connection creates a linked chain effect, which is essential for your paper chain to hold together. Press the glued or taped ends firmly for a few seconds to guarantee they stick well.
If you’re using tape or a staple, position it so it’s hidden as much as possible for a neat look. Avoid twisting the strip; keep it flat to maintain the chain’s clean shape.
Now your second loop is connected, setting the stage for adding more loops seamlessly.
Continue Linking Loops
Now that you’ve connected the second loop, keep adding more by linking each new loop through the previous one. Make sure to secure each link firmly so your chain holds together well.
Also, keep the loops loose enough to let the chain move and bend easily. This way, your chain will be both strong and flexible, just like you want it!
Connecting Paper Loops
As you continue linking loops, make sure each new strip passes through the previous loop before you secure it with tape or glue. This step is essential because it forms the chain’s structure, allowing each loop to hang freely and connect seamlessly.
Hold the new strip open, thread it through the last loop, then bring the ends together to form a circle. Keep the loops flat and even to maintain a neat appearance. Avoid twisting the strip, as this can distort the chain’s shape.
Securing Chain Links
Although threading each strip through the previous loop is important, you’ll need to secure the ends properly to keep your paper chain intact. Start by aligning the ends of the strip evenly after looping it through.
Use a strong adhesive like tape or glue; double-sided tape works great because it’s less visible and holds firmly. Press the ends together firmly for a few seconds to ensure a good bond.
If you’re using glue, give it a moment to dry before moving on to the next link. Avoid overlapping the ends unevenly, as this can cause the link to lose shape or come apart.
Maintaining Chain Flexibility
While securing each link is essential, you’ll want to keep your paper chain flexible by linking loops carefully without tightening them too much.
If the loops are too snug, your chain will become stiff and hard to drape or hang. Leave just enough space for each loop to move freely within the previous one.
This flexibility allows the chain to curve naturally and prevents tearing at the connection points. As you add more links, occasionally test the chain’s movement by gently bending it.
If it feels rigid, adjust the loops slightly before securing them completely. Maintaining this balance ensures your paper chain looks great and lasts longer, whether you’re decorating for a party or crafting a colorful garland.
Secure Each Loop Properly
Before you add each new loop, make sure you secure the previous one firmly to prevent your paper chain from falling apart. Properly fastening each loop ensures your chain stays intact and looks neat.
Secure each loop firmly before adding the next to keep your paper chain neat and sturdy.
Here’s how you can secure each loop effectively:
- Overlap the ends of the paper strip evenly to create a smooth loop.
- Use a small amount of glue or double-sided tape on one end for a clean hold.
- Press the ends together firmly for about 10 seconds to ensure adhesion.
- If you prefer, staple the ends carefully, making sure the staple is secure but not bulky.
Display Your Paper Chain
Once you’ve secured each loop, your paper chain is ready to brighten up any space. Find a spot where it can stand out—like a doorway, window frame, or along a mantel.
Use tape or small hooks to hang the chain securely without damaging surfaces. If you want a festive look, drape the chain loosely for a cascading effect, or stretch it out straight for a sleek, modern vibe.
Consider layering multiple chains for added color and texture. Don’t forget to check that the chain hangs evenly and avoids tangling.
When displaying outdoors, choose weather-resistant paper or bring the chain indoors during bad weather. With these tips, your paper chain will add charm and cheer wherever you place it.
Conclusion
Now that you’ve woven your colorful paper chain, you’ve created more than just decoration—you’ve linked moments of creativity and patience. Each loop holds a quiet celebration of your effort, gently reminding you that even small connections can brighten a space and spirit.
So, hang your paper chain proudly, knowing it’s a simple yet meaningful thread in the fabric of your day. This easy craft not only adds charm but also inspires warmth and togetherness whenever you look its way. Making paper chains is a fun, rewarding way to bring color and joy into any room.