How to Fold Tissue Paper for a Gift Bag in 3 Easy Steps
Start by choosing clean, wrinkle-free tissue paper sheets that are slightly larger than your gift bag. This helps ensure your gift looks polished and ready to impress. Fold each sheet in half or thirds, pressing firmly along the edges to create crisp lines.
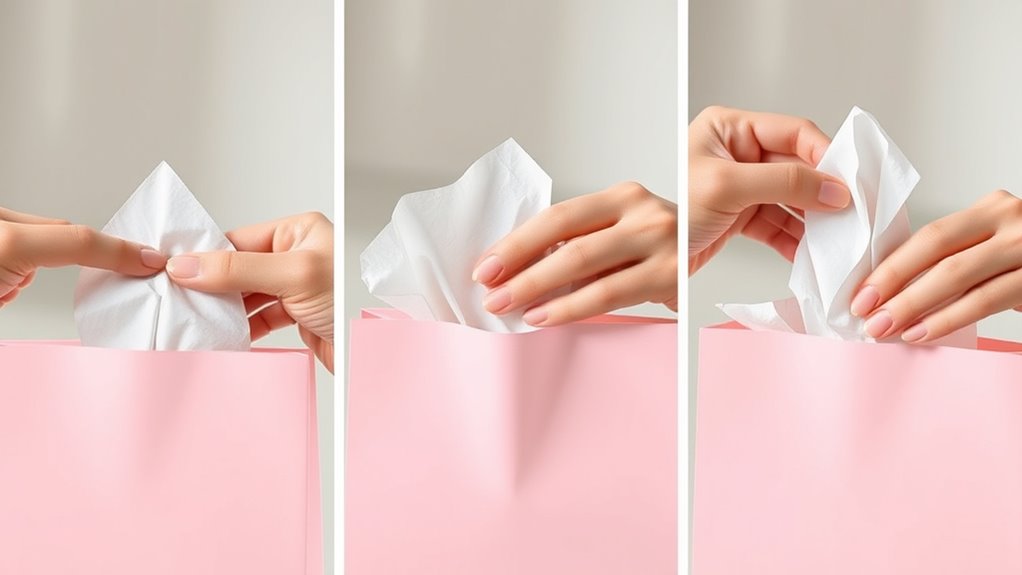
Next, gently fluff the folded sheets to add volume and interest. Place them in the bag so the edges extend evenly over the sides.
You can fan or layer the sheets for a full, balanced look that really catches the eye.
With these simple steps, you’ll quickly achieve a neat and elegant presentation. And remember, there’s plenty more to learn about perfecting the tissue paper folding process to make your gifts truly stand out.
Preparing Your Tissue Paper
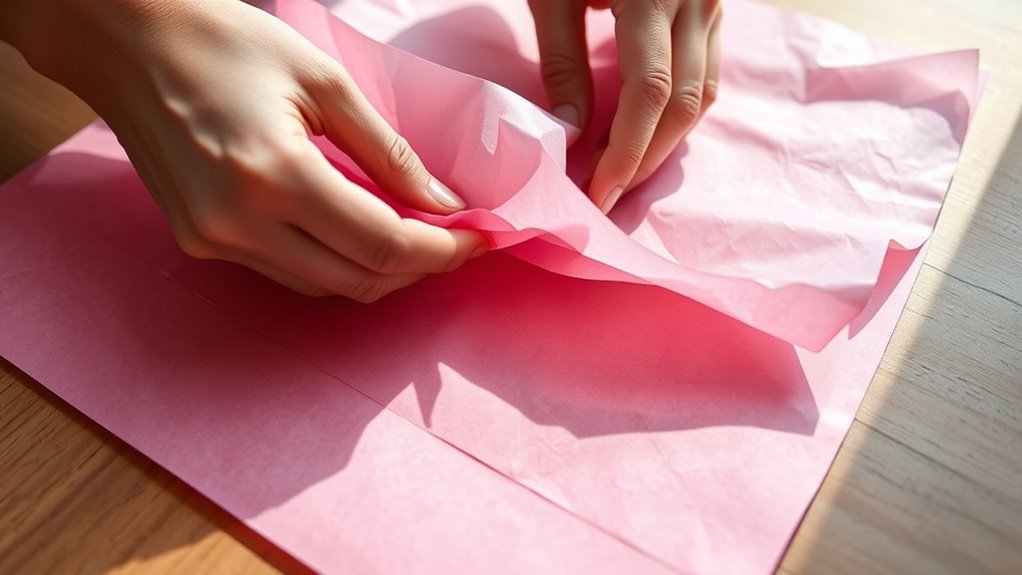
Before you begin folding, make sure your tissue paper is clean and free of wrinkles. Grab a flat, smooth surface to work on—this helps keep the paper steady.
If your tissue paper has creases, gently smooth them out with your hands; avoid using water or heat, as that can damage the delicate material. Choose the right size of tissue paper depending on your gift bag; typically, a sheet larger than the bag itself works best.
If the sheets are stacked unevenly, align them carefully so the edges match up. Finally, handle the tissue paper gently to prevent tearing.
Taking these simple steps ensures your tissue paper looks crisp and elegant when you fold it into your gift bag. Easy, right?
Folding Techniques for a Neat Finish
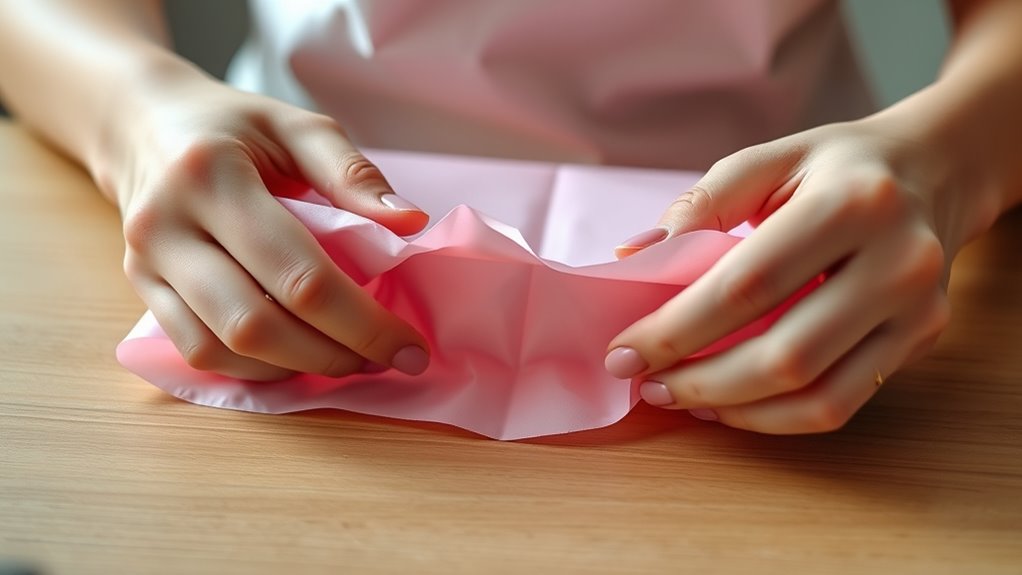
When you start folding your tissue paper, focus on creating crisp, even edges to give your gift bag a polished look. Begin by folding the paper in half or thirds, depending on the size of your bag, making sure each fold is sharp.
Use your fingers to press along the fold lines firmly. Avoid rushing; slow, deliberate folds prevent wrinkles and uneven edges.
If your paper is large, consider folding it accordion-style for a decorative flair. For a tidy finish, trim any uneven or ragged edges before placing the paper in the bag.
Arranging Tissue Paper Inside the Gift Bag

Although folding your tissue paper neatly is important, arranging it inside the gift bag properly makes all the difference in presentation.
Start by selecting two to three sheets of tissue paper in complementary colors. Gently fluff each sheet to add volume and prevent it from looking flat.
Place the tissue paper inside the bag so the edges extend evenly over the sides. You can fan the sheets out or layer them slightly offset for a fuller, more elegant look.
Make sure the paper doesn’t overpower the gift but enhances its appeal. If the gift is tall, use taller tissue sheets and arrange them so they stand upright.
This simple step gives your gift a polished, thoughtful touch that impresses every time.
Conclusion
Who knew folding tissue paper could feel this important? With just a few simple steps, you’ve transformed what once seemed like a flimsy sheet into a stylish gift bag topper.
It’s almost ironic how something so delicate can make your present look so polished and thoughtful. Now, every time you add that tissue paper, you’re not just decorating—you’re elevating your gift-giving game without breaking a sweat. Easy, right?
Folding tissue paper for a gift bag is a simple yet effective way to add elegance and charm. By mastering this quick technique, you can instantly enhance your gift presentation. So next time you’re wrapping a present, remember that perfectly folded tissue paper makes all the difference in creating a beautiful, memorable gift bag.