
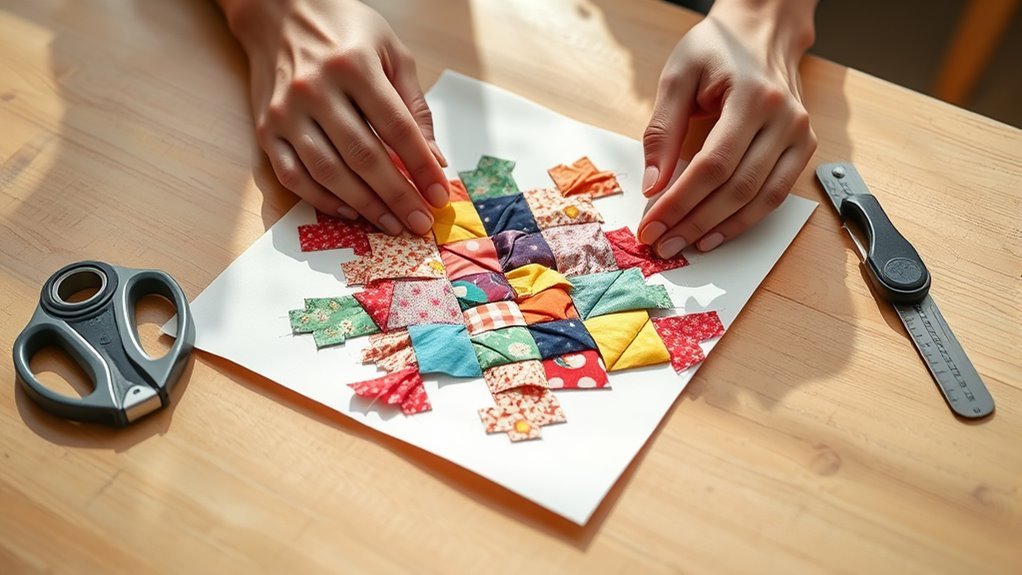
How to Paper Piece in 3 Easy Steps
To paper piece in three easy steps, start by printing your template on sturdy paper and marking seam lines carefully. This step is key for accuracy and ensures your fabric pieces align perfectly.
Next, sew each fabric piece to the template, stitching right along the lines. As you sew, fold the fabric carefully to build your design piece by piece. It’s like putting together a puzzle, but way more fun!
Finally, once all pieces are sewn, gently remove the paper. Press the block flat and trim the edges for a clean, polished finish.
Keep going to uncover tips that make your blocks perfectly precise and easy to assemble. You’ll be amazed at how simple and satisfying paper piecing can be!
Preparing Your Paper Piecing Template
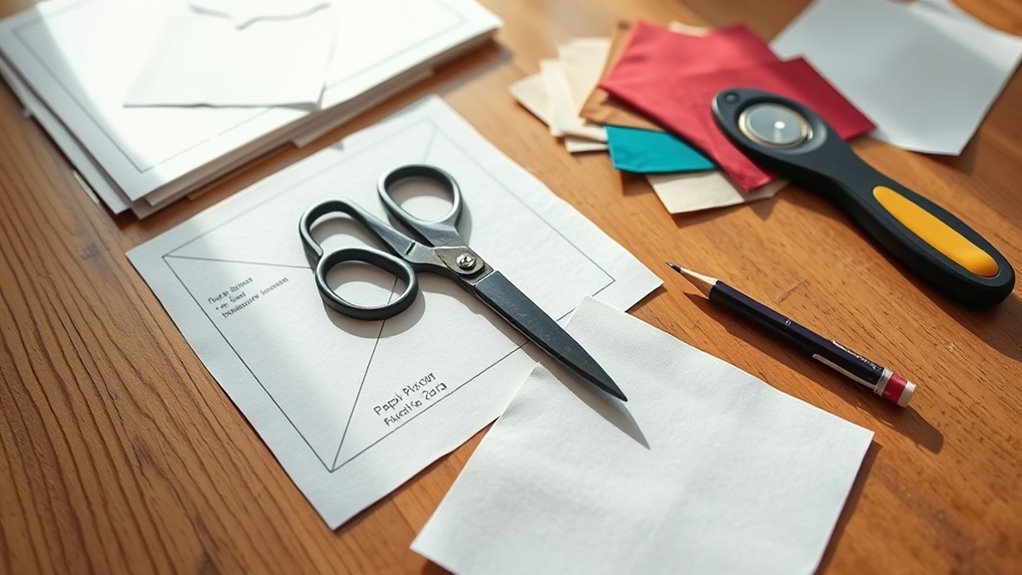
How do you get started with preparing your paper piecing template? First, print your chosen pattern onto sturdy paper or lightweight cardstock. This gives you a strong foundation to work on and helps prevent tearing. Make sure to print the design at actual size without scaling.
Next, identify and label all the sections clearly; this guides you in the correct sewing order. Use a ruler and a pencil to lightly mark seam lines and any vital points, ensuring accuracy as you sew.
If your pattern includes mirror images, don’t forget to flip and print accordingly. Finally, cut around the outer edges, leaving a small margin for handling.
With these steps, your template will be ready for precise, efficient paper piecing. Easy, right?
Sewing Fabric Pieces Onto the Template
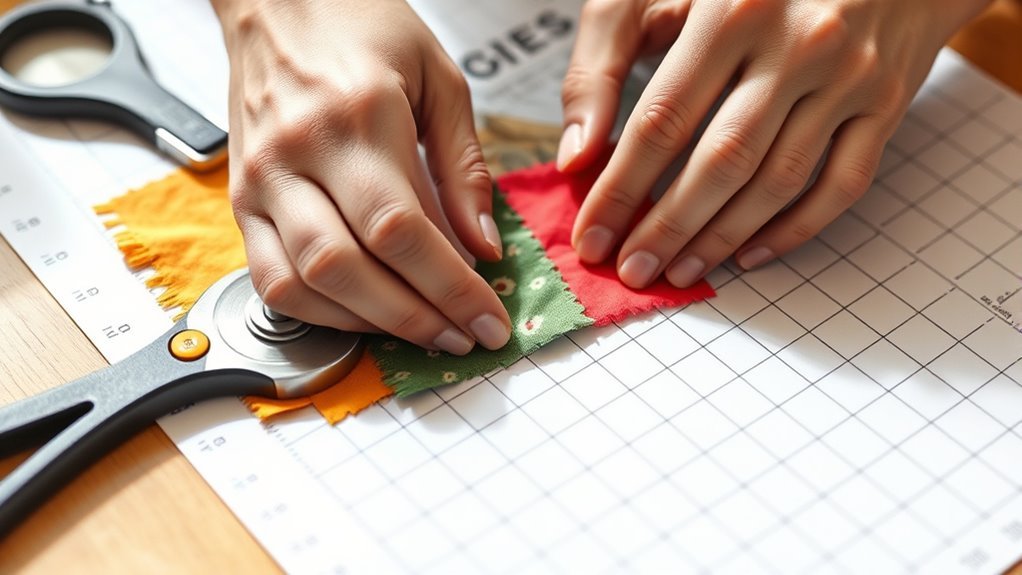
Once your paper piecing template is ready, you’ll want to position your first fabric piece right side up beneath the designated section on the template, making sure it fully covers the area with some overlap.
Flip the paper over and carefully sew along the line between sections, stitching through both fabric and paper. Keep your stitches short, about 1.5 to 2 mm, to make later removal easier.
After sewing, fold the paper back along the seam line and press the fabric piece in place.
Next, position your second fabric piece right side down on top of the first, aligning edges so it covers the next section with overlap. Flip, stitch along the next line, then fold and press.
Repeat this process until all fabric pieces are sewn onto the template. It’s a bit like building your design piece by piece!
Removing the Paper and Finishing Your Block
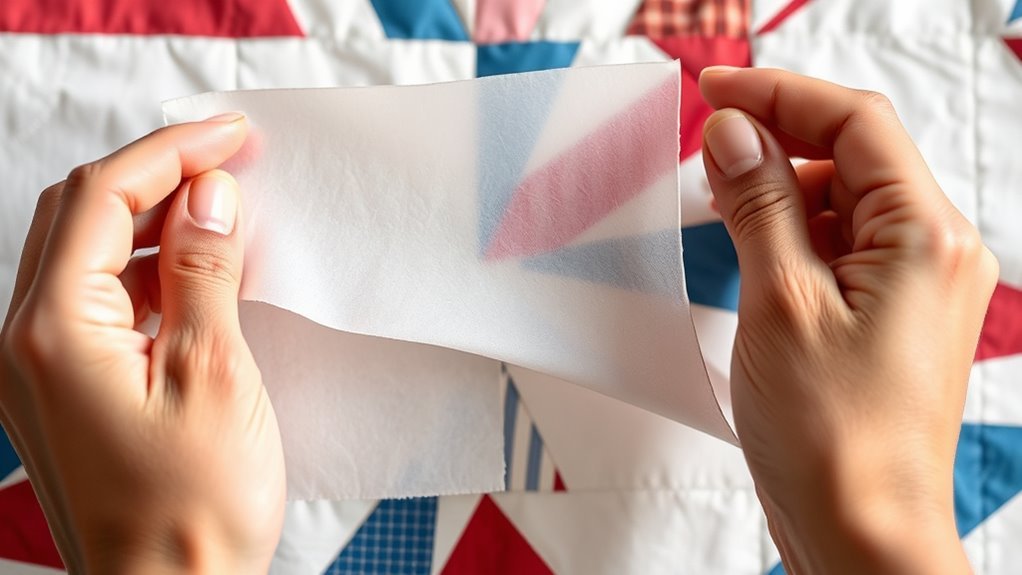
After sewing all your fabric pieces onto the template, you’re ready to remove the paper and reveal your block. Carefully tear away the paper starting from the edges, making sure not to pull the stitches.
If you used a lightweight foundation paper, it should come off easily. For thicker paper, use a pair of tweezers or a seam ripper to help lift the edges gently.
Once the paper is removed, press your block with an iron, pressing seams flat rather than ironing back and forth to avoid stretching. Then, trim your block to the correct size using a rotary cutter and ruler, aligning the edges precisely.
This ensures your block fits perfectly with others in your quilt. Now, your paper-pieced block is ready to be sewn into your project!
Conclusion
Though paper piecing might seem complex at first, once you get the hang of it, the process feels surprisingly simple and rewarding. You start with precise templates and careful sewing, but end with a beautifully crafted block that looks anything but ordinary.
The contrast between the structured beginning and the creative freedom at the end is what makes paper piecing so special. Keep practicing, and soon what once felt tricky will become second nature.
Remember, mastering paper piecing takes a bit of patience, but with these easy steps, you’ll be creating stunning quilt blocks in no time. Just follow the precise templates, sew carefully, and enjoy the process. Soon, paper piecing will be your go-to technique for adding intricate designs and professional-looking finishes to your quilting projects.