How Do You Make a Paper Chatterbox in 3 Easy Steps
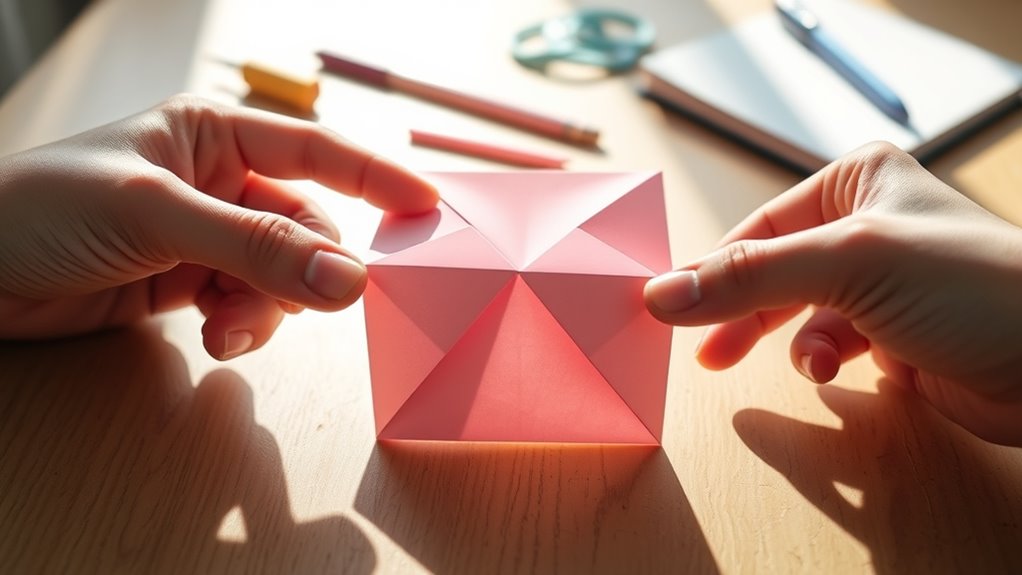
Start with a square piece of paper and fold it in half both ways, then fold each corner into the center. This is the first step to making your very own paper chatterbox, a fun and interactive origami toy that kids and adults alike can enjoy.
Flip it over and fold the corners into the center again to create smaller triangles.
Next, fold it in half horizontally and vertically to form creases that help shape the chatterbox. These creases are important because they give the chatterbox its distinctive shape and make it easy to open and close.
Finally, tuck your fingers under the flaps and push inward to open up the four-pointed chatterbox. Keep going to discover how to add numbers and fun messages to make it truly engaging!
Once you have the basic chatterbox shape, you can personalize it with colors, numbers, or secret messages to surprise your friends. It’s a simple craft that turns into a playful game in minutes!
Prepare Your Paper and Initial Folds
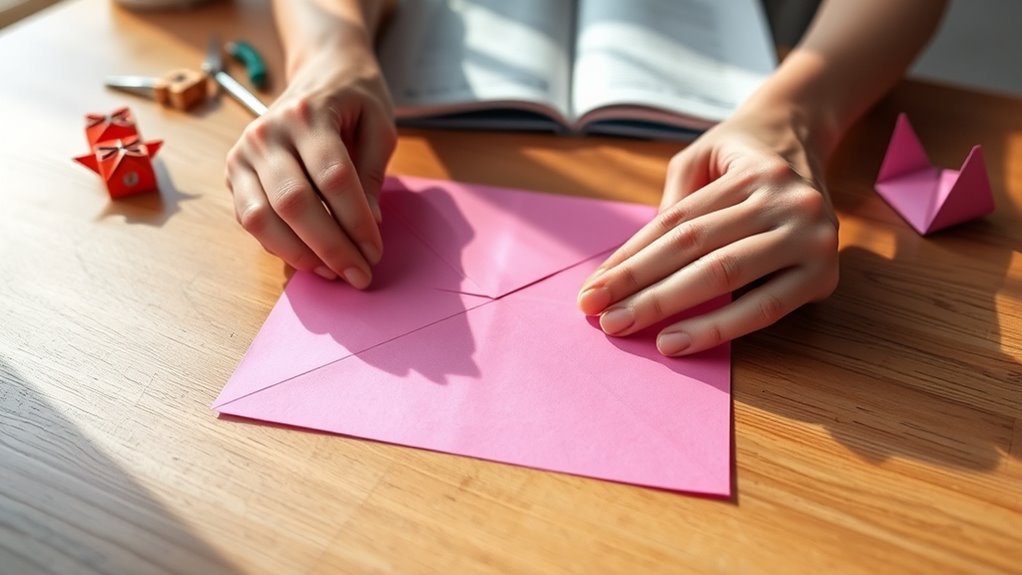
To begin making your paper chatterbox, start with a square piece of paper. If your paper isn’t already square, you can make it so by folding one corner diagonally to the opposite edge, then trimming off the excess.
Once you have your square, place it flat on a clean surface. Fold the paper in half horizontally, crease firmly, and unfold. Repeat by folding vertically, crease well, and unfold again. These creases will serve as guides for the next steps.
Next, fold each corner toward the center point where the creases intersect, making sure the edges line up neatly. Press down on each fold to create sharp creases. These initial folds set the foundation for your chatterbox, so take your time to ensure accuracy.
Form the Chatterbox Shape
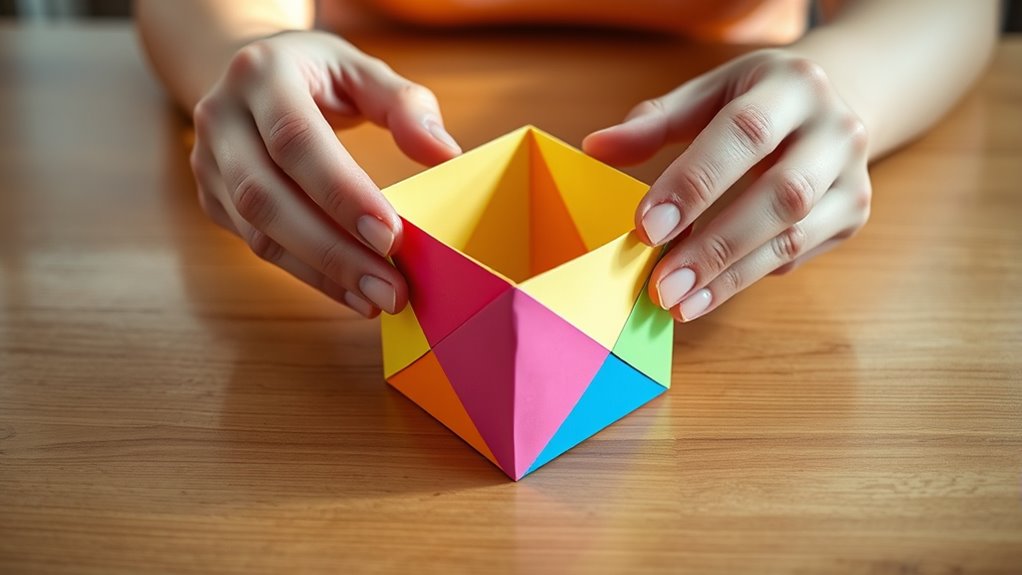
Once you’ve folded all four corners into the center, flip the paper over so the folded side is facing down. Now, fold the new corners into the center again, just like before. This will create smaller triangles meeting in the middle.
Press down firmly on all folds to keep the shape crisp. Next, fold the paper in half horizontally, then unfold, and fold in half vertically, then unfold again. These creases help you form the final chatterbox shape.
To complete it, gently tuck your fingers under the square flaps on the underside and push inward. The chatterbox will start to pop up into a four-pointed shape with openings for your fingers. Adjust the edges as needed so it moves easily.
Now, your chatterbox is ready for the next step!
Add Numbers and Messages for Fun

Now that your chatterbox holds its shape, you can add numbers and messages to personalize the experience. Start by writing numbers 1 through 8 on the outer flaps—these will guide players on which flap to choose.
Once your chatterbox shapes up, number the flaps 1 to 8 to guide players’ choices and add personalized fun.
Inside each flap, write a fun message, challenge, or question. For example, you might include “Tell a joke,” “Do a dance,” or “What’s your favorite movie?”
Use colorful pens or markers to make each section stand out and keep the chatterbox visually engaging. This way, every time someone plays, they get a surprise and a little interaction.
Personalizing your chatterbox transforms it from a simple paper toy into a unique game that sparks laughter and conversation. It’s a great way to add some fun and creativity!
Conclusion
Now that you’ve made your paper chatterbox, you’re ready to enjoy hours of fun and creativity. Did you know that origami, the art behind your chatterbox, has been shown to improve spatial reasoning skills by up to 50%?
So, not only is your chatterbox a playful tool for friends, but it also sharpens your mind. Keep folding and experimenting—you’ll be amazed at what simple paper can do!
Making a paper chatterbox is more than just a craft; it’s a fun way to boost your creativity and brainpower. Whether you use it for games or storytelling, this easy origami project combines entertainment with learning. So grab some paper and start folding—your paper chatterbox adventure awaits!