How Can You Make Paper Look Old in 7 Simple Steps
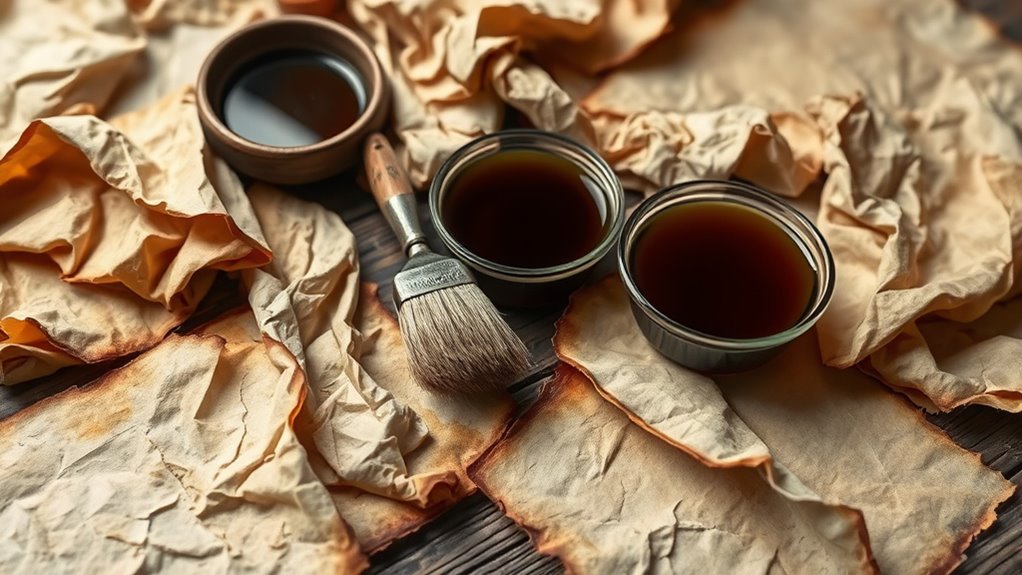
You can make paper look old in seven simple steps by first staining it with strong tea or coffee for an aged tone. This gives the paper that classic vintage color everyone loves.
Next, gently crumple and flatten the paper to add texture.
Carefully burn or tear the edges to create worn borders. This step really adds character and makes the paper look authentically aged.
After that, add subtle water spots to give it a weathered appearance.
Then, lightly sand the surface for imperfections.
Let it dry fully to set the look.
Following these tricks, you’ll discover how to master even more authentic aging effects. It’s easier than you might think to transform plain paper into something that looks like a treasured antique!
Gather Your Materials
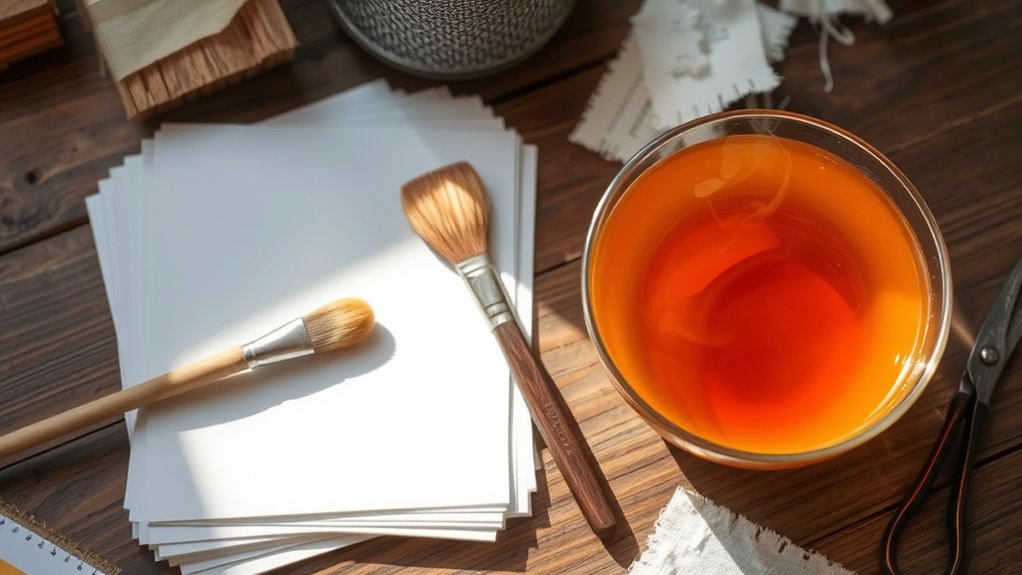
Before you begin aging your paper, you’ll need to gather a few basic materials. Start with plain white paper, preferably thicker than standard printer sheets for better durability.
Begin with plain white paper, ideally thicker than regular printer sheets for enhanced durability.
You’ll also want a baking tray or a flat surface that can handle some mess. Have some water handy, but don’t get it too wet—just enough for light dampening.
Grab a sponge or a soft cloth for applying moisture evenly. If you plan to create wrinkles or texture, keep a pair of gloves nearby to protect your hands.
Finally, have an oven or heat source ready for the drying process. These items are all you need to start giving your paper that authentic vintage look before moving on to staining techniques.
Stain the Paper With Tea or Coffee
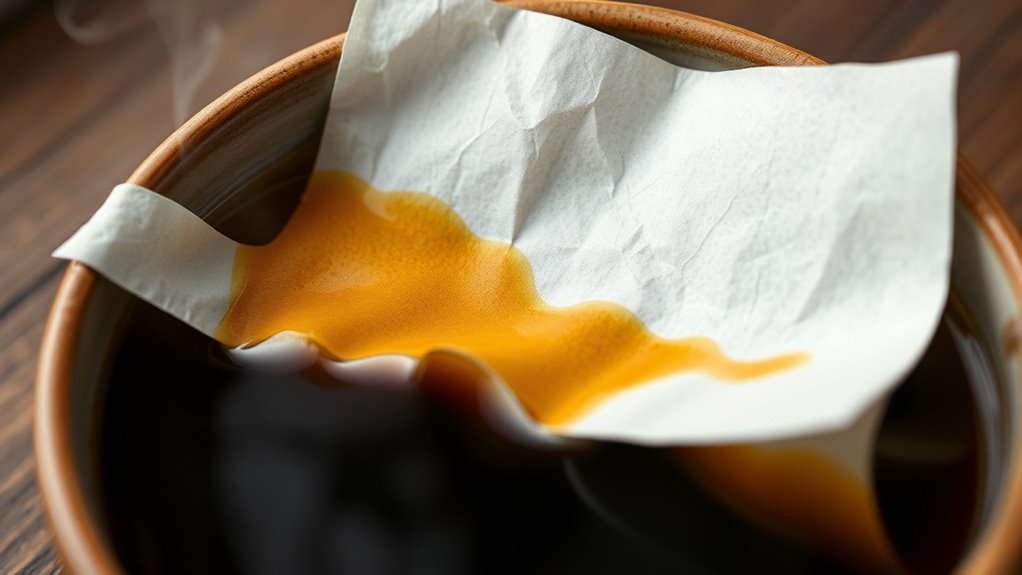
How exactly do you give your paper that warm, aged tone? Staining it with tea or coffee is a simple and effective way.
Start by brewing a strong cup—use about three tea bags or a few tablespoons of instant coffee in hot water. Let it cool slightly before you dip your paper in.
Submerge the paper fully for a few seconds, then remove it and let the excess liquid drip off. For a more uneven, natural look, you can brush the stain on with a sponge or cloth instead.
Lay the paper flat on a clean surface to dry, or hang it up. The longer you leave it in the stain, the darker it’ll get, so experiment to find the perfect shade.
This technique instantly adds that vintage vibe to your paper.
Crumple and Flatten the Paper
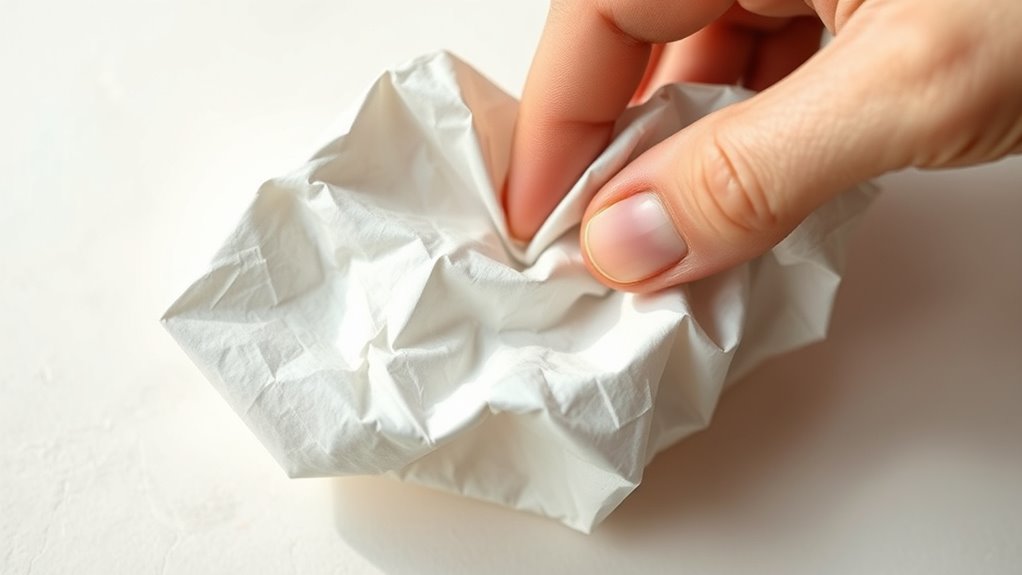
Start by picking the right paper—it should be thin enough to crumple without tearing. Gently scrunch the paper to create natural wrinkles, but don’t overdo it or it’ll fall apart.
Then, press it flat using a heavy book or your hands to give it that aged, worn look. Easy, right? Just takes a little care!
Choosing the Right Paper
Why does the type of paper you choose matter when trying to achieve an aged look? The texture, weight, and color of your paper set the foundation for how authentic your aged effect will appear.
Some papers absorb staining and crumpling better, giving a more realistic old feel. It’s kind of like choosing the right canvas for a painting.
Here’s a quick guide to help you pick the best paper:
| Paper Type | Best For |
|---|---|
| Printer Paper | Easy to crumple and stain |
| Watercolor Paper | Holds stains well, textured |
| Parchment Paper | Naturally aged look, smooth |
| Brown Kraft Paper | Rustic, thick, great for vintage |
Proper Crumpling Technique
Once you’ve picked the right paper, giving it the perfect worn texture comes next. Start by gently scrunching the paper into a loose ball; avoid crushing it too tightly, as this can tear the fibers.
Aim for natural, uneven creases that mimic years of handling. After crumpling, carefully unfold the paper to reveal a network of wrinkles.
If you want deeper lines, repeat the process once or twice, but be cautious not to damage the sheet. This technique adds authenticity by breaking the smoothness and introducing subtle imperfections.
Flattening Methods Explained
Although crumpling gives your paper texture, flattening it properly is key to achieving a realistic aged appearance.
After you crumple your paper, gently unfold it and place it on a flat surface. You can use a heavy book or press it under a flat object overnight to smooth out excessive creases without erasing the texture.
Avoid ironing directly, as heat can damage the paper.
Here’s a quick guide to flattening methods:
| Method | Effect on Paper |
|---|---|
| Heavy book press | Softens wrinkles, maintains texture |
| Flat object press | Flattens paper evenly, preserves detail |
| Avoid ironing | Prevents paper damage |
Use these methods to balance creases and flatness for that authentic old-paper look.
Create Burnt or Torn Edges
A simple way to add character to your paper is by creating burnt or torn edges, which instantly give it an aged, weathered look.
To burn edges safely, hold the paper with tweezers and carefully singe the edges over a candle or lighter flame. Move the paper steadily to avoid burning too much. Blow out the flame as soon as you achieve the desired effect.
Hold paper with tweezers and gently singe edges over flame, moving steadily to avoid excess burning.
For torn edges, gently tear the paper by hand to create uneven, rough borders. You can also wet the edges slightly before tearing to control the rip better.
Both techniques add authenticity, making your paper appear genuinely old. Just remember to work in a well-ventilated area and keep water nearby when working with fire for safety.
Add Water Stains and Spots
Even if your paper already looks aged, adding water stains and spots can enhance its vintage appeal by mimicking years of wear and exposure to moisture.
To do this, lightly dampen a sponge or paintbrush with water mixed with a bit of instant coffee or tea. Dab or flick the mixture onto the paper’s surface, focusing on random areas to create natural-looking stains.
Let the spots dry partially, then blot some with a dry cloth to vary the intensity. For subtle watermarks, you can press a wet cloth briefly against the paper.
Just be careful not to soak the paper too much, as it can weaken or tear. This technique adds authentic character, making your paper look like it has survived many years through different conditions.
Lightly Sand the Surface
Regularly sanding the paper’s surface can give it a worn, textured look that mimics years of handling and aging. To do this, grab a fine-grit sandpaper or an emery board, and gently rub it over the paper in small, circular motions.
Focus on edges and corners, where natural wear happens first. Just be careful not to apply too much pressure—you don’t want to tear the paper. Use just enough to create subtle rough patches and thin areas.
This technique really enhances the paper’s authenticity by adding imperfections that real old paper often has. Once you finish sanding, take a close look at the surface and add more roughness if needed.
But remember, always proceed gradually to avoid overdoing it. This step works perfectly alongside earlier techniques like staining.
Let the Paper Dry and Set
Once you’ve treated the paper, let it dry in a flat, well-ventilated area to prevent wrinkles. You’ll want to avoid direct sunlight, which can cause uneven fading or warping.
Give it at least a few hours to fully set before handling. Just be patient—it’ll be worth it!
Optimal Drying Environment
While the paper soaks up the aging solution, you’ll want to create an ideal drying environment that prevents wrinkles and uneven discoloration. Choose a flat, clean surface with good air circulation but avoid direct sunlight. That can cause the paper to dry too quickly and warp.
Keep the area free from dust or debris that might stick to the damp paper. Also, maintain a moderate room temperature because extreme heat or cold can affect drying time and color consistency.
If possible, use a fan on a low setting to promote even airflow without blowing dust onto the paper. Patience is key here. Let the paper dry naturally and fully before handling it further, so the aged effect sets beautifully and evenly.
Avoiding Paper Wrinkles
To prevent wrinkles from forming, you’ll need to handle the paper carefully as it dries and sets. Wet or damp paper is fragile, so avoid touching it unnecessarily.
Here’s how to keep your paper smooth while it ages:
- Lay it flat: Place the paper on a clean, flat surface. Avoid leaning it against anything, as gravity will cause creases.
- Use a weight: Gently place a lightweight object like a book over the paper once it’s mostly dry. This helps keep it flat without damaging it.
- Avoid drafts: Keep the drying paper away from fans or open windows. Sudden air movement can cause curling or wrinkling.
Following these tips will ensure your paper looks authentically old without unwanted wrinkles. Just take it slow and be gentle!
Setting Time Duration
Because the paper needs time to fully absorb the aging effects, you should let it dry and set completely before handling it further. After applying tea, coffee, or any staining method, place the paper on a flat, clean surface.
Avoid folding or crumpling it during this time to prevent unwanted wrinkles. Depending on humidity and thickness, drying can take anywhere from 30 minutes to a few hours.
If you’re in a hurry, use a hairdryer on a low setting, but keep it moving to avoid scorching. Once dry, the paper will feel stiff and brittle, resembling aged parchment.
Allowing proper setting time not only enhances the authenticity of the look but also guarantees durability. Patience here pays off, making your old-paper effect more convincing and long-lasting.
Conclusion
Now that you’ve followed these steps, your paper should look aged and authentic, like a treasure map found in an old attic. Remember, the key is to be gentle but creative—each stain, tear, and wrinkle adds character.
With a little patience, you’ll turn plain paper into a vintage masterpiece that tells its own story. So go ahead, experiment, and watch your project come to life with that perfect aged charm!
Making paper look old is all about using simple techniques to create that worn, antique feel. Whether for crafts, decorations, or storytelling, these easy steps help you achieve an authentic vintage look. Embrace the process, have fun with the stains and wrinkles, and enjoy transforming ordinary paper into something truly special.