How to Make Paper Look Older in 10 Easy Steps
To make paper look older, start by choosing thick, textured paper. This kind of paper holds stains and wrinkles better, giving you a more authentic vintage look.
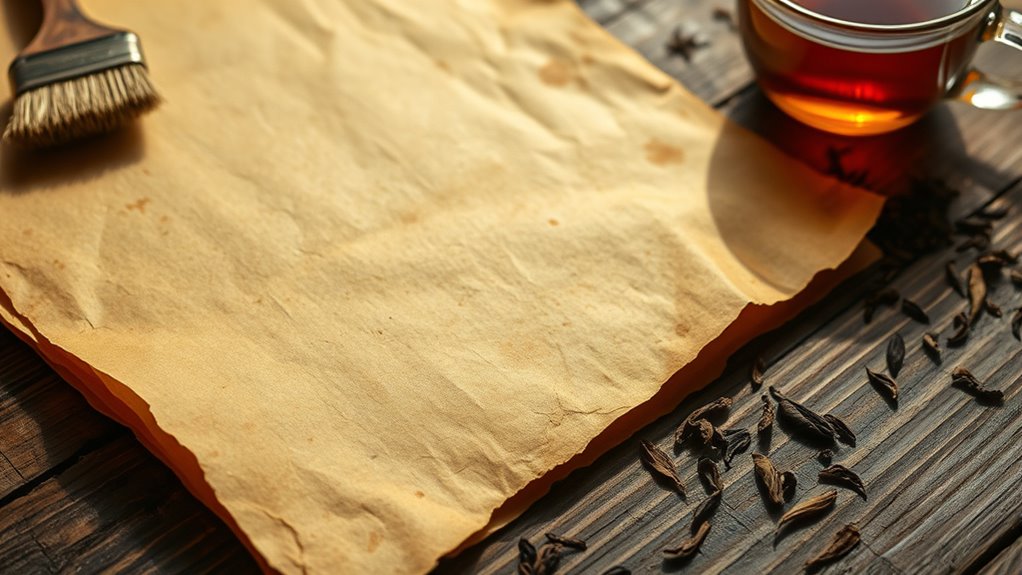
Next, stain it using cooled tea or coffee, focusing on the edges for natural discoloration.
Don’t rush the process! Crumple and flatten the sheet to create wrinkles that mimic real aging.
Then, carefully burn or sand the edges to add a worn, weathered effect.
For more natural-looking stains, dab the surface with a sponge. You can also expose the paper to sunlight to enhance yellowing, making it look truly old.
Finally, seal your work with a fixative to preserve that aged appearance.
Keep following for more tips on achieving authentic vintage paper effects that really stand out.
Choose the Right Type of Paper
Before you begin aging your paper, you need to pick the right type. Not all paper reacts the same when you try to make it look older.
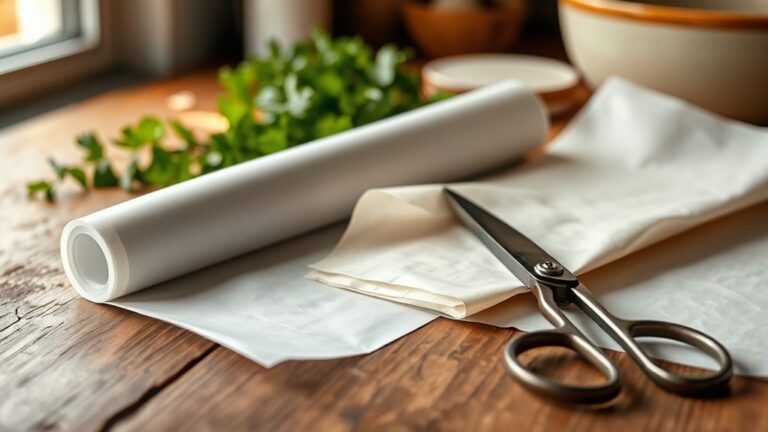
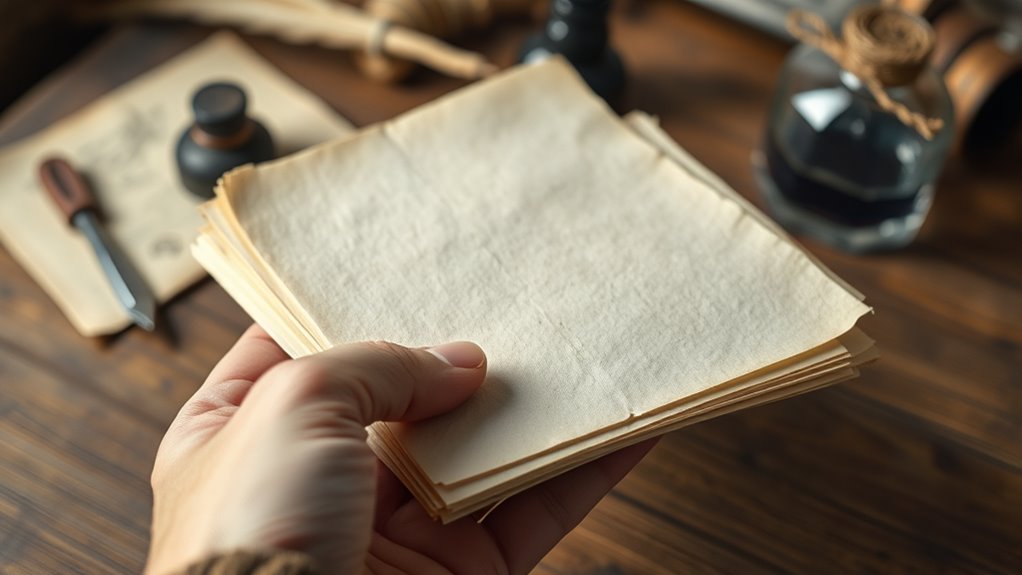
Choose thicker, textured paper like watercolor or parchment-style sheets because they absorb aging treatments better and give a more authentic vintage feel. Avoid glossy or very smooth papers since they resist staining and can look artificial.
If you want to create a realistic antique effect, opt for paper with a natural off-white or cream color rather than pure white—it’ll take on stains and wear more convincingly. Also, consider the paper’s weight; heavier paper holds up well during handling and multiple treatments.
Picking the right paper sets the foundation for a convincing aged appearance, so spend time selecting it carefully before moving forward.
Stain the Paper With Tea or Coffee
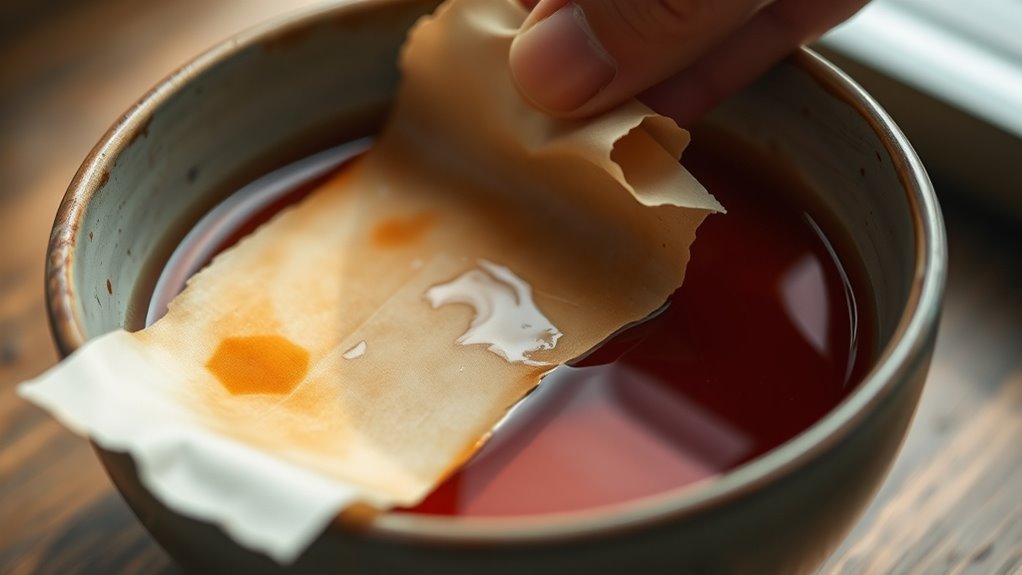
A simple way to give your paper an aged look is by staining it with tea or coffee. Start by brewing a strong cup of tea or coffee and let it cool.
To create an aged look, stain your paper with cooled, strong tea or coffee for a natural vintage effect.
Then, lay your paper flat on a protected surface and use a brush or sponge to evenly apply the liquid. For a more textured effect, you can sprinkle some tea leaves or coffee grounds onto the wet paper.
Let it soak for a few minutes, depending on how dark you want the stain. Once finished, carefully lift the paper and place it on a drying rack or hang it up to air dry.
Just be sure to avoid overheating or direct sunlight, since that can damage the paper. This staining method adds natural, warm tones that mimic aged parchment beautifully.
Crumple and Flatten the Paper
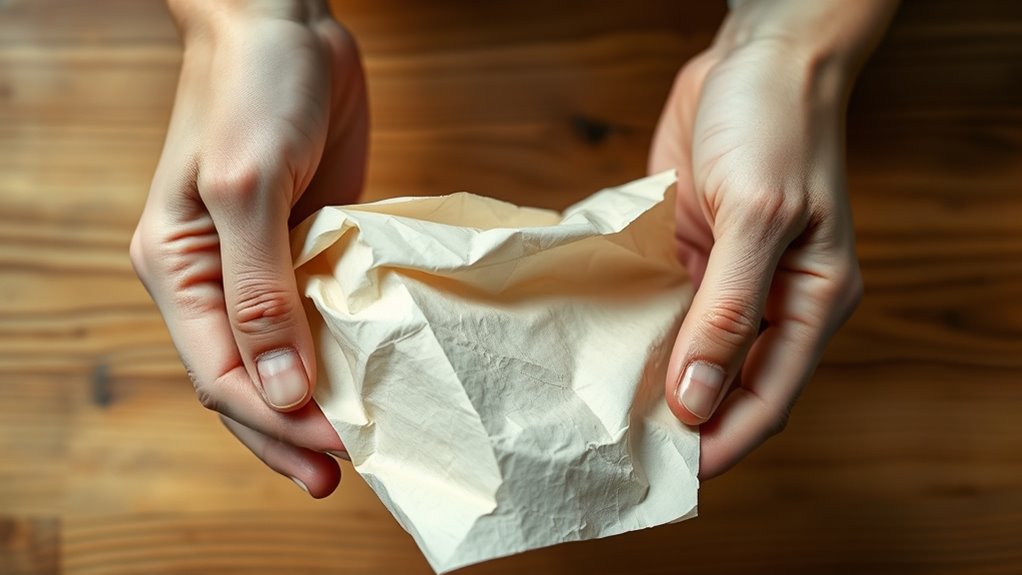
To give your paper an authentic aged texture, crumple it gently into a loose ball and then carefully flatten it out. This process creates natural creases and wrinkles that mimic wear from handling over time.
Don’t crush it too tightly; you want subtle distressing, not torn edges. Once flattened, run your fingers along the folds to soften any sharp creases, making the paper look naturally worn.
If you want more texture, repeat the crumple-and-flatten step a couple of times, but be cautious not to weaken the paper too much. This technique adds depth and character, enhancing the vintage effect you’re aiming for.
Afterward, your paper is ready for any additional aging steps without losing its integrity or becoming overly fragile.
Create Burnt Edges Carefully
Once you’ve achieved the right texture by crumpling and flattening, you can move on to adding burnt edges for a more dramatic aged look. Carefully burning the edges gives your paper an authentic, vintage feel, but you need to take safety precautions.
Start by working slowly and controlling the flame to avoid burning too much. Here’s how to create burnt edges carefully:
Begin slowly and control the flame to achieve just the right amount of burn without overdoing it
- Use a lighter or candle flame, holding the paper at a slight distance.
- Move the flame along the edges in small, quick motions to prevent large burns.
- Have a bowl of water nearby to extinguish any accidental fires immediately.
- Practice on scrap paper first to get comfortable with the technique.
It might seem tricky at first, but with some patience, you’ll get the hang of it! Just remember to stay safe and take your time.
Use Sandpaper to Roughen the Surface
How exactly can you make your paper feel more worn without using fire? Grab some fine-grit sandpaper and gently rub it over the surface of your paper. Focus on areas where natural wear would occur, like corners and edges.
This technique creates tiny scratches and thins the paper slightly, giving it a textured, aged look. Be careful not to overdo it; too much sanding can tear the paper or make it too fragile. Light, consistent strokes work best.
You can also sand the back for a more authentic, uneven feel. This method lets you control the aging process precisely without the risk of burning.
Using sandpaper is a simple, safe way to add character and realism to your project before moving on to other aging techniques.
Apply Ink or Watercolor Washes
Why settle for plain paper when you can add depth and richness with ink or watercolor washes? These washes create subtle color variations that mimic natural aging, making your paper look authentically old.
Here’s how to do it effectively:
- Dilute your ink or watercolor with water for a light, translucent wash.
- Apply uneven strokes or blotches to simulate stains and discoloration.
- Focus on edges and corners, where aging and exposure usually cause darker tones.
- Let each layer dry completely before adding another to build a realistic, layered effect.
Add Wrinkles and Creases Deliberately
You can make your paper look authentically aged by adding wrinkles and creases on purpose. Try gently crumpling the paper or folding it in different places to create natural-looking lines.
To enhance realism, focus on varying the depth and direction of the creases for a worn, well-used effect. It’s all about making it look like it’s been handled a lot over time.
Techniques for Wrinkle Creation
Although aging paper naturally involves random wear, you can create convincing wrinkles and creases with deliberate techniques. Start by gently scrunching the paper into a loose ball, then carefully unfolding it to reveal natural-looking wrinkles.
You can also fold the paper sharply along the desired crease lines, then soften the folds by running your fingers over them. For more subtle texture, lightly dampen the paper before manipulating it—this helps create gentle ripples.
Another effective method is to press the paper between rough surfaces, like crumpled fabric or textured boards, to add irregular creases. Here are some techniques to try:
- Scrunch and unfold for random wrinkles
- Fold sharp creases and soften edges
- Lightly dampen before shaping
- Press between textured materials
Using these methods, you’ll achieve authentic, aged wrinkles on your paper.
Enhancing Crease Realism
When aiming to enhance crease realism, adding wrinkles and creases deliberately helps mimic the natural wear of aged paper. You want to bend the paper gently in different directions, focusing on corners and edges where stress naturally occurs.
Use your fingers or a blunt tool to create subtle, uneven folds. Avoid uniformity; real creases vary in depth and length. Lightly crumple the paper, then smooth it out partially for authentic texture.
| Crease Location | Realism Tip |
|---|---|
| Edges | Add light, uneven folds |
| Corners | Create sharper creases |
| Center folds | Use gentle bends |
| Random spots | Add small wrinkles |
| Overlapping creases | Layer for depth |
This approach gives your paper a naturally aged appearance.
Use a Sponge to Dab on Stains
How exactly can a simple sponge transform your paper into an aged masterpiece? By dabbing on stains, you mimic natural wear and discoloration, giving your paper an authentic vintage look.
Here’s how to do it effectively:
- Lightly dampen the sponge with tea, coffee, or diluted brown paint.
- Gently dab random spots on the paper’s surface, focusing on edges and corners.
Vary pressure to create uneven, natural-looking stains. Let each layer dry before adding more for depth and texture.
This technique avoids harsh lines, blending stains seamlessly into the paper. You’ll be surprised how these subtle marks add character and history to your work.
It makes it look genuinely aged without much effort. Use this step right after enhancing creases for best results.
Expose the Paper to Sunlight
After adding stains with a sponge, you can enhance the aged effect by exposing the paper to sunlight. Place your paper on a flat surface outdoors where it’ll get direct sunlight.
The sun’s UV rays naturally fade and yellow the paper, mimicking the look of old documents. Leave it out for several hours or even a full day, checking periodically to avoid overexposure that could make the paper brittle.
Rotate the paper occasionally to ensure even aging. Keep in mind, thicker papers might take longer to show noticeable changes.
This simple step deepens the discoloration and adds subtle texture changes, making your paper look authentically aged without harsh chemicals. Just be patient and let nature do the work for a beautifully worn appearance.
Seal the Paper With a Fixative or Varnish
Why should you seal your aged paper? Sealing preserves your work and prevents further damage. After aging your paper, applying a fixative or varnish locks in the vintage look and protects it from moisture, dirt, and handling wear.
Here’s why sealing matters:
- Prevents smudging of inks or stains you’ve applied.
- Shields the paper from humidity and environmental damage.
- Enhances the texture and deepens aged colors.
- Adds durability, making the paper less fragile.
Use a spray fixative for an even coat without soaking the paper. Varnish works well if you want a glossier finish. Just make sure you apply it in a well-ventilated area.
Then, let it dry completely before handling. This final step ensures your aged paper lasts longer and looks authentically vintage.
Conclusion
Now that you know how to make paper look older in just 10 easy steps, you can bring a vintage touch to your projects effortlessly. Did you know that antique paper can increase a document’s perceived value by up to 30%?
By staining, crumpling, and adding those burnt edges, you’re not just aging paper—you’re creating something that feels truly authentic and special.
Give it a try, and watch your work come to life with history! Making paper look older is a simple craft that adds character and charm to any project. Whether you’re working on art, invitations, or documents, these easy techniques can transform plain paper into a beautiful, aged piece that tells a story. So go ahead, experiment with these 10 steps, and enjoy the unique vintage effect that only aged paper can provide!