How to Make Toilet Paper in 5 Simple Steps
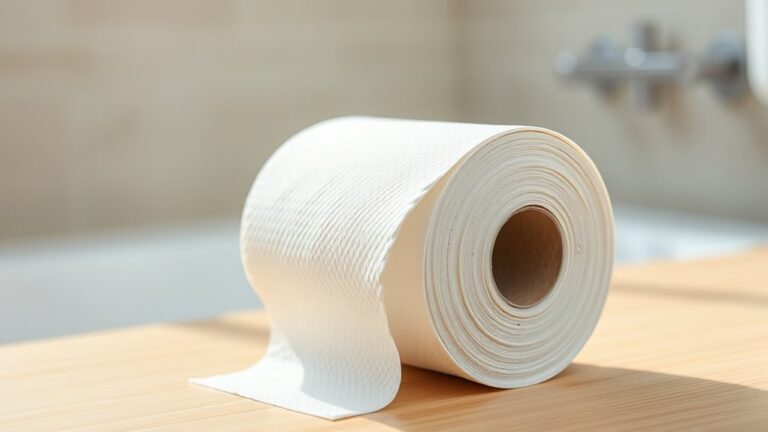
To make toilet paper in five simple steps, start by gathering soft fibers like recycled paper or cotton rags. These materials work great because they’re gentle and biodegradable, which is perfect for making your own toilet paper at home. Soak and blend these fibers into a smooth pulp.
Next, dip a flat screen into the pulp, lift it to form a thin sheet, and flip it onto a surface. This part is pretty fun and feels a bit like arts and crafts.
Press the sheet between cloths to remove water and let it dry completely.
Finally, cut the dried sheets into useful sizes and store them properly. Keep going to discover helpful tips for better results. You’ll be surprised how easy and satisfying it is to make your own toilet paper!
Gather Your Materials
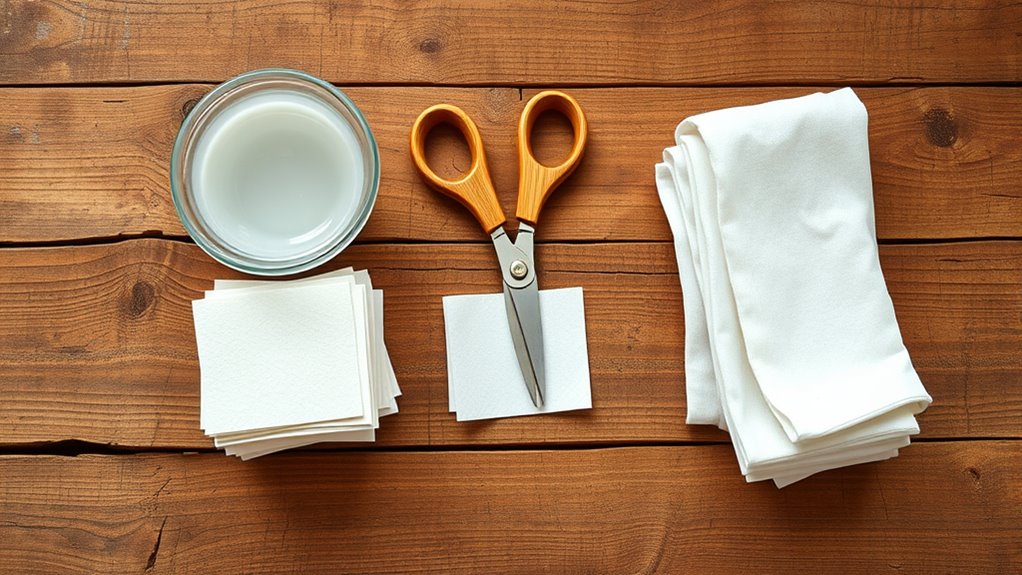
Before you begin making toilet paper, gather all the necessary materials to guarantee a smooth process. You’ll need soft, absorbent fibers like recycled paper or cotton rags.
Start your homemade toilet paper journey by gathering soft, absorbent fibers like recycled paper or cotton rags.
Have a blender or food processor ready to help break down the fibers later. Prepare a large basin or tub for soaking and mixing the pulp.
Make sure you have a flat screen or mesh frame to form the sheets. You’ll also want a sponge or cloth to press out excess water from the sheets.
Don’t forget a clean, flat surface to dry your paper on, such as a wooden board or window screen. Ultimately, keep towels or paper towels nearby for quick cleanups.
Having everything at hand will save you time and frustration. It just makes the whole process a lot easier, trust me!
Prepare the Pulp Mixture
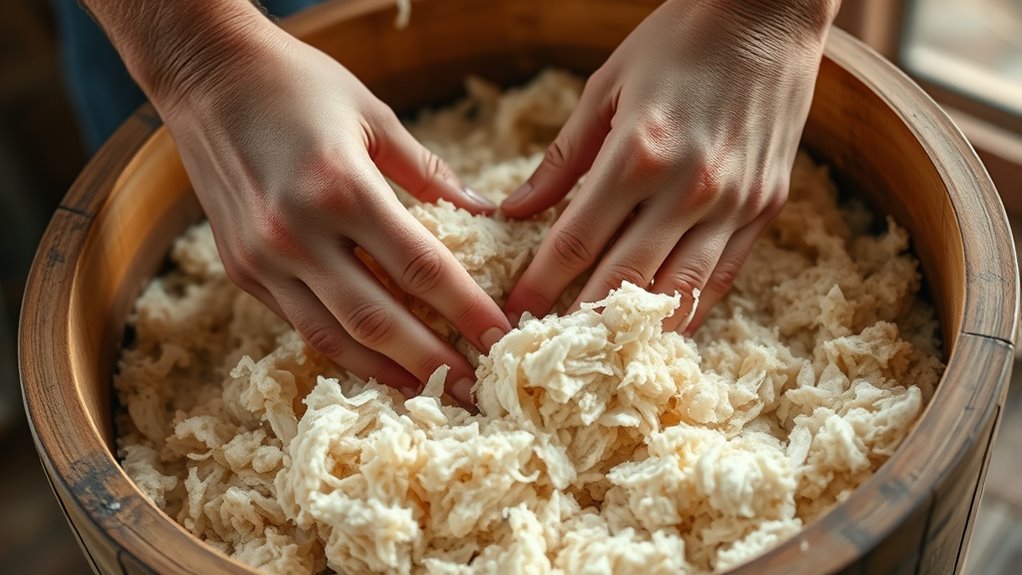
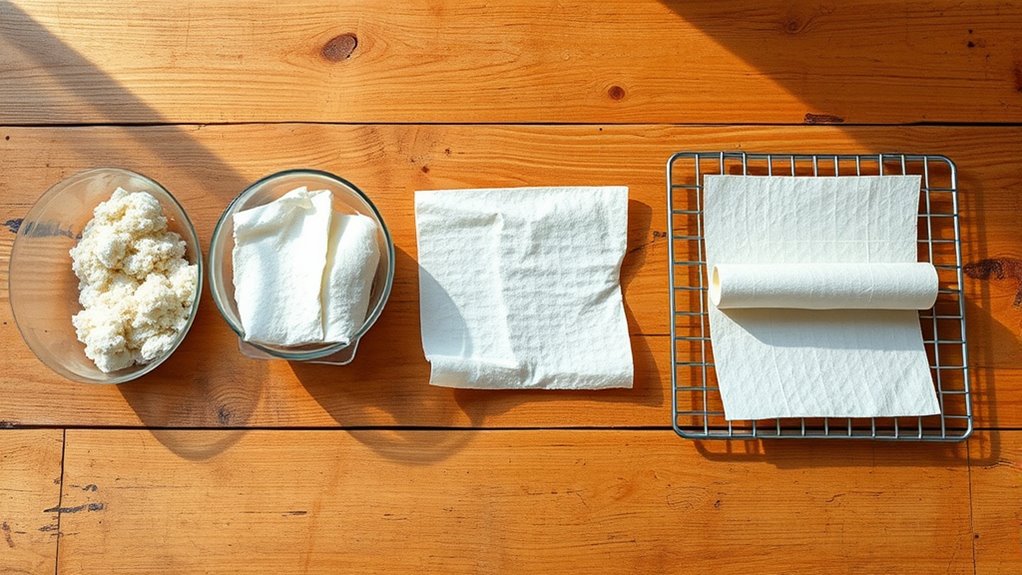
Once you’ve gathered your materials, start by soaking the fibers in water until they become soft and pliable. This step is vital because it breaks down the fibers, making them easier to blend into a smooth pulp.
Next, you’ll want to blend the soaked fibers with water, creating a thick, creamy mixture. This pulp mixture is the base for your toilet paper sheets.
Follow these steps to prepare the pulp:
- Soak fibers in a large container for several hours until softened.
- Use a blender or hand mixer to break down the fibers into a smooth pulp.
- Adjust the water amount to get a consistency similar to thick soup.
Mix well to make certain the fibers are evenly dispersed before moving on. Easy, right? Just take your time to get that perfect pulp!
Form the Paper Sheets
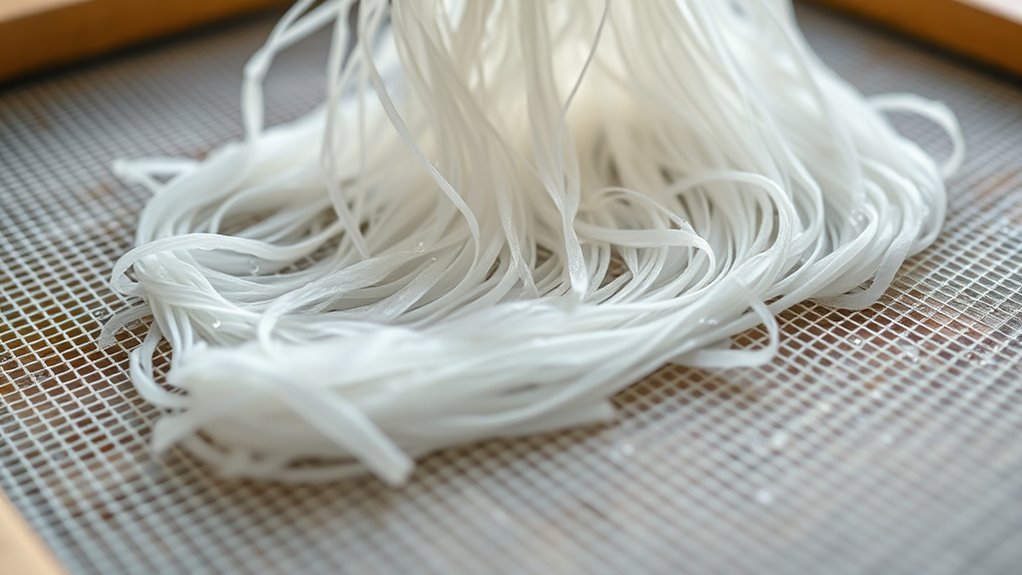
When you have a smooth pulp mixture ready, it’s time to shape it into thin, even sheets. Start by dipping a flat screen or mold into the pulp, submerging it fully.
Lift it out slowly, allowing the water to drain evenly through the screen, leaving a thin layer of pulp on top. Keep the mold level to avoid uneven thickness. Gently shake the mold side to side to spread the pulp uniformly.
Once the pulp layer looks consistent, carefully flip the mold onto a clean surface or felt cloth to transfer the wet sheet. This process forms the basic shape of your paper sheets, setting the foundation for quality toilet paper.
At this stage, avoid pressing or drying; focus solely on shaping the sheets evenly and consistently.
Press and Dry the Sheets
How do you transform those delicate, wet sheets into sturdy, usable toilet paper? The answer lies in pressing and drying them carefully.
First, you want to remove excess water without tearing the paper. Here’s how to do it:
- Lay the wet sheets flat between two clean, absorbent cloths or towels.
- Apply even pressure using a heavy book or a rolling pin, pressing out moisture gently but thoroughly.
- Once pressed, hang the sheets in a warm, dry spot or use a low-heat setting on a dryer to speed up the drying process without damaging the fibers.
Cut and Store Your Toilet Paper
After pressing and drying your sheets, you’ll need to cut them into manageable sizes for everyday use. Grab a sharp pair of scissors or a rotary cutter to slice your sheets into standard toilet paper square sizes, typically around 4.5 by 4.5 inches.
Make sure your cuts are even to guarantee comfort and ease of use. Once cut, stack the sheets neatly and consider binding them with a simple paper band or storing them in a clean, dry container to keep them dust-free and organized.
Store your homemade toilet paper in a cool, dry place to maintain its texture and prevent moisture buildup. This way, your DIY toilet paper stays fresh, clean, and ready whenever you need it.
Conclusion
Now that you’ve made your own toilet paper, you can feel proud knowing you created something useful from scratch. Like a seed growing into a sturdy tree, your efforts have transformed simple materials into something practical and necessary.
Keep experimenting with your technique, and you’ll get even better each time. Remember, making your own supplies not only saves money but also helps you appreciate the everyday things we often take for granted.
Making toilet paper at home is a rewarding experience. It teaches patience and creativity while giving you a useful product. Plus, DIY toilet paper is eco-friendly and can reduce waste, making it a smart choice for both your wallet and the planet. So keep practicing, and enjoy the satisfaction that comes with crafting your own essential supplies!