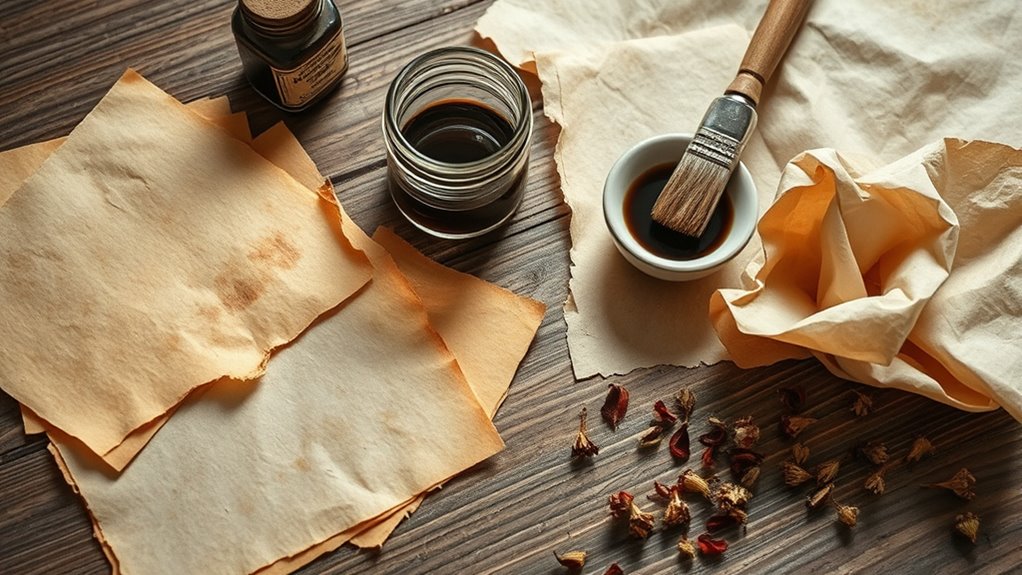
How to Make Paper Look Vintage in 7 Easy Steps
To make paper look vintage, start by gathering materials like textured off-white or cream paper. Brew strong tea or coffee for staining—this helps give the paper that authentic aged look.
Next, gently crumple the paper, then flatten it out to create natural wrinkles that mimic years of wear.
Apply your stain evenly, making sure to let it dry between coats for the best effect.
Want to add more character? Carefully burn or tear the edges to create a worn, antique feel.
You can also add vintage details like calligraphy or pressed flowers to really bring your paper to life.
Finally, seal your masterpiece with a protective spray to preserve that charming aged look.
Follow these simple steps, and you’ll discover even more creative ways to enhance your vintage paper’s unique appeal!
Gather Your Materials
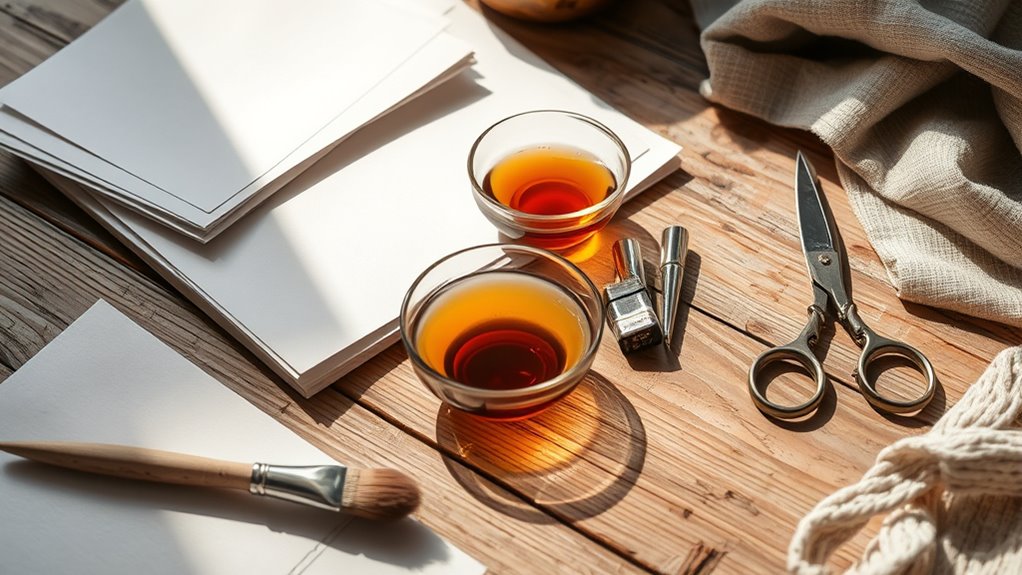
Before you begin, make sure you have all the necessary materials on hand. You’ll need a few basic items to create that vintage look effectively. Start with plain white paper, scissors, a baking tray, and some old tea bags or instant coffee for staining.
You’ll also want a spray bottle filled with water, a brush for applying stains, and a heat source like an oven or hairdryer to speed up drying. To add texture, consider having a sponge or crumpling tool ready.
Keep a spray bottle, brush, and heat source handy to apply stains and speed drying for authentic vintage texture.
Optional items include cinnamon or cloves if you want a subtle scent and a lighter or candle for carefully singeing edges. Gathering these materials upfront guarantees a smooth, enjoyable process without interruptions.
Once you have everything, you’re ready to move on confidently.
Choose the Right Paper
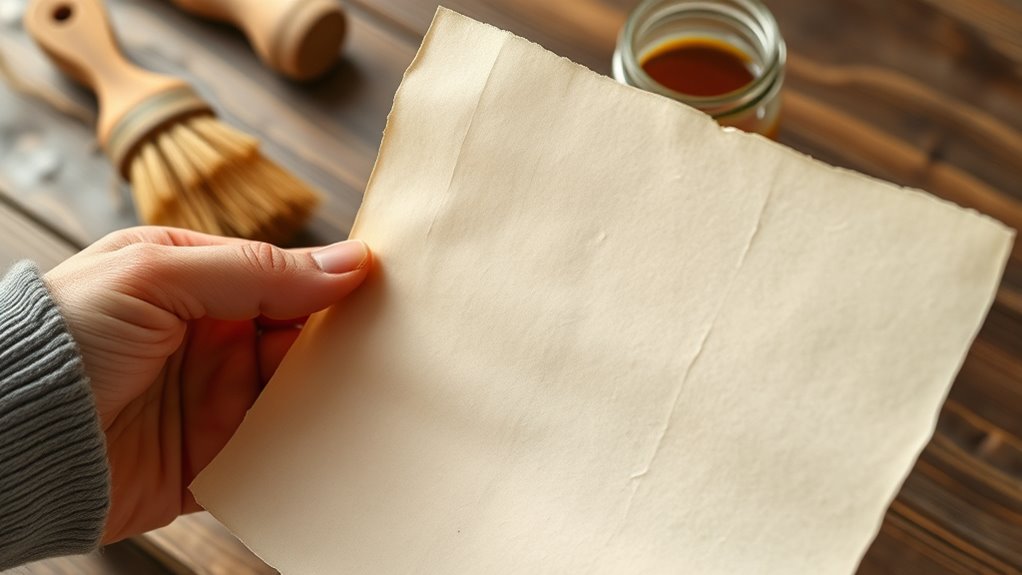
To get that perfect vintage look, you’ll want to pick paper with the right texture—something slightly rough or fibrous works best. Consider the color and tone too; off-white, cream, or light brown shades add authenticity.
Don’t forget thickness, as thinner paper can look aged and delicate, while thicker stock feels more substantial and old-fashioned. It’s all about finding that balance that suits your style.
Paper Texture Types
Choosing the right paper texture sets the foundation for achieving an authentic vintage look. You’ll want to pick paper that feels aged and tactile, not smooth and modern.
Rough or laid textures mimic the handmade papers of the past, adding character and depth. Cotton or linen blends often have subtle fibers that enhance the vintage vibe.
You might also explore parchment-like papers, which offer a slightly crinkled surface perfect for old documents. Avoid glossy or ultra-smooth textures—they look too new and won’t absorb aging techniques well.
When you handle your paper, make sure it has enough thickness to withstand distressing methods like crumpling or staining without tearing. Selecting the right texture ensures your vintage paper looks genuinely worn and timeless.
Color and Tone
Although texture plays a crucial role, the color and tone of your paper truly set the mood for a vintage look. Choosing the right shade can instantly transport your project back in time.
Instead of bright white, consider these options:
- Cream or Ivory: Soft and warm, these tones mimic aged documents.
- Light Brown or Tan: Adds an earthy, weathered feel without overpowering the text.
- Muted Yellow: Suggests sun-faded paper, common in old books.
- Subtle Gray: Evokes a sense of old parchment or faded newspaper.
You don’t need to buy special paper; you can also tint plain sheets yourself. Just remember, the color you pick should complement your design and help create that authentic vintage vibe.
Paper Thickness Options
Three main paper thickness options can dramatically affect the vintage feel of your project. Thin, lightweight paper gives an authentic aged look, often resembling old letters or book pages, but it can tear easily.
Medium-weight paper strikes a balance, offering durability while still feeling somewhat delicate. It’s perfect for vintage-style invitations or prints.
Thick, heavy paper adds a sense of quality and permanence, mimicking antique documents or certificates. Though, it might be less flexible for certain effects.
When choosing, consider how your project will be handled and displayed. If you want a fragile, well-worn appearance, go thinner.
For a sturdy yet vintage vibe, medium works best. And if you want your vintage paper to last, opt for thicker stock.
Select the weight that best suits your desired vintage aesthetic.
Stain the Paper With Tea or Coffee
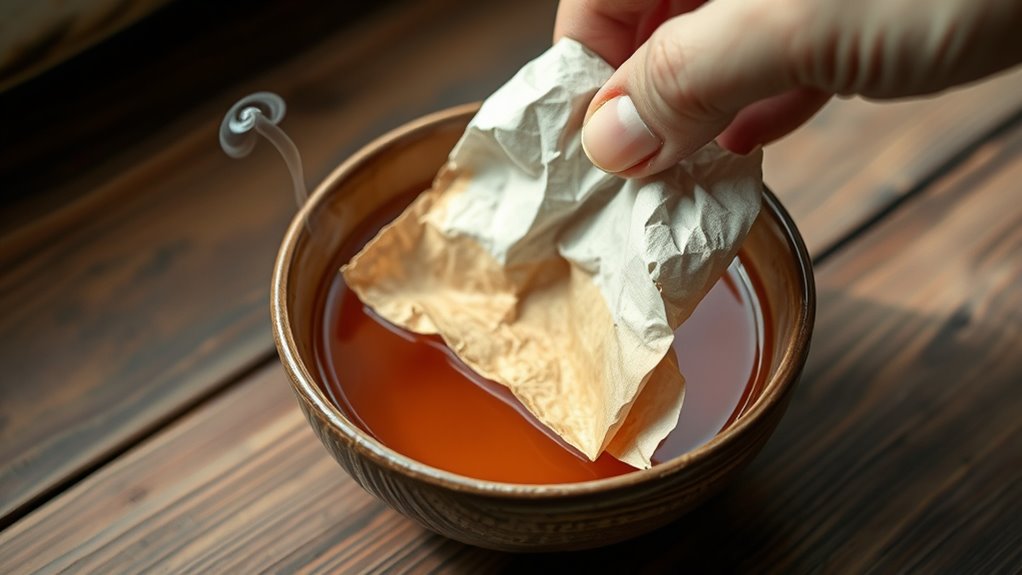
To give your paper that authentic vintage look, you’ll want to choose between tea and coffee for staining—each offers a unique color and texture.
Once you pick your stain, applying it evenly with a brush, sponge, or by soaking can create different effects.
Let’s explore how to make the most of these simple techniques.
Choosing Tea or Coffee
Why choose tea or coffee for staining your paper? Both are natural, easy-to-find options that create a warm, aged look.
Deciding between them depends on the specific vintage effect you want. Here’s what to weigh:
- Color tone: Tea offers a light, golden-brown tint; coffee gives a richer, darker brown.
- Intensity control: Coffee stains tend to be stronger, while tea allows for subtle shading.
- Scent: Tea leaves a mild aroma; coffee has a stronger, more distinctive smell.
- Availability: You might have one more accessible or prefer the taste and smell in your workspace.
Choose based on your desired color, scent preference, and how bold you want your vintage paper to look.
Both work well, so pick what suits your project best!
Application Techniques
How should you apply tea or coffee to get that perfect vintage look? First, brew a strong batch and let it cool. Use a brush or sponge to evenly coat the paper, or dip the paper directly for a darker, uneven effect.
Don’t forget to let it dry completely between coats to build depth. Experiment with crumpling the paper before staining for added texture. It’s all about trying what feels right!
| Technique | Tool Needed | Result |
|---|---|---|
| Brushing | Paintbrush | Light, even stain |
| Sponging | Sponge | Soft, textured appearance |
| Dipping | Bowl of liquid | Dark, blotchy effect |
| Crumpling + Stain | Hands + Liquid | Wrinkled, aged look |
Try these to find the style you like best!
Crumple and Flatten the Paper
What’s the best way to give your paper an authentic vintage texture? Crumpling and then flattening the paper adds natural creases and a worn feel that instantly ages it.
Here’s how to do it effectively:
A simple method to add natural creases and give your paper an authentic vintage texture.
- Gently scrunch the paper into a loose ball to avoid tearing.
- Carefully unfold it, revealing soft, random creases.
- Place the paper under a heavy book or press it with your hands to flatten it without smoothing out the texture completely.
- Repeat the crumple and flatten process if you want more pronounced wrinkles.
This technique mimics years of handling and storage, making your paper look genuinely old and well-loved without any harsh damage.
It’s a simple step that dramatically enhances your vintage project.
Burn or Distress the Edges
A key step to enhancing the vintage look is to burn or distress the edges of your paper. To burn edges safely, use a lighter or candle flame, holding the paper edge close but not directly in the flame.
Move it slowly to create a subtle, uneven burn without catching the whole sheet on fire. Keep a bowl of water nearby for safety.
If you prefer distressing without fire, gently tear the edges or rub them with sandpaper for a worn effect. You can also crumple the edges lightly or use an ink pad with brown tones to darken them.
These techniques give your paper an aged, weathered appearance, making it look authentically old without compromising the entire sheet’s integrity.
Add Vintage Details and Decorations
Once you’ve prepared the paper’s edges, you can enhance its vintage charm by adding carefully chosen details and decorations. These finishing touches make your paper truly stand out and feel authentic.
Enhance your paper’s vintage charm with thoughtful details that add authenticity and timeless elegance.
Try these simple ideas:
- Use sepia or faded ink to write or draw, giving your text or images an aged look.
- Attach wax seals or stickers with vintage designs to create a classic, elegant feel.
- Add stamped designs or handwritten calligraphy with old-fashioned fonts or motifs for character.
- Glue small pressed flowers or delicate lace trims to add texture and a nostalgic touch.
Seal and Preserve Your Vintage Paper
Before you store or display your vintage paper, you’ll want to seal and preserve it to maintain its aged appearance and prevent further wear. Use a clear, acid-free spray sealer to protect the paper without yellowing or damaging it.
Spray in light, even coats, allowing each to dry fully. Alternatively, place your paper in acid-free sleeves or frames to shield it from dust and sunlight. It’s all about keeping your paper safe and looking great.
| Preservation Method | Benefits | Tips |
|---|---|---|
| Spray Sealer | Protects from moisture and dirt | Use light coats, dry fully |
| Acid-Free Sleeves | Prevents yellowing and physical damage | Store flat, avoid folding |
| Framing | Displays safely, blocks UV rays | Use UV-protective glass |
Pick the method that works best for how you want to store or show off your vintage paper.
Conclusion
You’ve just turned plain paper into a vintage masterpiece that looks like it survived a century—or at least your kitchen experiment gone rogue. Who knew tea and coffee could double as ancient artifacts in disguise?
Now you’re ready to impress friends with your “authentic” vintage vibes or confuse historians everywhere. So go ahead, seal that beauty, and proudly display your perfectly imperfect paper—because nothing says “timeless” like a little crafty chaos!
Making paper look vintage is easier than you think. With just a few simple steps like staining with tea or coffee, adding wrinkles, and burning edges, you create an aged effect that brings character and charm to any project. Whether for scrapbooking, invitations, or art, this vintage paper adds a nostalgic vibe that feels both authentic and creative.
So, give these easy techniques a try and watch your plain sheets transform into beautiful vintage treasures. Embrace the imperfections—they’re what make your vintage paper truly unique and full of personality!