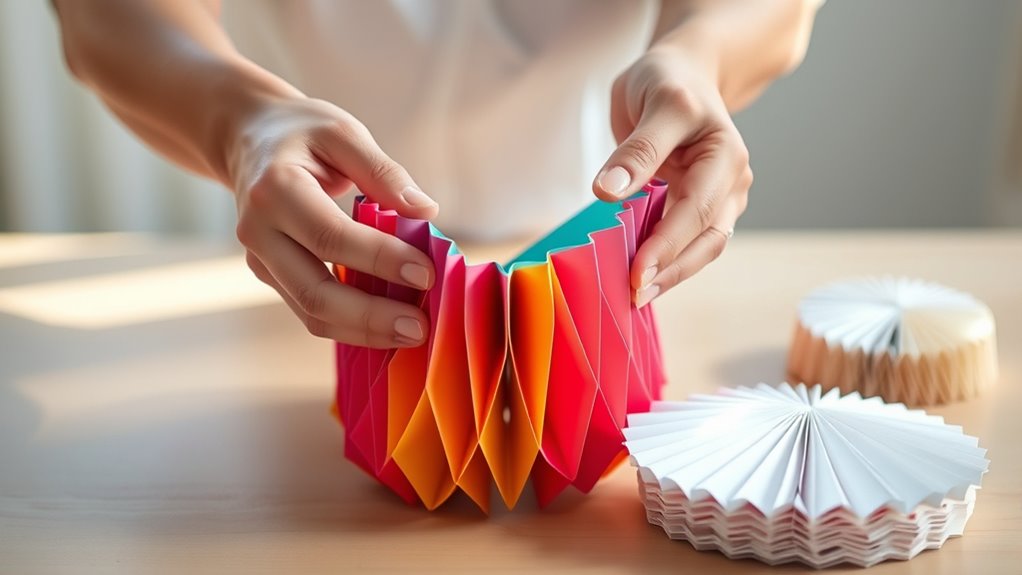
How to Make a Paper Fan in 7 Easy Steps
To make a paper fan in 7 easy steps, start by gathering sturdy paper, a ruler, and scissors. These basic supplies will help you create a durable and functional fan.
Cut your paper into a rectangle, then fold it accordion-style with even pleats. Make sure your folds are neat to get a nice fan shape.
Secure the base tightly using tape or a rubber band, and spread the folds to shape your fan. Attaching a handle like a popsicle stick will make it easier to hold.
Finally, decorate your paper fan with colors or stickers to personalize it. This simple craft is not only fun but also a great way to stay cool.
Keep going to discover tips for perfecting and customizing your fan!
Gather Your Materials
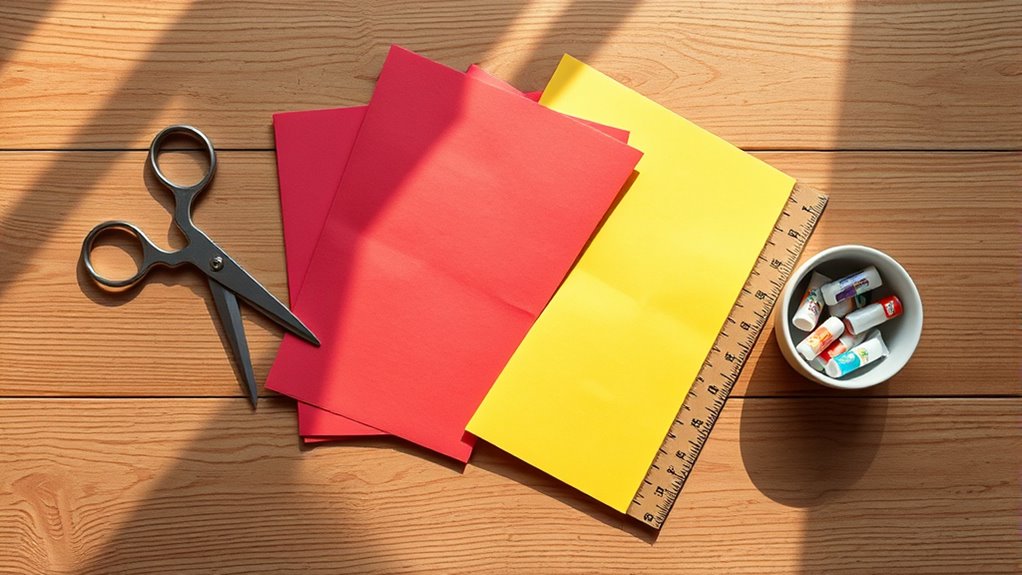
Before you begin folding, make sure you have all the materials you need. You’ll want a few sheets of paper, something sturdy but flexible enough to fold easily.
You’ll also need a flat surface to work on, like a table or desk. Have a ruler handy for straight folds, and a pencil if you want to mark where to fold.
If you want to add a handle, gather some tape or glue and a popsicle stick or a thin piece of cardboard. Keep scissors nearby in case you need to trim the paper.
Having everything ready before you start will make the process smoother and help you focus on crafting your paper fan without interruptions or hunting for supplies.
Choose and Prepare Your Paper
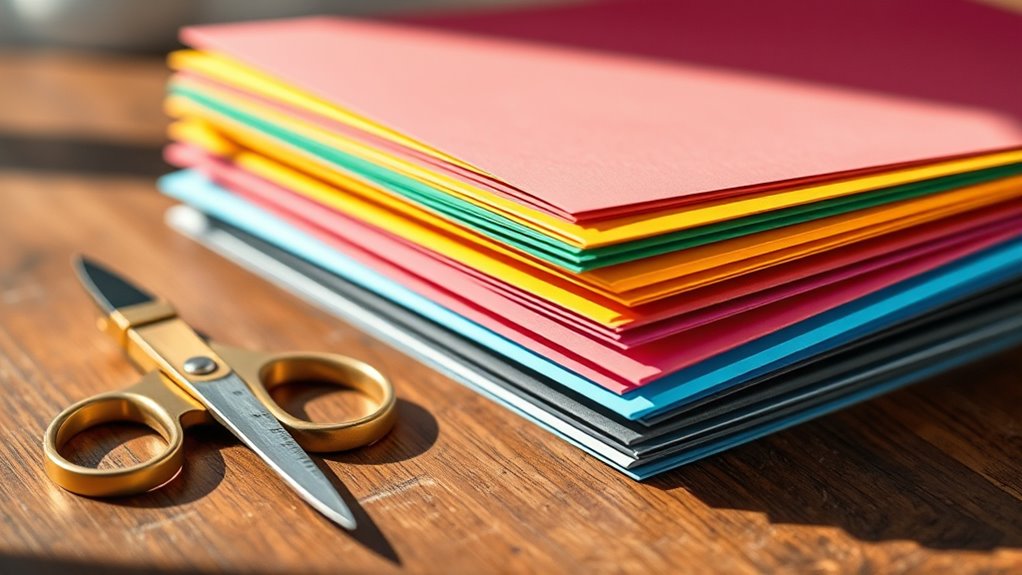
You’ll want to pick paper that’s sturdy but easy to fold, like origami or lightweight cardstock.
Before you start folding, make sure to cut your paper into a neat rectangle for the best results.
Keep your folds crisp and even to create a smooth, functional fan.
Selecting Paper Types
When selecting paper for your fan, consider both its weight and texture to guarantee it folds easily yet holds its shape.
Lightweight paper like tissue can be too fragile, while very thick cardstock might be hard to fold. Medium-weight papers strike a perfect balance.
Also, smooth textures fold crisply, while handmade or textured papers add a unique look but can be tougher to crease sharply.
| Paper Type | Best For |
|---|---|
| Printer Paper | Easy folding, crisp edges |
| Construction | Durable, colorful fans |
| Origami Paper | Precise folds, decorative |
| Cardstock | Sturdy, holds shape well |
Choose paper that suits your fan’s purpose—whether decorative or functional—to get the best results without frustration.
Cutting and Folding Tips
Although selecting the right paper is important, cutting and folding it properly guarantees your fan looks neat and functions smoothly. Start by trimming your paper into a perfect rectangle; this helps the folds line up evenly.
Use a sharp pair of scissors or a craft knife for clean edges—ragged cuts can make folding tricky. When folding, keep your creases crisp by pressing firmly along each fold, using your fingernail or a bone folder if you have one.
Fold the paper back and forth in even, accordion-style pleats, making sure each fold matches the width of the last. Take your time to maintain consistency; uneven folds can cause your fan to open awkwardly or lose its shape.
Proper cutting and folding set the foundation for a beautiful paper fan. So, don’t rush it—your patience will pay off!
Fold the Paper Accordion Style
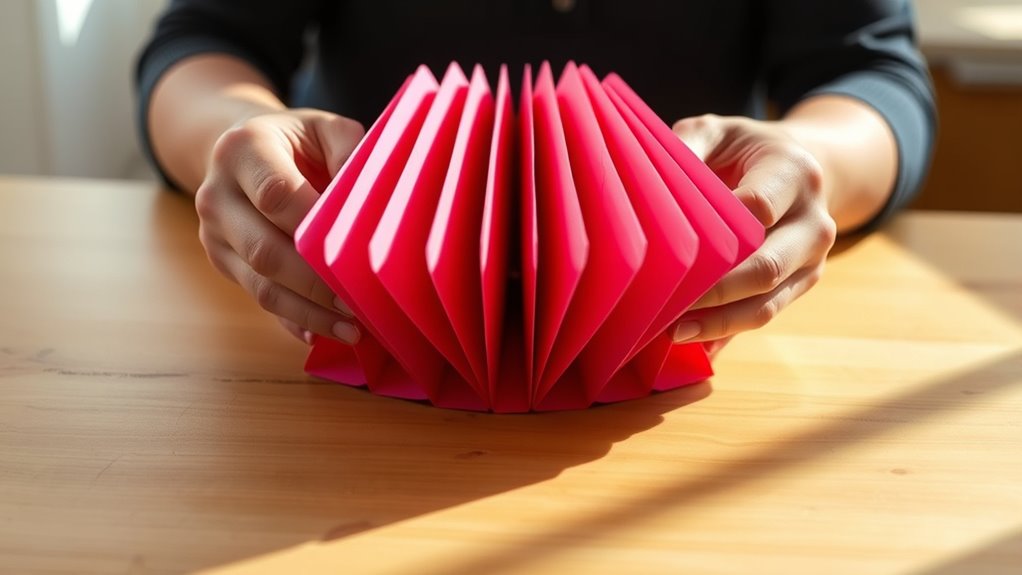
Start by choosing the right paper size for your fan. Measure and mark the fold width carefully to keep your folds even.
Then, fold the paper backward in an accordion style, making sure each crease lines up perfectly. Easy does it!
Choose Paper Size
How big should your paper fan be? The size of your paper determines the fan’s final dimensions and how easy it is to handle.
For a standard paper fan, choose a sheet around 8.5 by 11 inches or A4 size. This size strikes a good balance—large enough to create a cool breeze but small enough to hold comfortably.
If you want a bigger fan, use larger paper like 11 by 17 inches, but keep in mind it may be heavier and harder to fold precisely. Conversely, smaller paper creates a compact fan perfect for decoration or kids.
Remember, the paper’s thickness matters too; thinner paper folds better, while thicker paper adds sturdiness but can be tricky to crease neatly.
Choose your paper size based on how you plan to use your fan. It’s all about what works best for you!
Measure Fold Width
Once you’ve chosen the right paper size, it’s time to fold it into an accordion style to form the fan’s shape. To get neat and even folds, you need to measure the fold width carefully.
The width of each fold affects how well your fan will open and close.
Here’s how to measure and fold properly:
- Use a ruler to mark even intervals along the paper’s edge.
- Decide on a fold width that’s comfortable to hold, usually around 1 to 2 inches.
- Make light pencil marks as guides before folding.
Fold Evenly Backward
Why fold evenly backward? Folding your paper accordion style ensures each fold is uniform, which is key to creating a balanced, functional fan.
Start by taking the edge of your paper and folding it backward along the first measurement mark you made. Press firmly to create a sharp crease.
Then, flip the paper over and fold it backward again, matching the width of your first fold. Keep alternating folds backward, making sure each crease aligns perfectly with the last.
This even folding builds the fan’s signature pleats, allowing it to open and close smoothly. Take your time and maintain consistent pressure on each crease to avoid uneven edges.
Once finished, your paper will resemble a neat, zigzag pattern, ready for the next step.
Secure the Folded Paper at the Base
Although folding the paper creates the fan shape, you’ll need to secure the base firmly to keep it from unraveling. To do this, gather the bottom edges of the folded paper tightly together.
Gather the bottom edges tightly to secure the base and prevent your paper fan from unraveling.
Then, use one of these methods to hold everything in place:
- Wrap a rubber band around the base to keep the folds snug and stable.
- Tie a piece of string or ribbon tightly, knotting it securely.
- Use a small piece of tape to fasten the base, making sure it’s not too bulky.
Pick whichever option feels easiest and gives you a strong hold. Securing the base well guarantees your fan will stay intact and ready to use without falling apart.
Shape the Fan by Spreading the Folds
How do you give your paper fan its classic shape? After securing the base, gently hold the bottom where the folds meet. Slowly and carefully spread the folds apart, allowing the paper to fan out evenly.
Make sure each fold separates smoothly to create a symmetrical arc. Don’t rush this step; a steady hand helps keep the fan neat and balanced. As you spread, check that the paper doesn’t tear or crease awkwardly.
Adjust the angle between folds so the fan looks full but not stretched too thin. Once the folds are evenly spaced and the fan opens easily, you’ve shaped it perfectly. This step brings your paper fan to life, giving it that traditional, elegant look you want.
Attach a Handle for Easy Holding
Once you’ve shaped your paper fan, attaching a handle makes it easier to hold and use. You want a sturdy grip so the fan feels comfortable and lasts longer.
Attaching a handle gives your paper fan a sturdy grip for comfortable, long-lasting use.
Here’s how to add a handle efficiently:
- Choose a stick or strip of cardboard about 6-8 inches long to serve as the handle.
- Secure the bottom edge of the fan to the handle with glue or tape, making sure it’s firmly attached.
- Let the adhesive dry completely before using your fan to avoid any slips.
Easy, right? This simple step really makes your fan more practical and fun to use!
Decorate Your Paper Fan
Now that your paper fan has a sturdy handle, you can make it truly your own by adding decorations. Start by choosing colors and patterns that reflect your style. Use markers, paint, or colored pencils to create designs on the paper folds.
You might draw flowers, geometric shapes, or even write a favorite quote. Stickers and washi tape also work great for quick embellishments. If you want some sparkle, sprinkle glitter carefully on wet paint or glue.
Make sure to allow every layer to dry before moving on to avoid smudges. Finally, consider attaching small tassels or ribbons to the handle for extra flair. Decorating your fan not only personalizes it but also makes it more enjoyable to use and show off.
Have fun experimenting with different ideas!
Conclusion
Now that you’ve turned a simple sheet of paper into a beautiful fan, you’ve transformed something ordinary into something extraordinary. It’s amazing how a few folds can create cool breezes on hot days or add charm to any room.
From plain paper to a stylish accessory, your fan shows how creativity can flip the everyday into art. So next time you’re bored, remember—great things often start small and fold by fold!
Making a paper fan is not just a fun craft, but a creative way to stay cool and decorate your space. With just a few easy steps, you can turn any piece of paper into a practical and pretty fan. Give it a try and enjoy your new handmade paper fan!